Have you been spending a lot of time looking out your window? I have and I’ve decided to do something about it. So, let me show you how to draw the birds that you see.
Illustrating or drawing nature is a method that some scientists use while taking notes. Sometimes a photo doesn’t always capture the details that a scientist wants to make notes about, so they’ll draw an animal, plant, insect, or even a whole scene in order to fully record what is happening. It’s also fun to make a sketch of your favorite flower or animal.
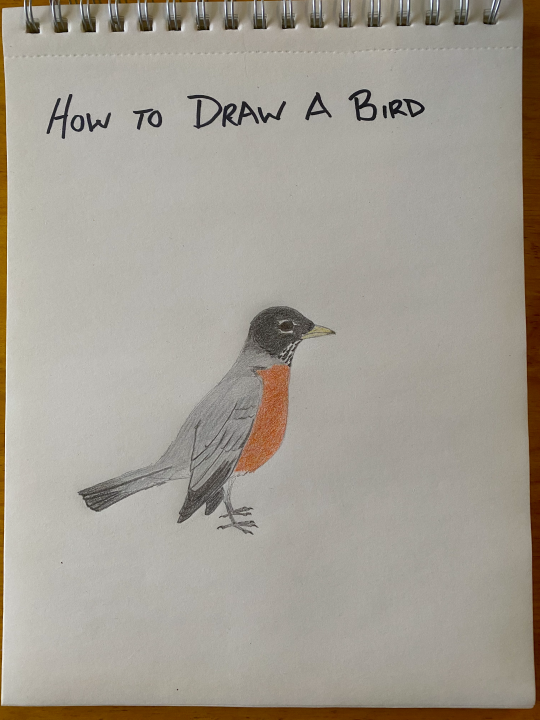
This time of year, there are a lot of robins around my neighborhood, so I’ll show you how I created this sketch of one and you can follow along too.
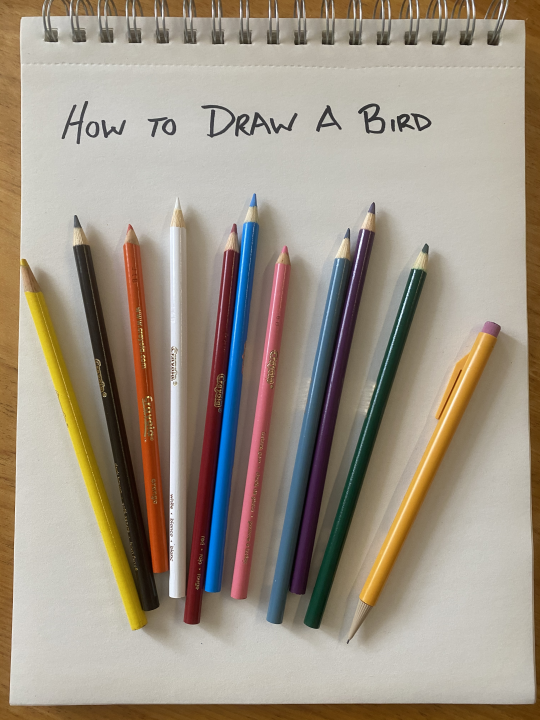
Before we get started you might need to gather some supplies. Use a pencil and eraser, just in case you make some mistakes (it’s okay to make a mistake). Get some paper and a comfy spot to draw—make sure you cover your table to avoid making marks on it. Don’t forget the colors! I like colored pencils, but you can use markers, crayons, paint, or anything else to color with.
Step 1: Shapes
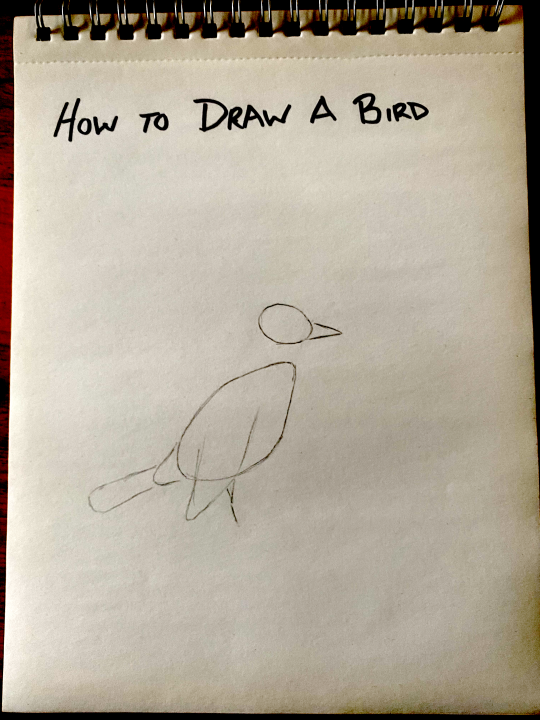
Use some basic shapes—circles, triangles, squares, and lines—to make the general shape of what you want to draw. Use light pencil strokes so that they’ll be easy to erase later.
Try to keep all of your shapes balanced to one another—you don’t want your bird to have a huge head! I like to use a photo that I’ve taken or found online to use as a reference for what I’m drawing.
If you want to take it to the next level, you can also check out the different field marks on a bird.
Step 2: Silhouette
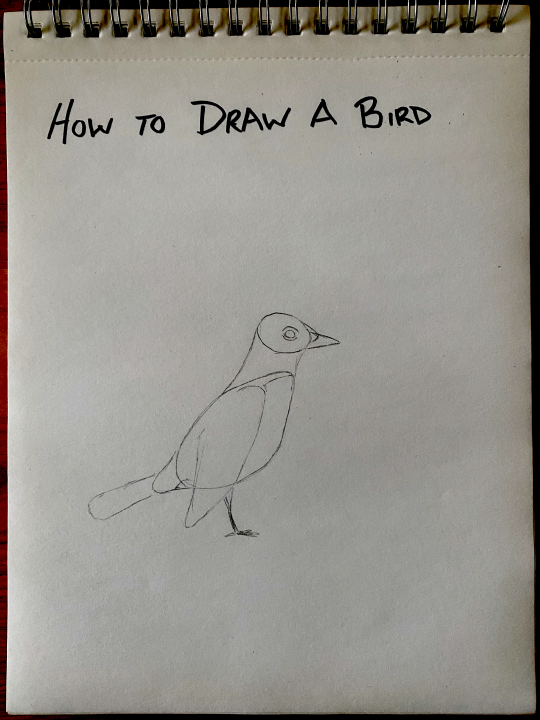
Next let’s connect our shapes so that we can have a good outline of our subject. You can add eyes and some of the rough edges. Try to zone out where your colors will change too—for instance the robin’s red belly will be different than its grey back, so I’ll add a line to mark that.
Step 3: Details
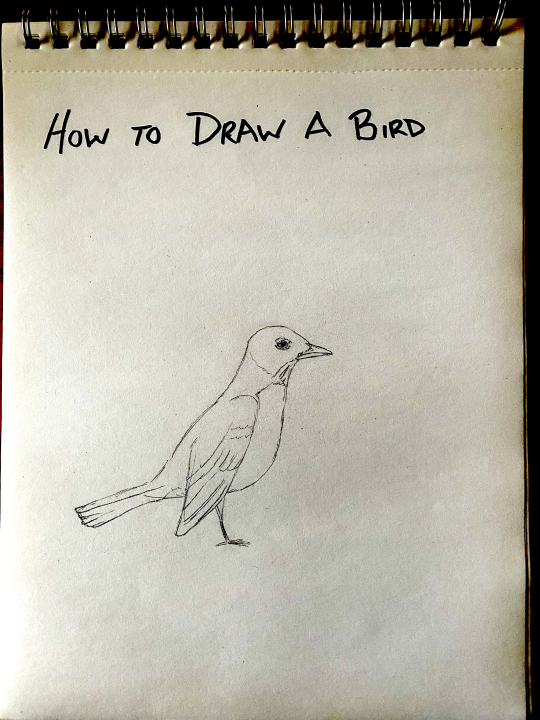
Add more details. Add feathers on the wing and tail, add in details on the beak, head, and eye. You can also erase some of those shapes we made in step 1 and feel free to make a few changes to those shapes if you want to.
It’s also important in this step to know how detailed you want to be—sometimes simple is good. If your sketch is small, then less details might be better, but if your sketch is big, then you can add lots of little details. It’s up to you!
Step 4: Color
This step is optional, sometimes scientists will just write down what colors they noticed because they can’t always carry around a whole art kit. However, if you have some time, then adding color to your drawing can really bring it to life.
You can use crayons, markers, paint, or any other color tool you want. It’s always a good idea to test your colors on a separate piece of paper to see if they’re right for you or to try out a mix of colors. Birds can be lots of different colors!
Be proud of your sketches! No one else could have made it the same way that you did. By drawing and coloring plants, animals, and other nature you can sharpen your observation skills and gain a better appreciation for the beauty and uniqueness of all life.
Aaron Young is a museum educator on Carnegie Museum of Natural History’s Outreach team. Museum staff, volunteers, and interns are encouraged to blog about their unique experiences and knowledge gained from working at the museum.