Dino Mashup Challenge!
It’s paleontology week with Carnegie Museum of Natural History’s Online Museum Classes. This week we’ll learn about dinosaurs, their habitats, and their adaptations. We’ll dig deeper during our sessions through the week, but if you’re wondering what to expect, these definitions may prove helpful:
- Adaptation – a special feature that an animal has or a special behavior that it does to help it survive.
- Carnivore – an animal that eats meat. Carnivores usually have long, sharp teeth that are good for ripping and tearing meet.
- Habitat – a place where an animal lives that provides its basic needs like food, water and shelter.
- Herbivore – an animal that eats plants. Herbivores usually have flat teeth (or teeth-like parts) that are good for grinding
- Omnivore – an animal that easts plants and meet. Omnivores usually have sharp teeth for cutting meat and flat teeth for grinding plants.
This week we’ll imagine ourselves as team members at the world’s premier, dinosaur-themed adventure park—Jurassic Planet! We’ll use what we learn through the week (and what you already know) to create a 3-D model of a brand-new dinosaur that will excite and delight the park-going public. And no dinosaur exhibit is complete without a full habitat for your creation to roam- so we’ll design that too!
Kids: be sure to get permission from a grown-up before using any materials (especially scissors)!
Suggested Materials
General Materials
Dino Diorama Materials
Here are some suggestions but you can be creative and use whatever materials that you find around your house. Check with a grown-up before using anything:
Hear from one of our Paleontologists, Matt Lamanna
Challenge One: Dino Mashup
Remember to check with an adult before using any materials.
- Look at the Foods Cards below. (These do not need to be printed out, you can view them here.) Pick one food from the List of Foods below. Is your food something a carnivore, herbivore or omnivore would eat? Based on that answer, pick two dinosaurs on the next list that would eat that food.
Foods

Leaves from Trees

Seeds and Twigs

Small Dinosaurs

Fish

Eggs and Leaves

You pick the food!
Which two dinosaurs would eat the food you picked?

Triceratops – Herbivore
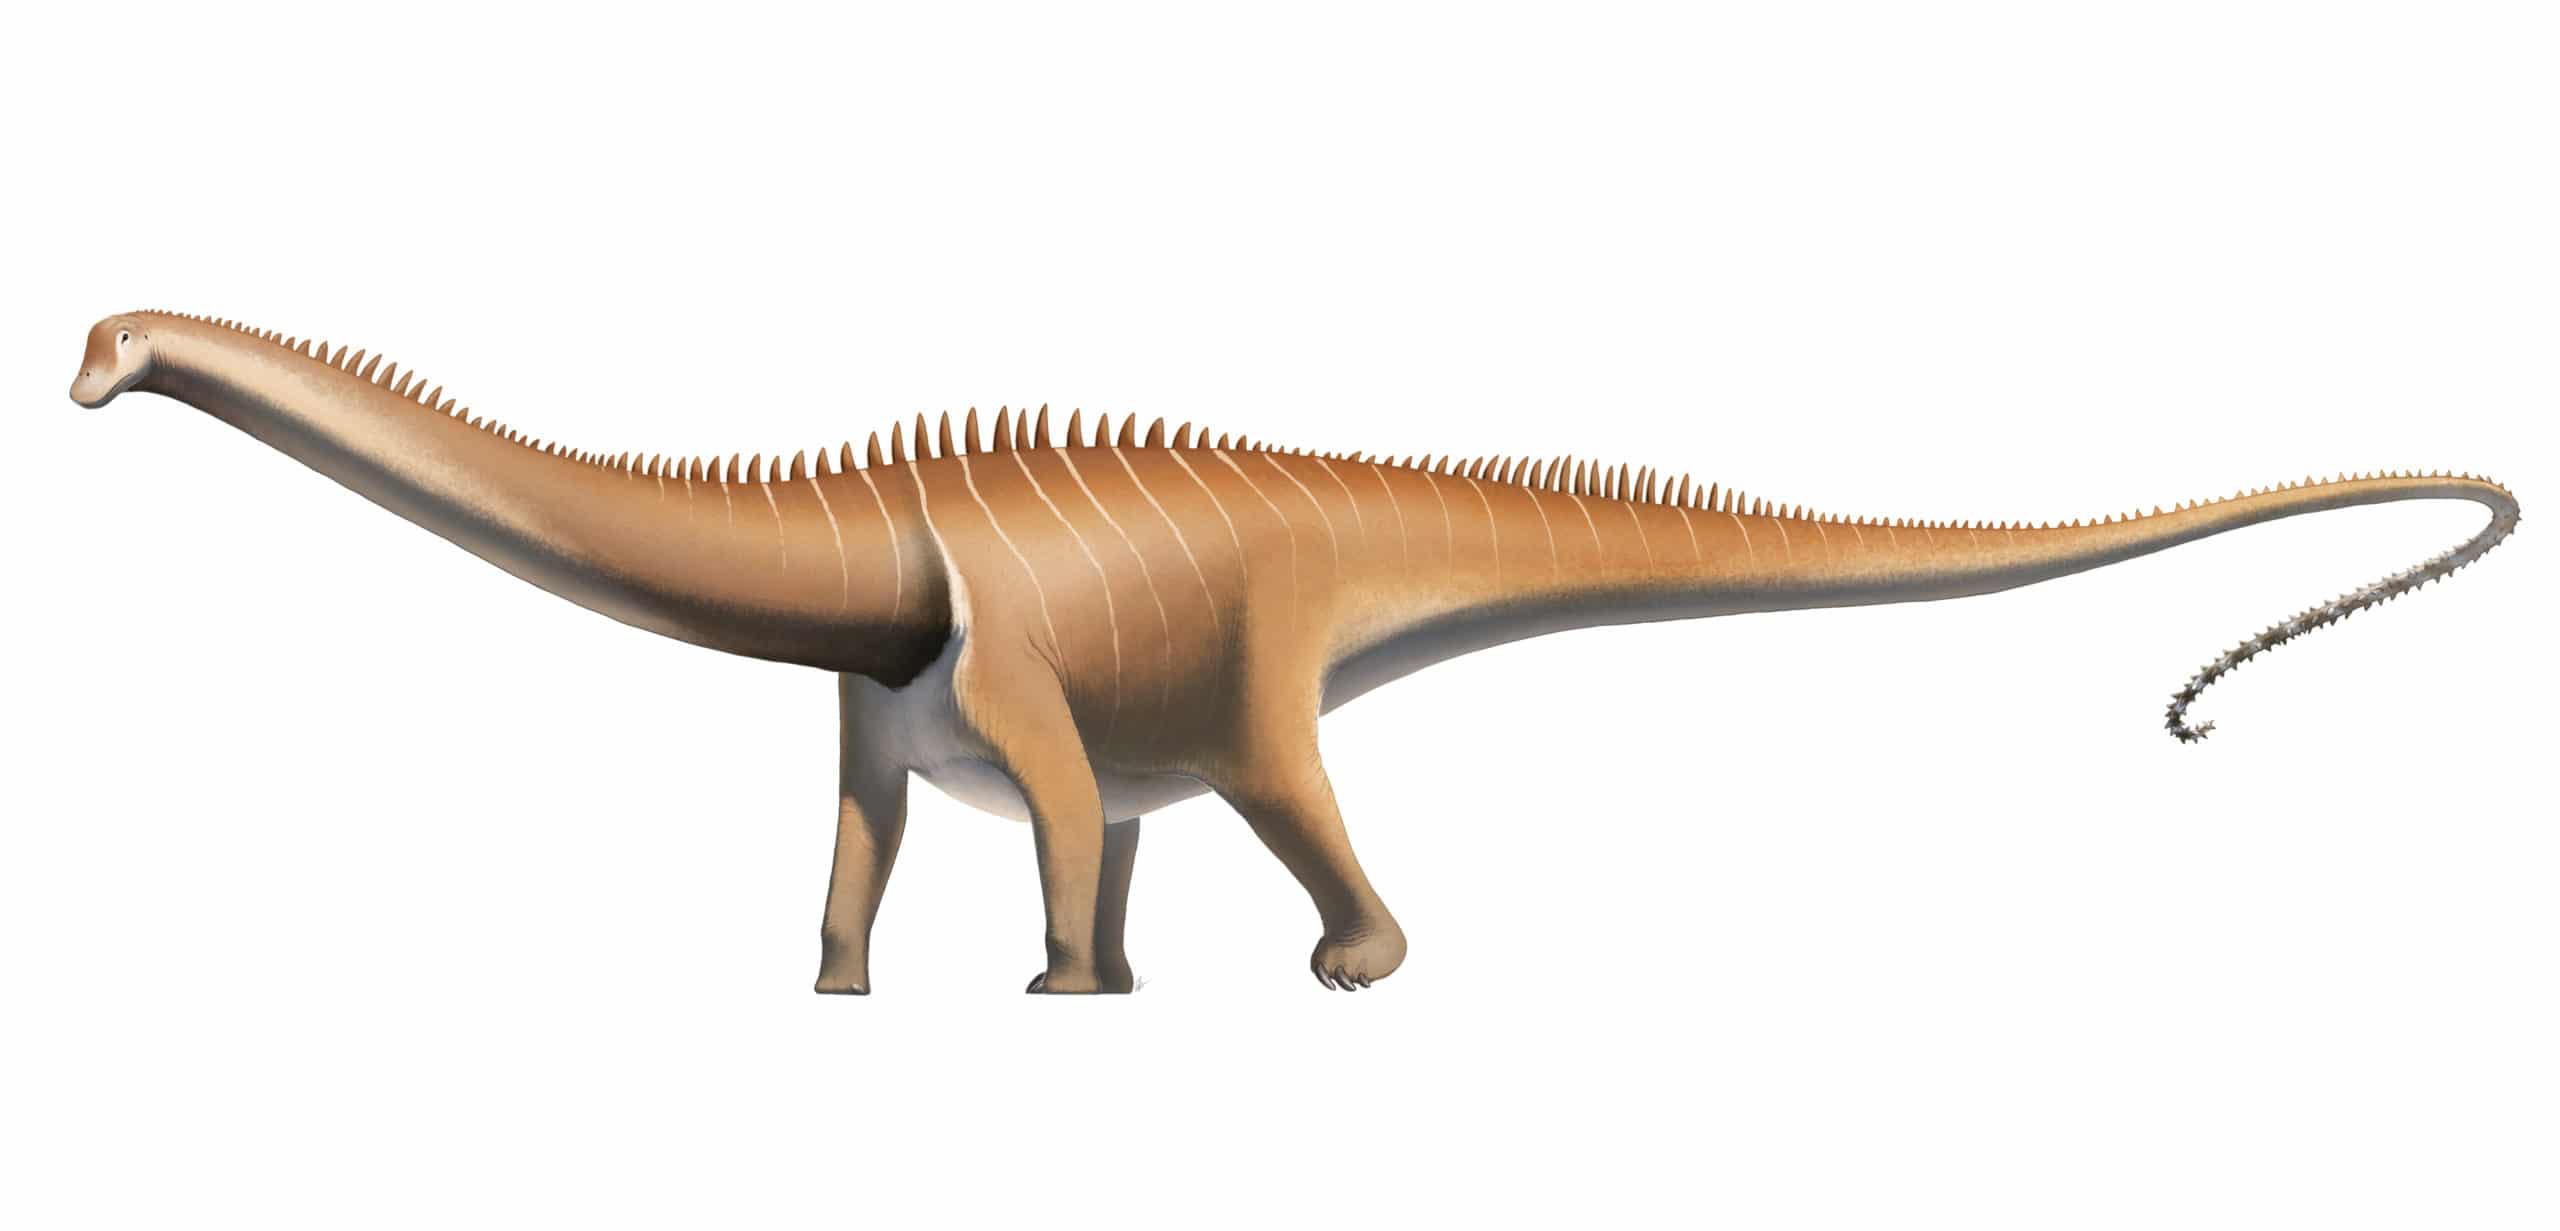
Diplodocus – Herbivore
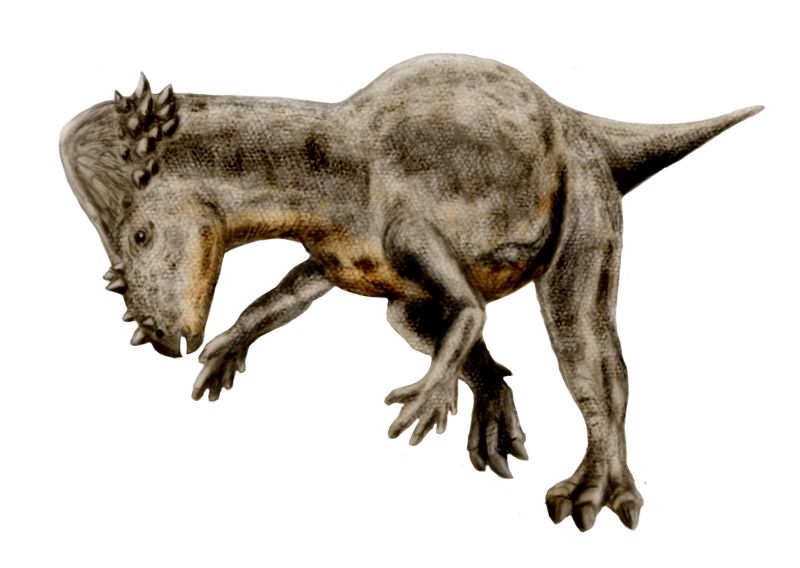
Pachycephalosaurus – Herbivore
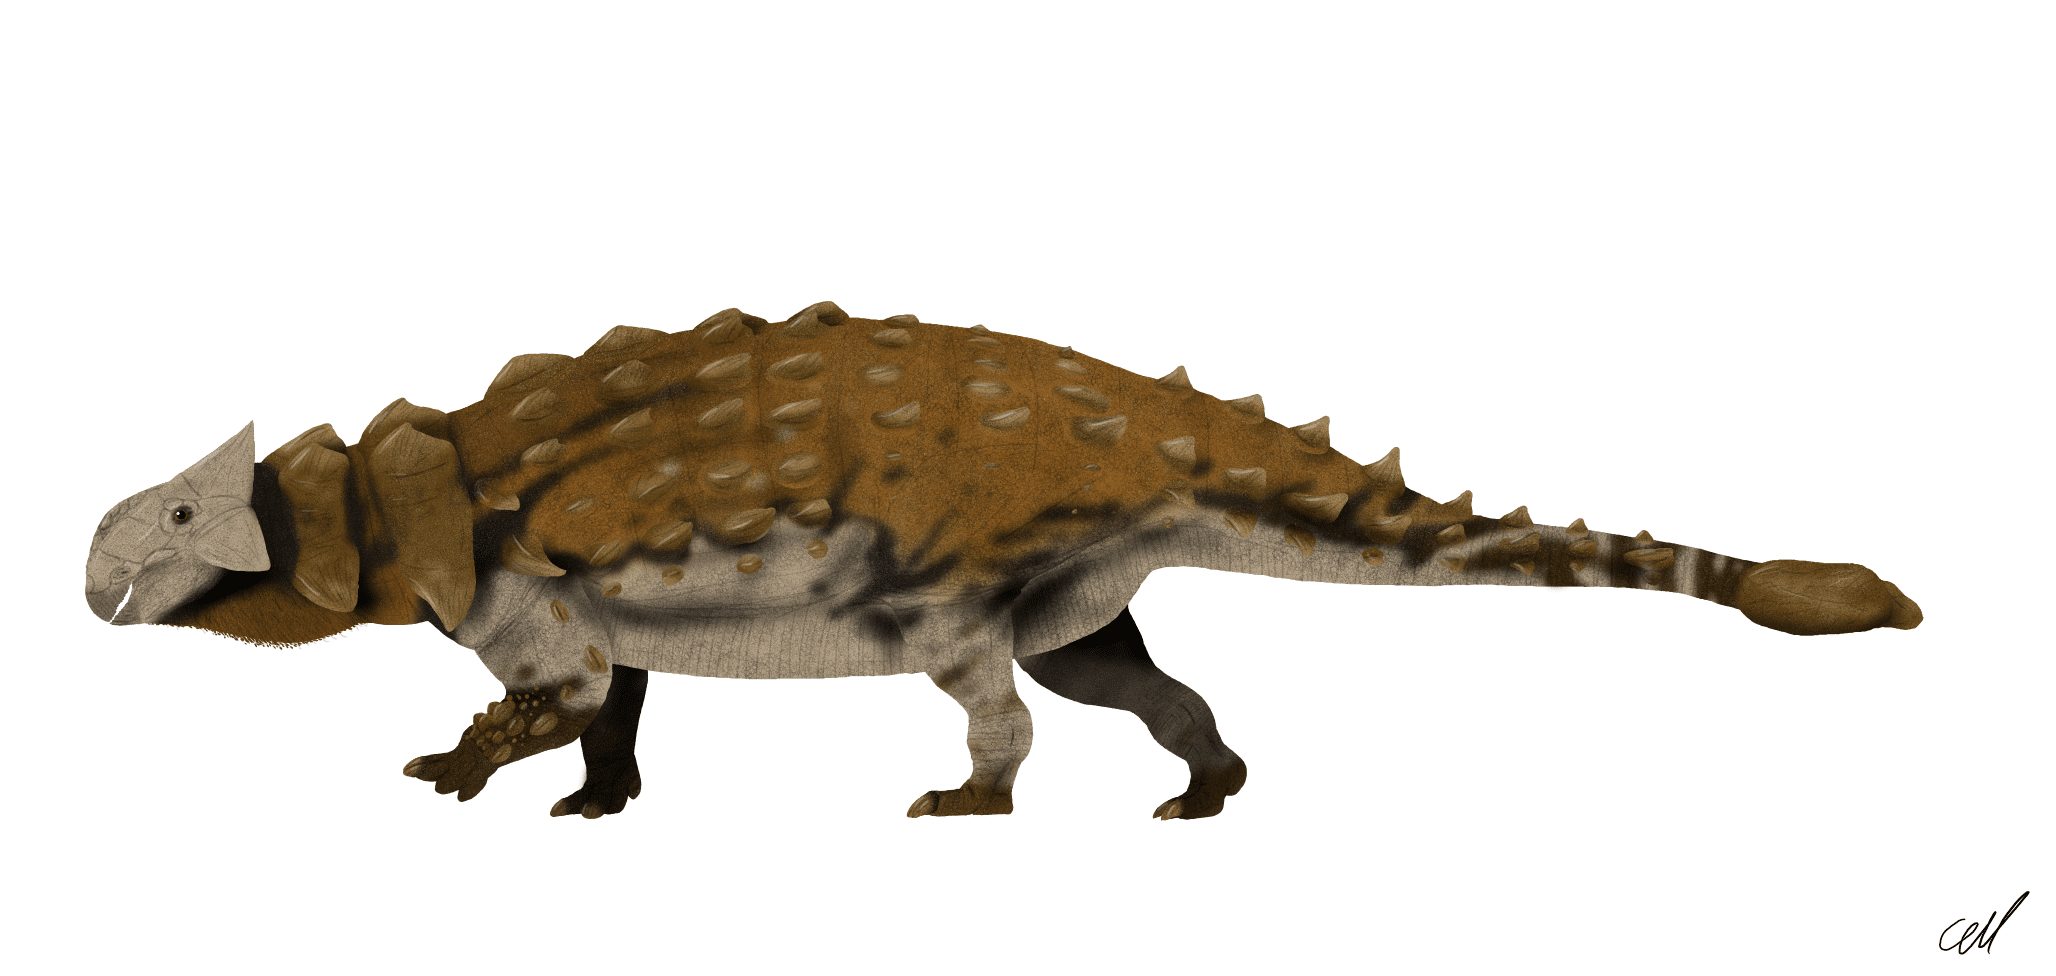
Ankylosaurus – Herbivore
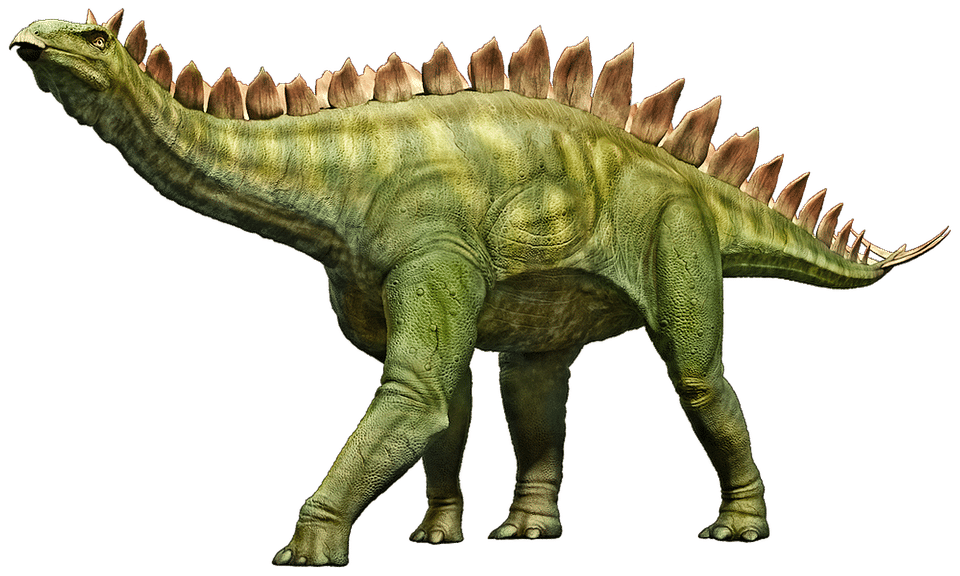
Stegosaurus – Herbivore
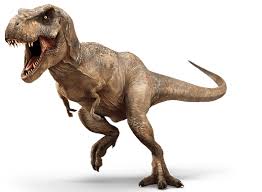
Tyrannosaurus rex – Carnivore
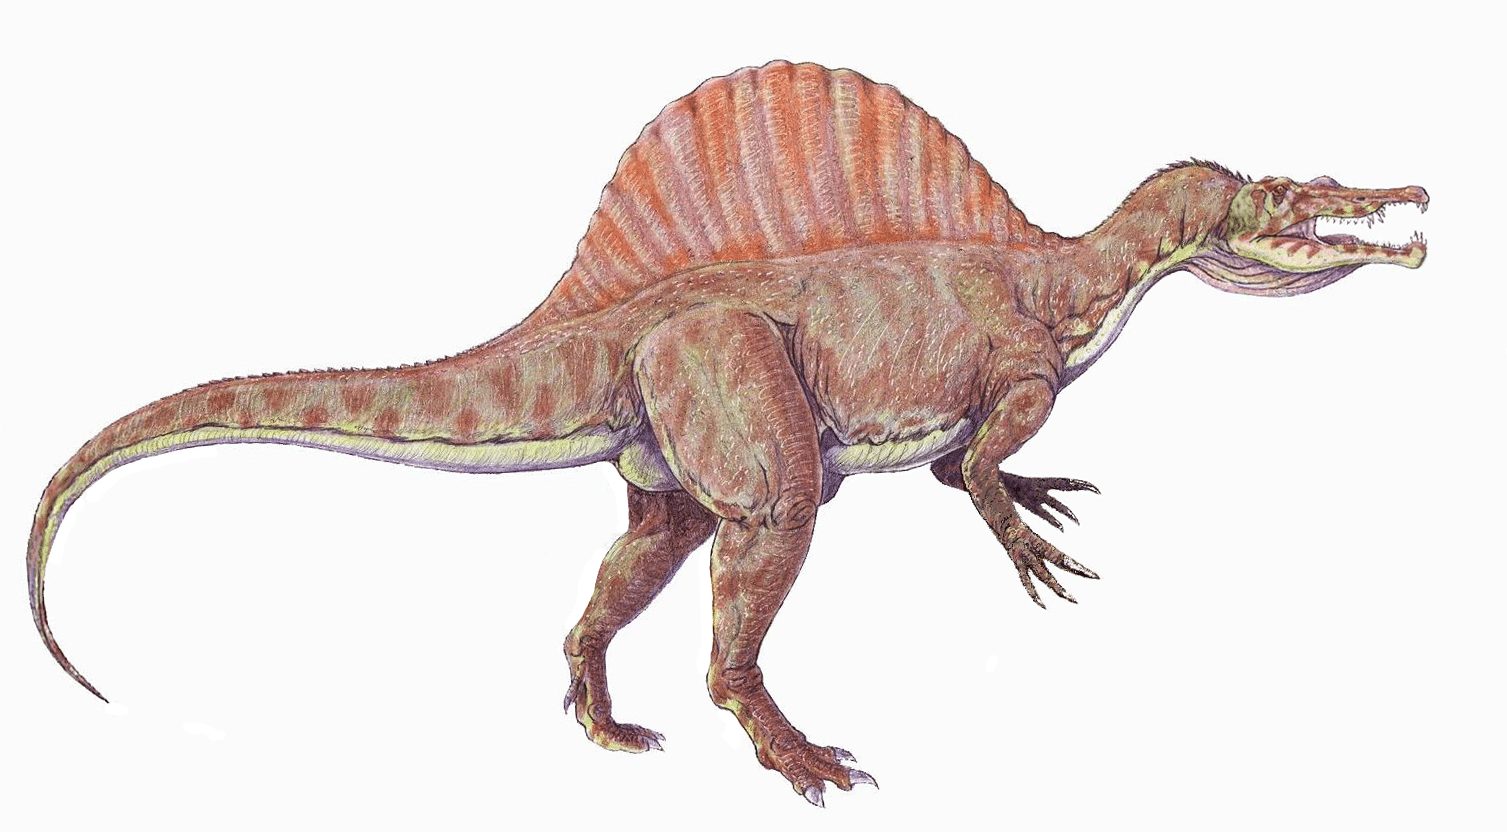
Spinosaurus – Carnivore
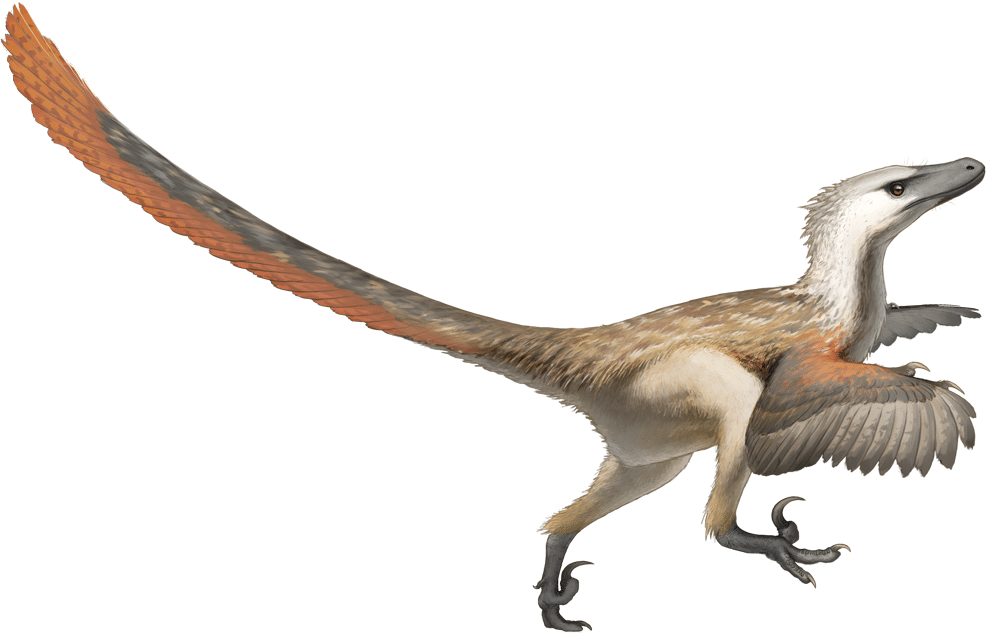
Velociraptor – Carnivore
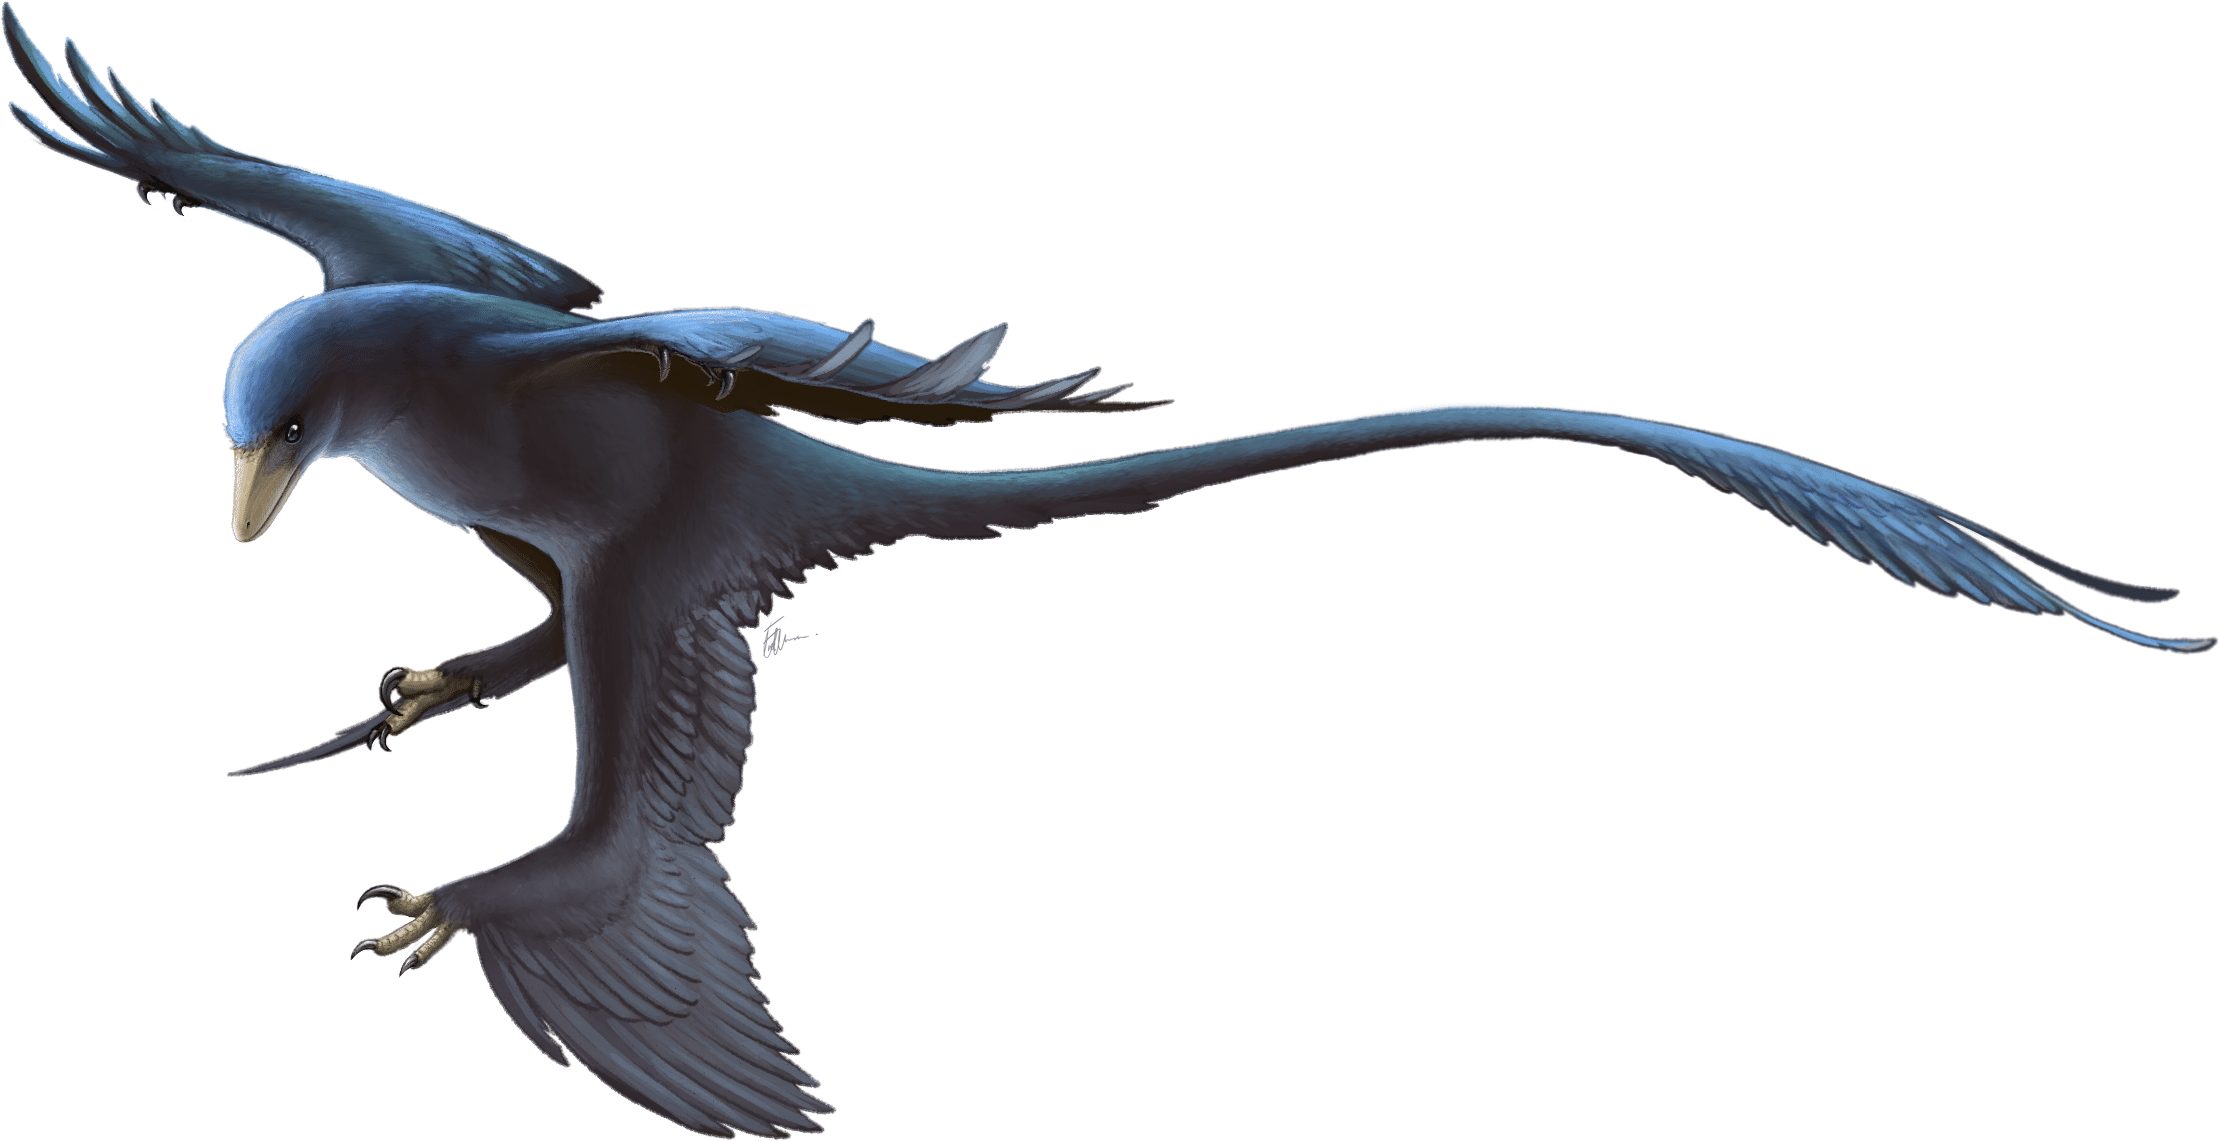
Microraptor- Carnivore

Archaeopteryx – Carnivore
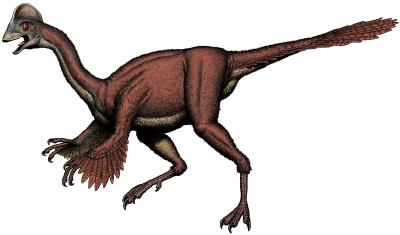
Anzu – Omnivore

Oviraptor – Omnivore
- Think about what adaptations help your dinosaurs to eat their favorite foods.
- Now, combine adaptations from your two dinosaurs to make an all new dinosaur that would be really great at eating that food.
- For example: I picked the leaves on the trees as my food card. I picked the Diplodocus and Triceratops cards because both are herbivores. I design a new dinosaur with a long neck and horns. The long neck helps my dinosaur reach the leaves, and the horns help it mark which trees it wants to eat leaves from.
- Using a piece of paper and pencil, make a sketch of your new dinosaur. You can get creative and color it if you like.
- Don’t forget to give your new dinosaur a name!
- Check out Challenge Two if you’d like to make a 3-D model of your new dinosaur and construct a habitat for it!
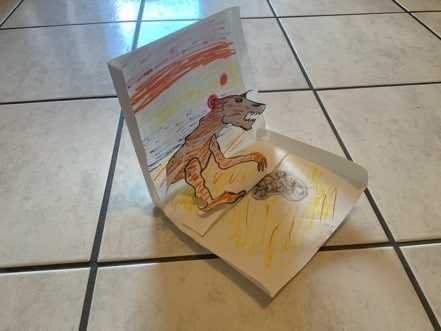
Challenge Two: Create a Diorama
Make a 3-D diorama that includes a 3-D model of your newly created dinosaur and its habitat.
- Gather materials to build a 3-D model of your newly created dinosaur and its habitat. See the suggested materials checklist and read through these instructions for some suggestions.
- You can use any materials you have at your house as long as your grown-up approves. Get creative and have fun!
- Here are some ideas to help you make a 3-D version of your dinosaur:
- Use play dough or aluminum foil to make a full 3-D model
- Use pipe cleaners to make a frame-like 3-D model.
- Use a piece of paper to make a paper doll-like model. Draw your dinosaur, color it and cut it out. Leave an extra piece at the bottom so you can fold that back and tape it to your diorama.
- Here are some ideas to help you construct the frame of your diorama:
- Use a shoebox or other box turned on it’s side.
- Tape or glue cardboard or construction paper to make a box-like structure. Your diorama will need to have a bottom, a back and sides to support the back and keep it standing.
- Follow these instructions to use a single sheet of paper to create a diorama.
- Take your sheet of paper and fold it in half hamburger style.
- Cut about 1/2 inch slits on the fold.
- Fold the 1/2 inch edges of either side of the paper (the sides where you cut the slits) towards the middle. These folds should be perpendicular to the rest of the paper.
- To make the backing of the diorama, stand up half of your paper (along the original fold) so it is perpendicular to the other half.
- Now tape the two corners of the folded edges so that the back half stays upright. This is the base and back of your diorama.
- Your diorama frame should look like this:
- Now that you’ve made your 3-D dinosaur and built your diorama frame , you need to decorate your diorama:
- Remember: Your diorama should reflect the habitat where your dinosaur would live. Think about the dinosaur’s needs like food, water and shelter.
- Color the bottom, back and sides.
- You can use materials from your house to represent plants, rocks etc. Or with grownup permission, you can go outside and collect natural objects to use!
