What’s the first thing you do before going to bed or upon waking up in the morning? For many people, it’s checking the weather. This simple activity sets the tone for the rest of your day. It will determine the outfit you wear, whether you walk or ride the bus and so much more. It can be as easy as checking an app or watching the morning news, but where’s the fun and excitement in that? With a little effort, you can make your very own thermometer that will provide an up-to-the-minute indoor or outdoor temperature, depending on where you leave it.
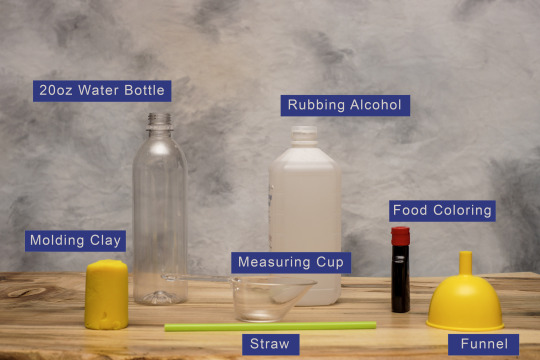
What You’ll Need
· A 20 ounce plastic soda bottle
· A small funnel
· Water
· Rubbing alcohol
· Food coloring
· Straw
· Modeling clay
· Permanent marker
· Bowl of hot (but not boiling!) water
· Bowl of ice
Directions
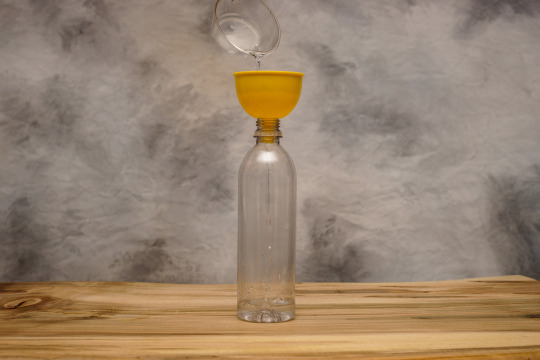
Fill your bottle halfway with 5 ounces (a little more than half a cup or about 150 ml) of water and an equal amount of rubbing alcohol.
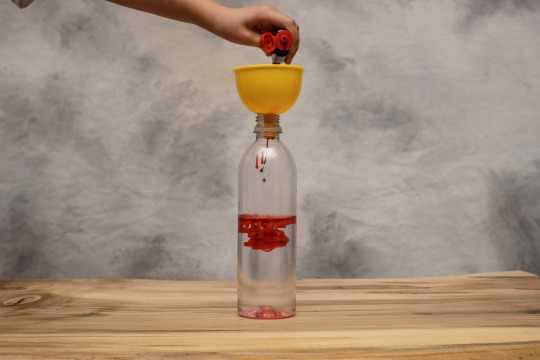
Add a few drops of food coloring to the mixture. About 1-3 drops should do the trick!
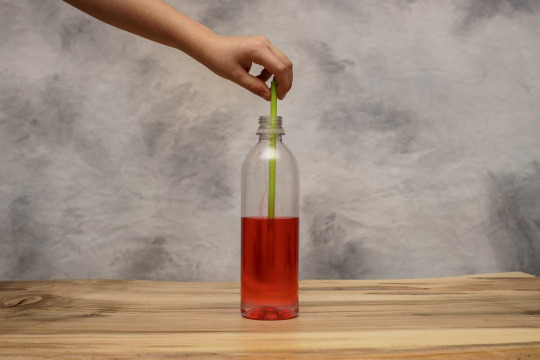
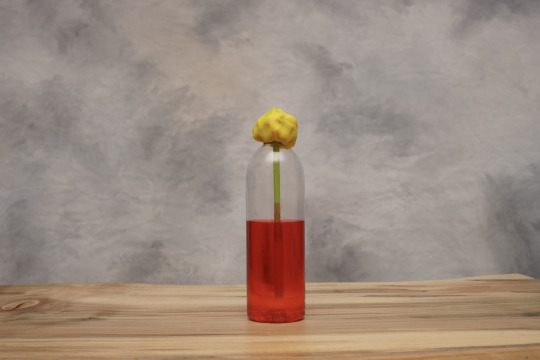
Now drop your straw into the bottle, but don’t let it rest on the bottom. Doing so will block the mixture from entering the straw. Leave a little bit of room so that the straw can fill. Wrap the modeling clay around the opening at the top of the bottle to create a seal. Do not cover the top opening of the straw. Try and keep the straw centered inside the bottle.
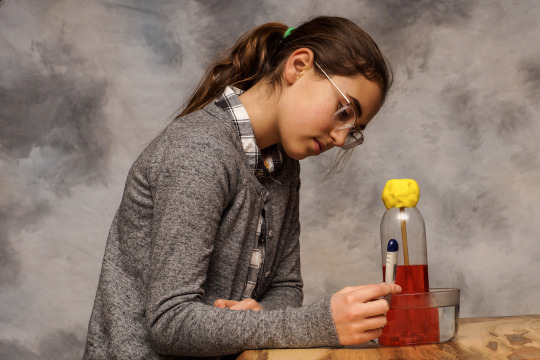
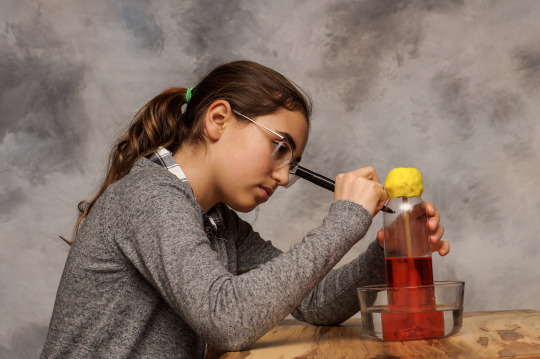
It’s time to calibrate your temperatures. You can use the store-bought thermometer for this. Start at room temperature and look for the highest point of the liquid in your straw. Mark that spot’s temperature on the bottle. Then set the bottle in a bowl of hot (but not boiling!) water and mark that temperature. Lastly, set the bottle in a bowl of ice and wait two minutes. Mark that temperature on your bottle.
Now you have cold, moderate and warm temperatures on the bottle. When you wake up tomorrow morning, use your new thermometer to see what the temperature is like!
So how does this work?
Well, the warmer temperatures cause the liquids to expand. This forces the liquid up the straw, the same way that mercury moves in a thermometer you would buy at the store. In colder temperatures, the opposite happens and the liquid contracts and slides back down the straw.
Fun Fact
The first medical thermometer was invented by Sir Thomas Allbutt in 1867. It could take a person’s temperature in about five minutes. Do you think you could wait that long?
Learn more with Nature Lab.