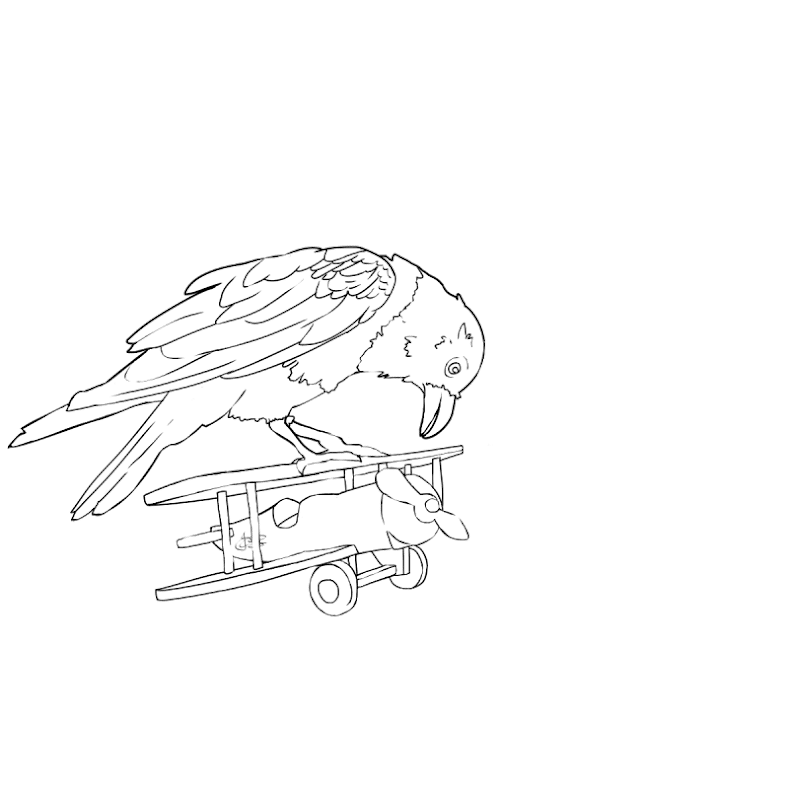
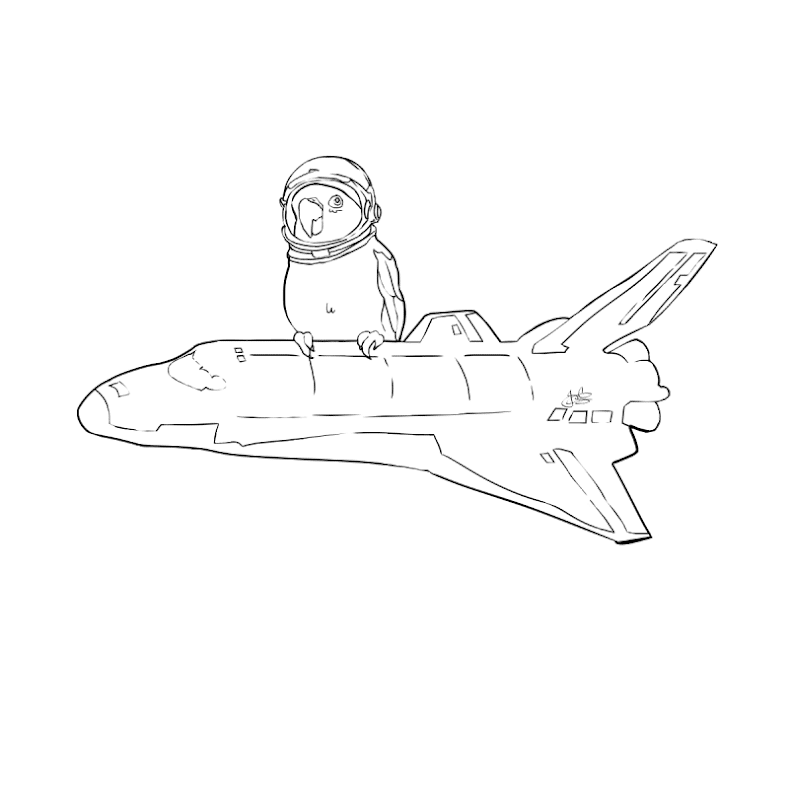
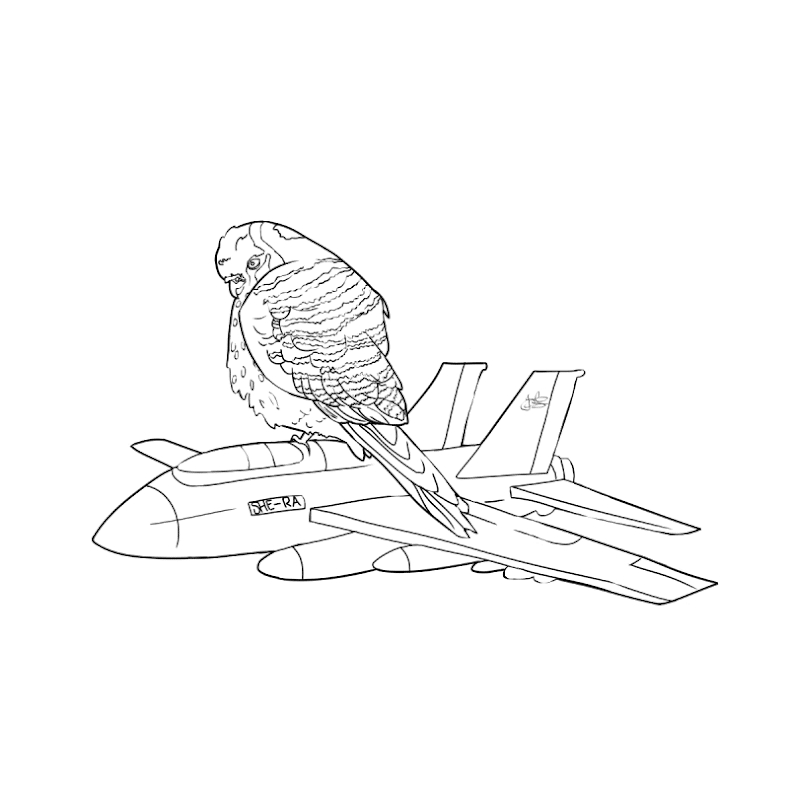
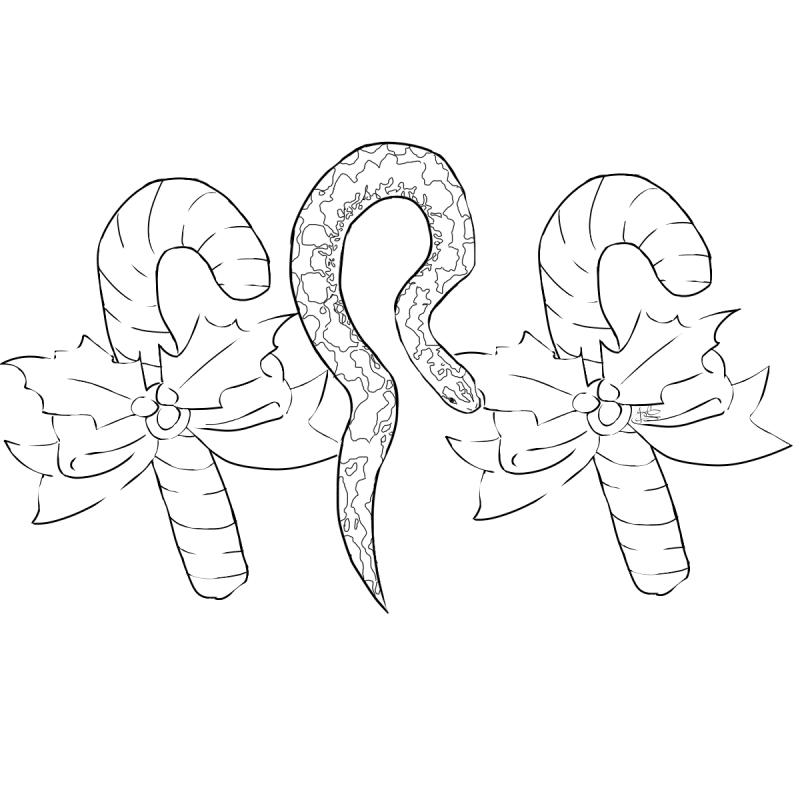
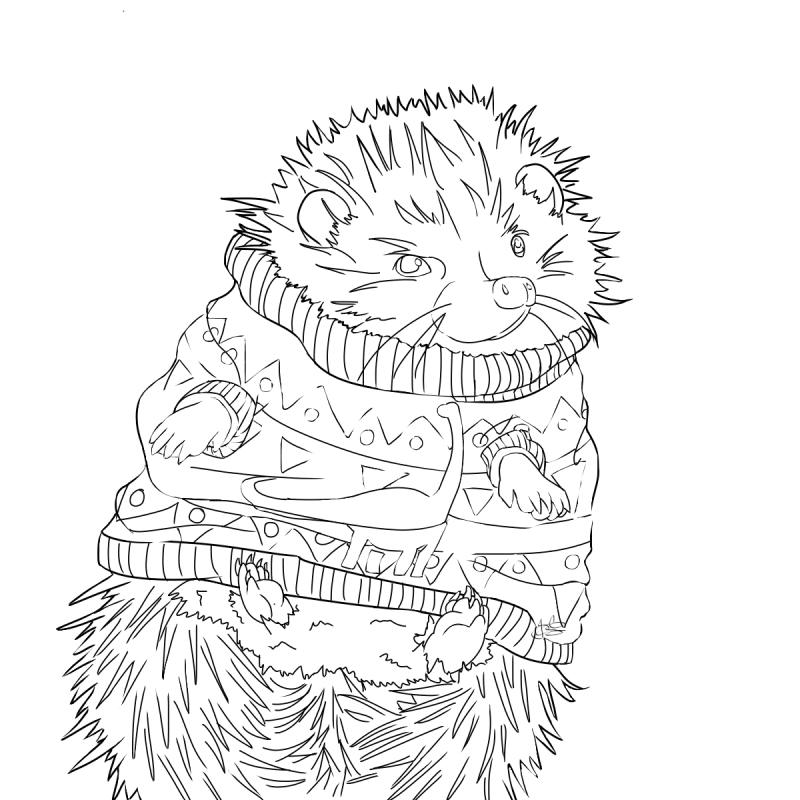
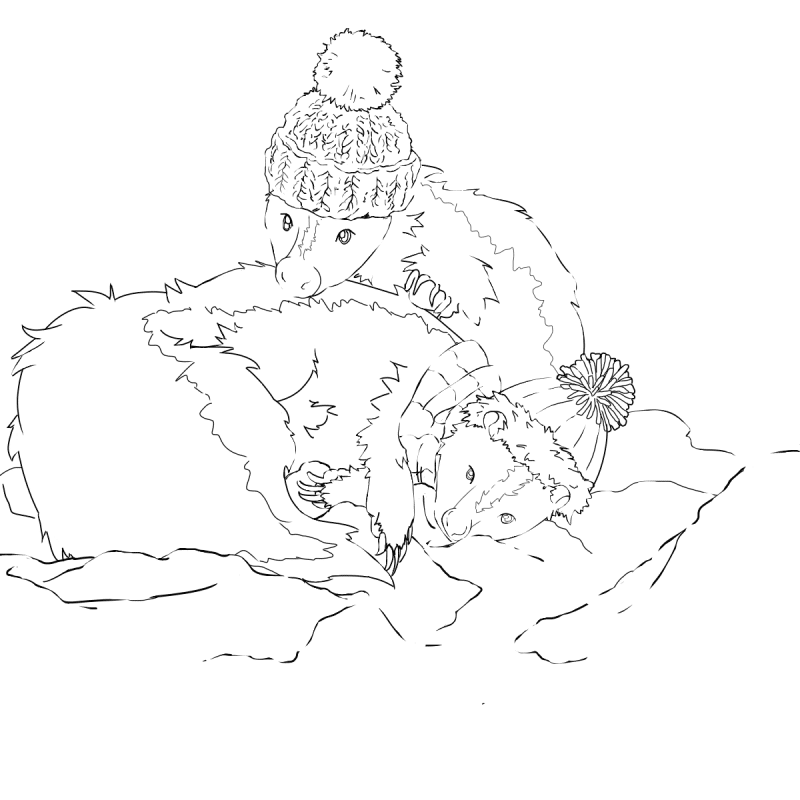
Have fun coloring images featuring animals from our living collection this week drawn by Gallery Presenter and Floor Captain, Jess Sperdute. You can meet some of the animals in the living collection during our Virtual Live Animal Encounters!
Sensory Bin Idea – Flying Animals Bin
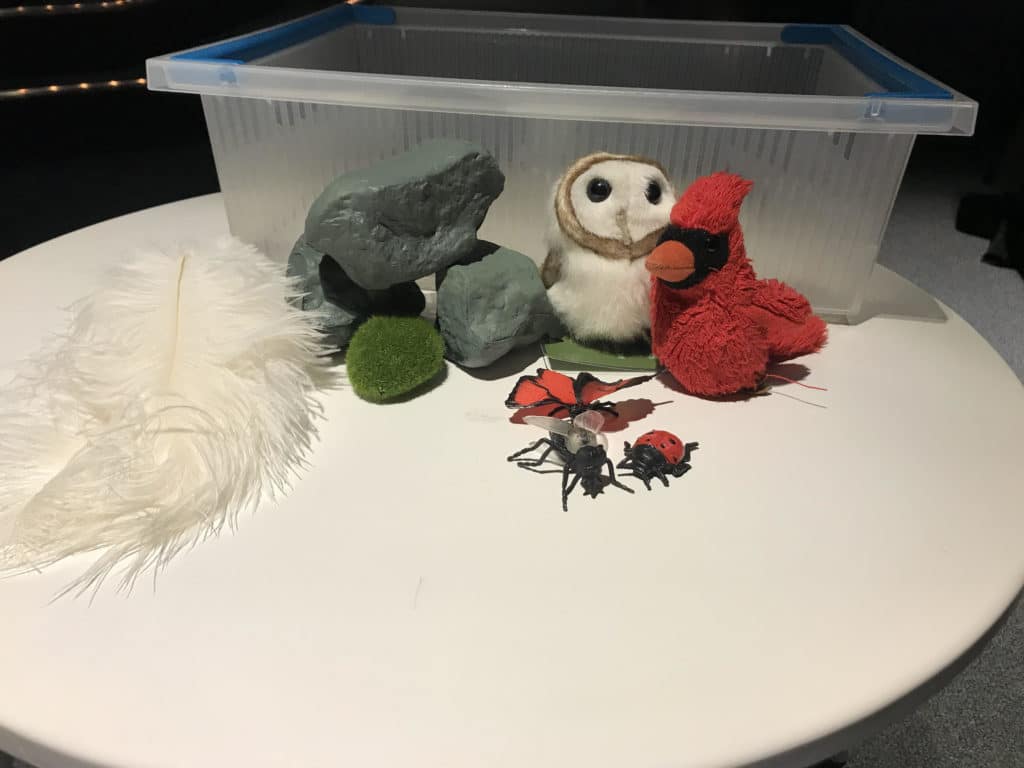
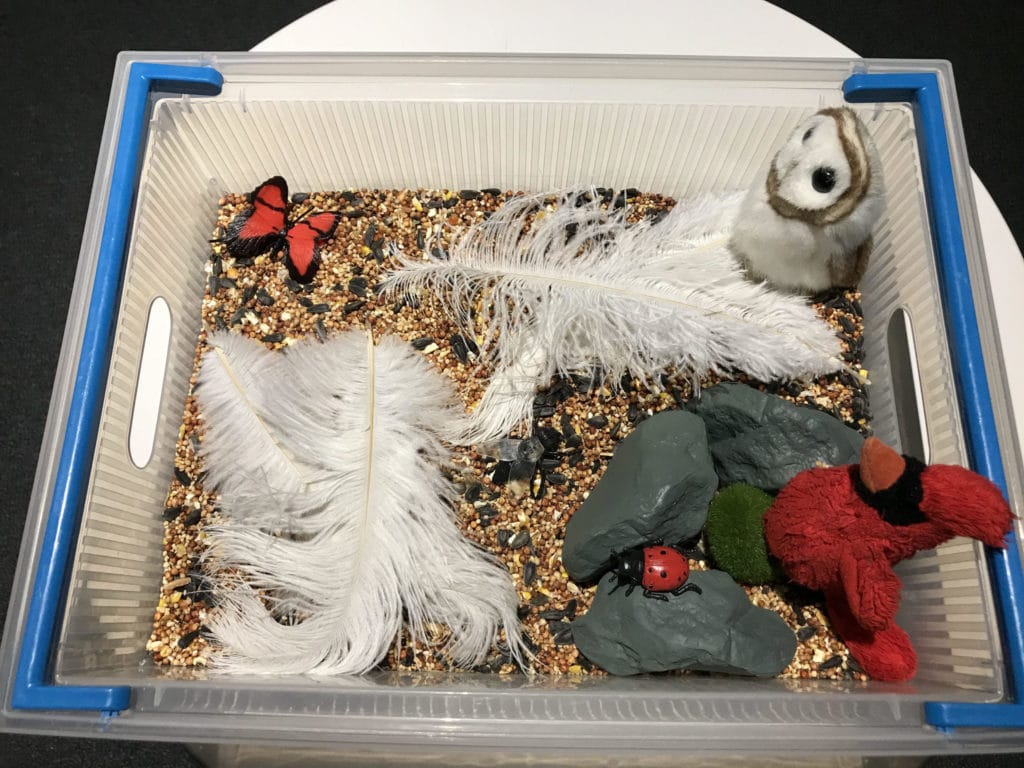
We have a great sensory bin idea for you–create a Flying Animals Sensory Bin with materials you have at home!
What is a Sensory Bin?
Sensory bins are great tools for younger children or children who might have sensory processing disorders to experience some relaxed sensory learning activities. For example, a sensory bin might include textures that encourage fun or textures that you might want your child to get used to (like sand perhaps) as well as goaled learning activities, like foam letters or numbers. In this activity, we suggest including toy animals to learn more.
Flying animals living in different ecosystems use the materials they have at their disposal to their advantage, but not every ecosystem is the same; cardinals may use a very different strategy when building their nests up high in trees than a sandpiper, who typically construct simple nests near the shores where they search for food. The same can be said for various insect species and even mammals like bats. You can choose multiple flying animals as inspiration for a sensory bin, too!
Materials Recommended
- 1 small/medium-sized bin
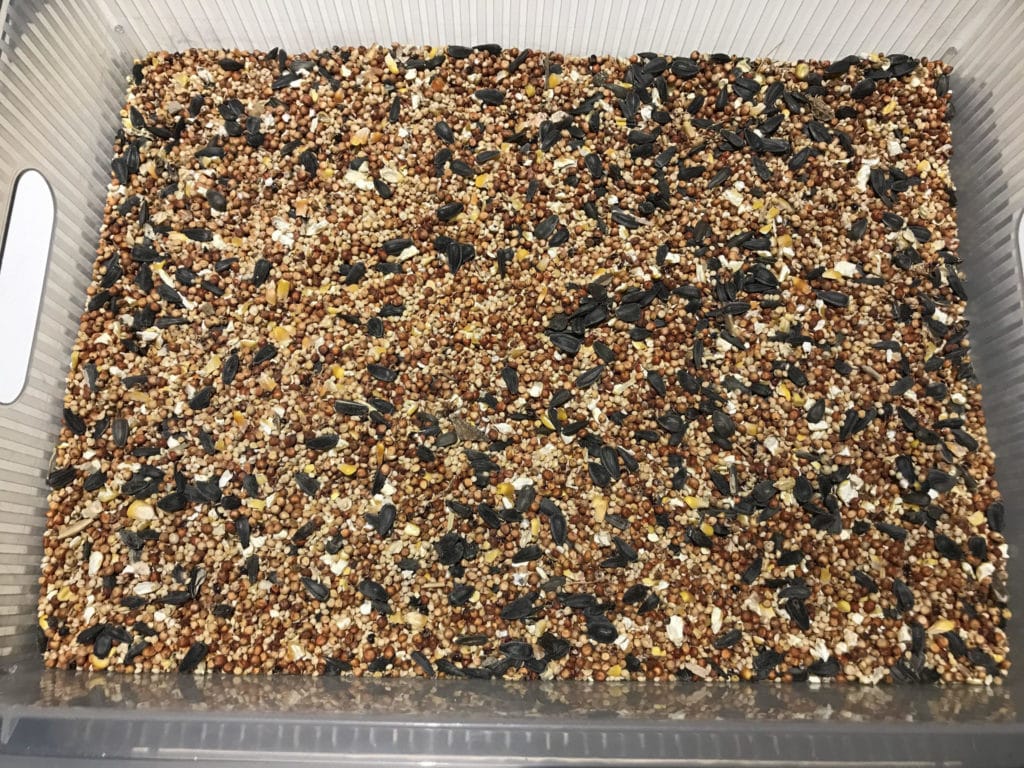
- Bird seed (or a granulated substance like rice or sand)
- Plastic insects/birds/bat toys
- Sticks or fake grasses
- Rocks
- Feathers*
*Be careful not to use feathers you find outside—these can carry a lot of different germs! Use craft feathers instead.
Directions
- Pour enough bird seed or granulated substance into your large container to cover the bottom completely.
- Decide what animal you want your bin to focus on (you can also create an entire ecosystem with multiple animals!).
- Where does this animal live? What types of materials would be in its habitat (sticks, rocks, etc.). If the animal lives in a cold place, how would they keep warm? What would they need in a habitat with little water?
- Place your animals and other materials inside the sensory bin. Get creative! Do some of your flying insects like to burrow? Place them under the seeds and out of sight.
We’ll be working on more sensory friendly content as soon as we can, find it on our Sensory Friendly Saturdays Page.
For more activities to complete with your household, check our our Super Science Saturday Page.
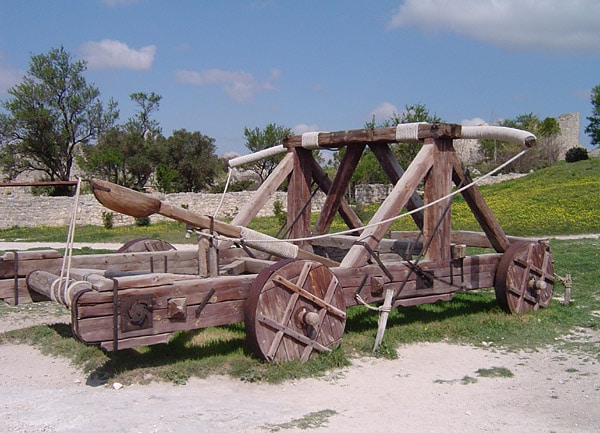
Super Science Activity: DIY Catapult
By Jane Thaler
Flight is possible because of the four basic forces of aerodynamics: lift, weight, thrust, and drag.
Lift and weight are opposing forces that, when controlled, allow things to stay up in the air. Thrust and drag are similarly opposing forces that either pull or resist movement through space. To be able to get into the air, animals and machines must be able to produce the two forces of lift and thrust against the forces of weight and drag.

Birds and helicopters have mechanisms that produce lift and thrust simultaneously. Birds do this through a twisting of their wings and helicopters accomplish the same idea through a single rotor. This allows them to conveniently take off for flight by moving straight up into the air. Not all flying machines can do this, however, and most require some sort runway to gain enough speed for taking off amongst all these flying forces. This can be fairly inconvenient when you don’t have a lot of time or space. Say you are trying to takeoff from an aircraft carrier in the sea for example that only has 300 feet of runway instead of the 2,300 feet needed for your average aircraft to takeoff. What you need, and what engineers have built, is a machine that can get those planes from 0 to 170 miles in less than 2 seconds. Aircraft carriers use steam-powered catapults to shortcut the force-based issues of flight takeoff.
Spring loaded catapults were used to launch aircraft beginning in 1903 and catapults were used on U.S. Navy ships as early as 1915, but their history as a tool for launching objects into the air for a distance began in 400 BC as weapons in siege warfare. Catapults work through a sudden release, or conversion, of stored potential energy to propel objects through the air. Essentially, energy stored as tension or torsion is converted during the release and transferred to the launched object. This energy of motion creates enough lift to get an object in the air while the force and angle of release provide the thrust necessary to cover long distances.
Let’s see how they work by building our own catapult! In this activity you will being using elastic potential energy stored in the tension of a wooden craft stick.
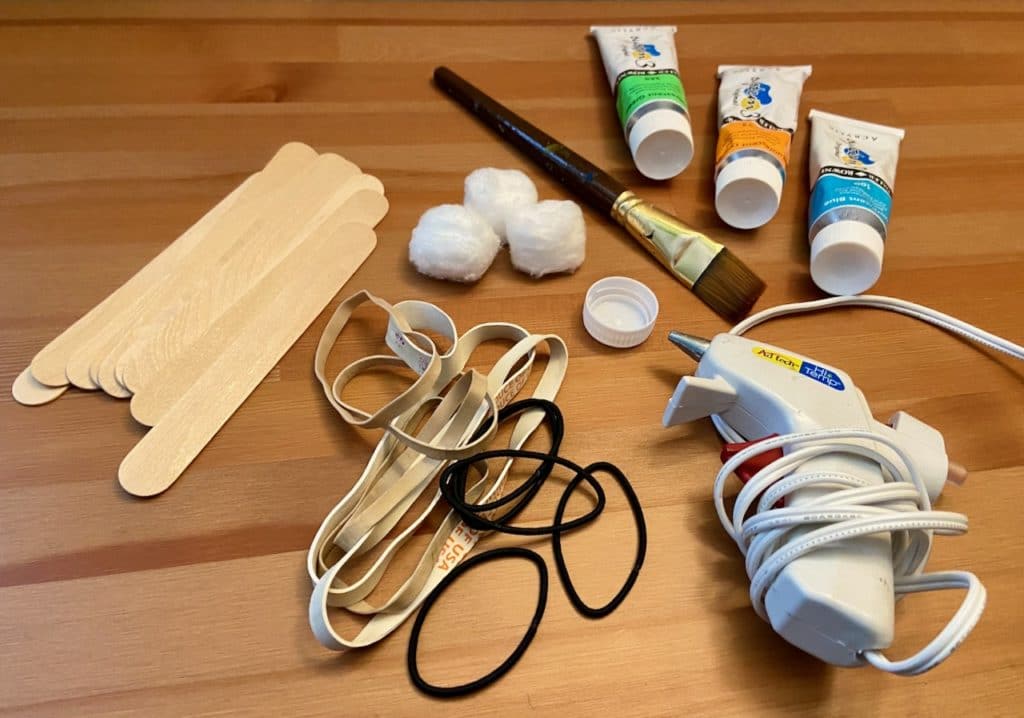
What You’ll Need to Make Your Own Catapult
• 10 craft sticks
• Rubber bands
• Plastic bottle cap – Or some other small, lightweight bucket
• Glue
• A cotton ball or small ball of crumpled paper
• Paint, markers, or other decorations – This is entirely optional
Directions
- (Optional) Decorate the craft sticks and bottle cap to your liking and wait till dry. It is much easier to do this before you begin assembling your catapult.
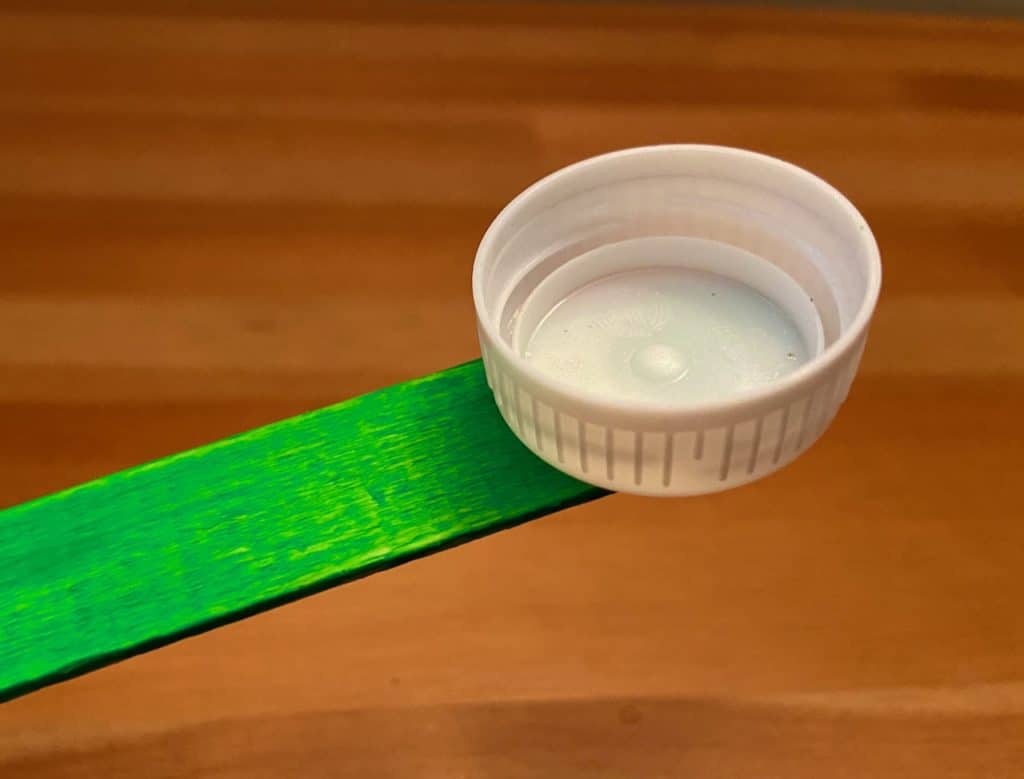
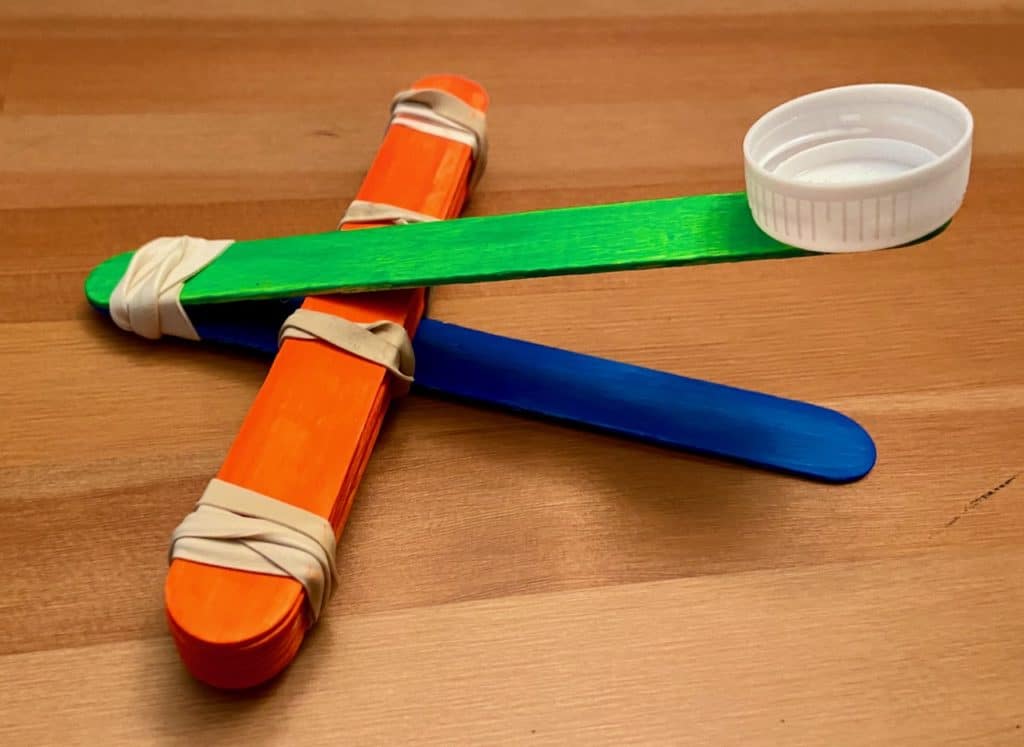
- Glue plastic bottle cap on the end of a craft stick facing up like a cup. Place aside to let dry. This will be the launching stick.
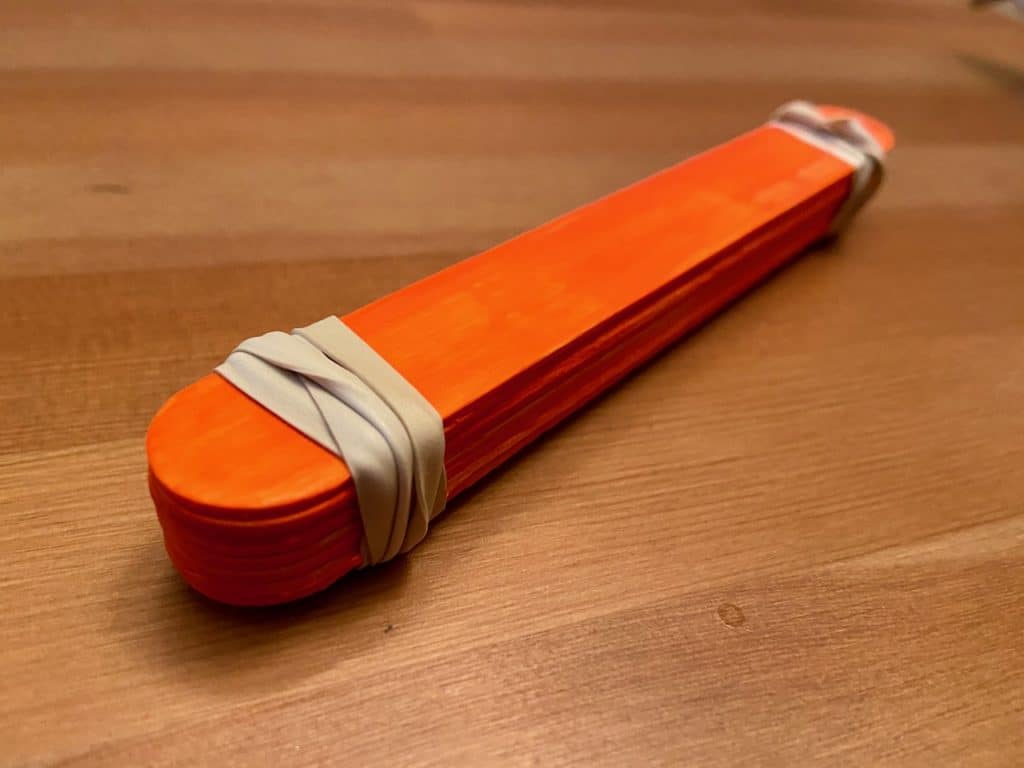
- Stack 8 craft sticks together. Wrap both ends of the stack with rubber bands to secure them together.
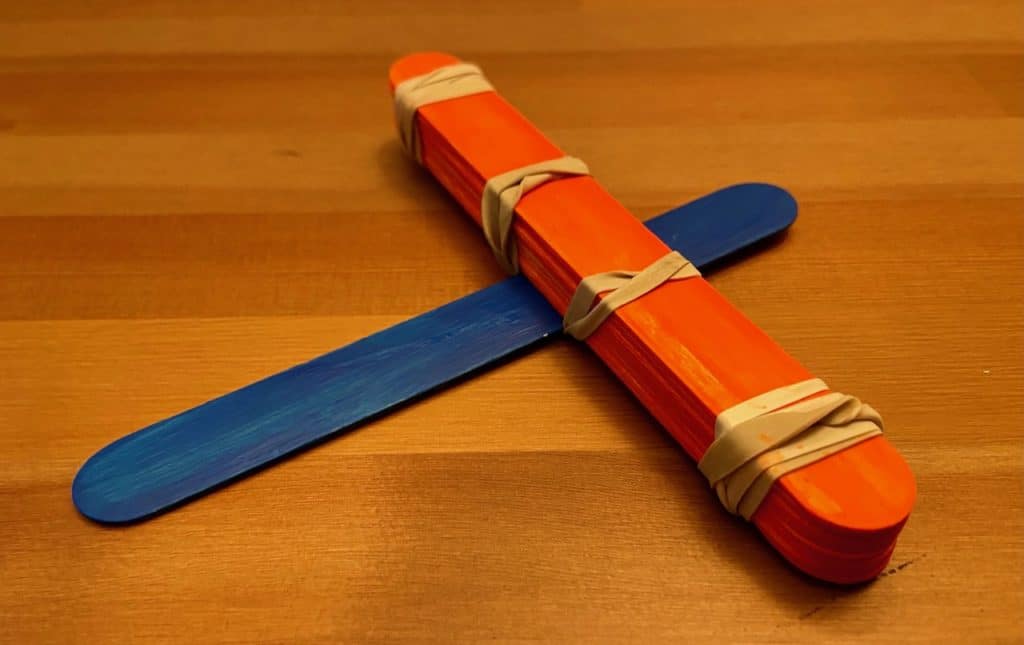
- Place a single craft stick on the bottom of the main stack at a perpendicular angle. Secure this cross shape with rubber bands wrapped in an X around the center.
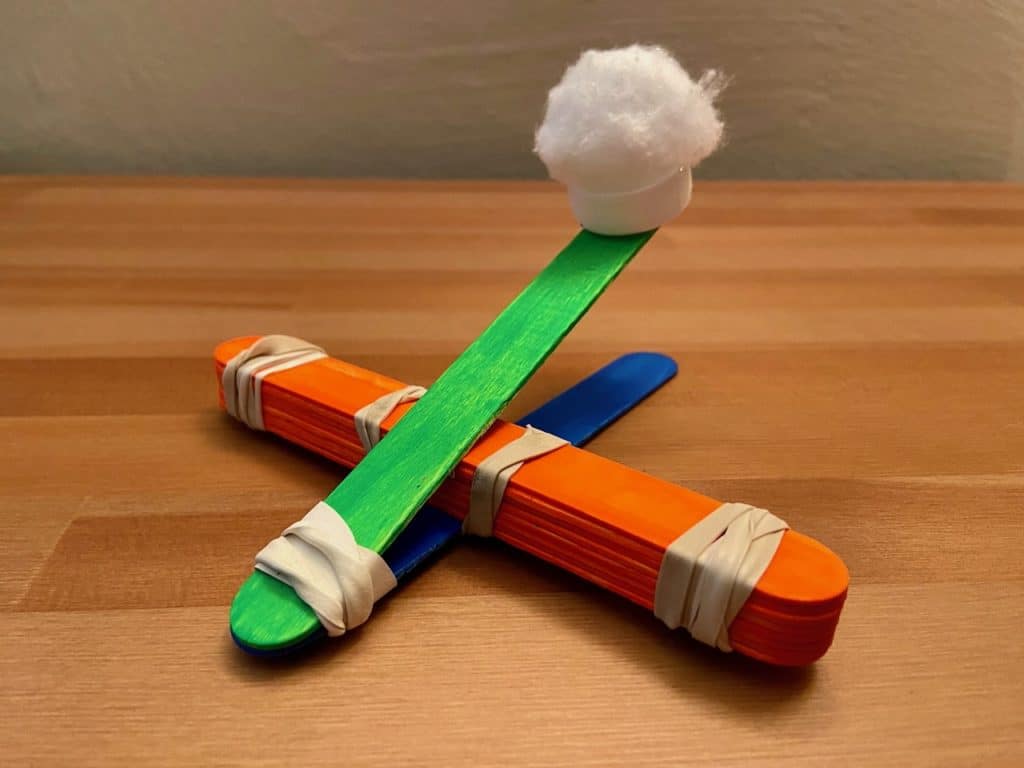
- Attach your launching stick (bucket side up) on the other side of the stack, also perpendicular so that is lines up with the bottom stick. Attach the launching stick to the bottom stick using a rubber band. This will create a V-shape.
- Put your catapult on a flat area in an open space and place a cotton ball in the cup on the launching stick.
- Push the cup down a little bit and let go. Try changing up the how far you push the cup down before launching.
Observe:
Does your ball fly higher or lower when you push down a lot compared with when you push down a little? Does it land farther or nearer? Did the flight path change? What else do you observe?
Jane Thaler is a Gallery Experience Presenter in CMNH’s Life Long Learning Department. Museum staff, volunteers, and interns are encouraged to blog about their unique experiences and knowledge gained from working at the museum.
Snowstorm in a Jar Activity
Winter storms can appear out of nowhere and grow intense quickly throughout the northern hemisphere, but with a little science, you can control your own snowstorm at home! Follow this easy recipe below and remember to ask a grownup for help!
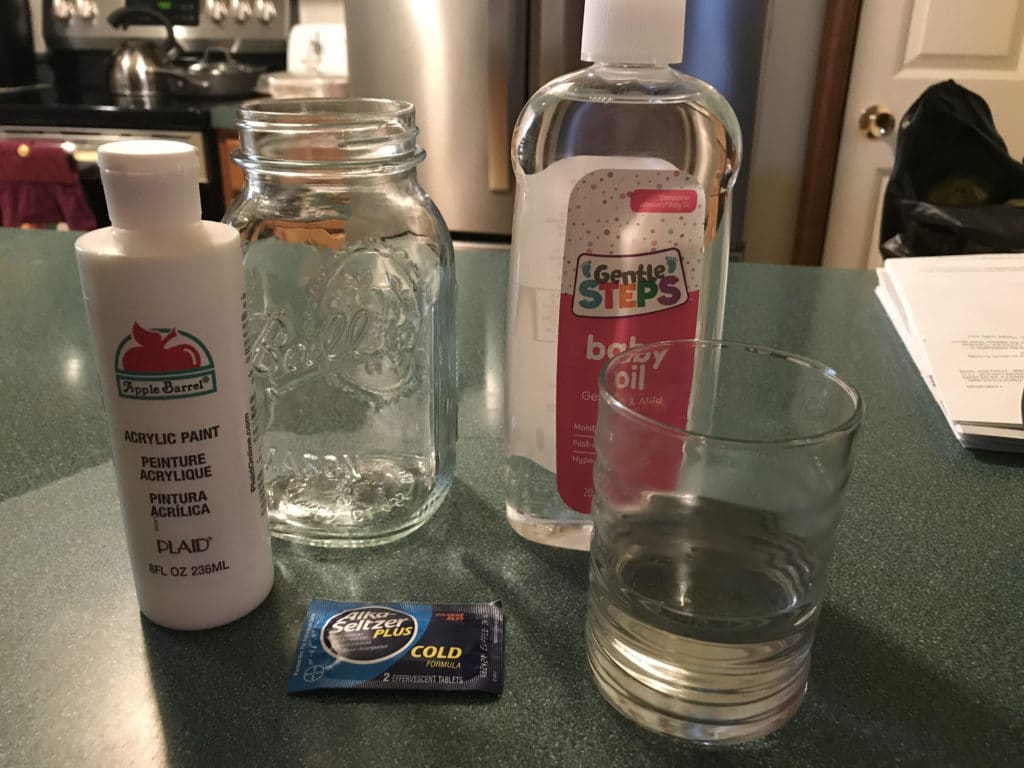
What You’ll Need
Directions
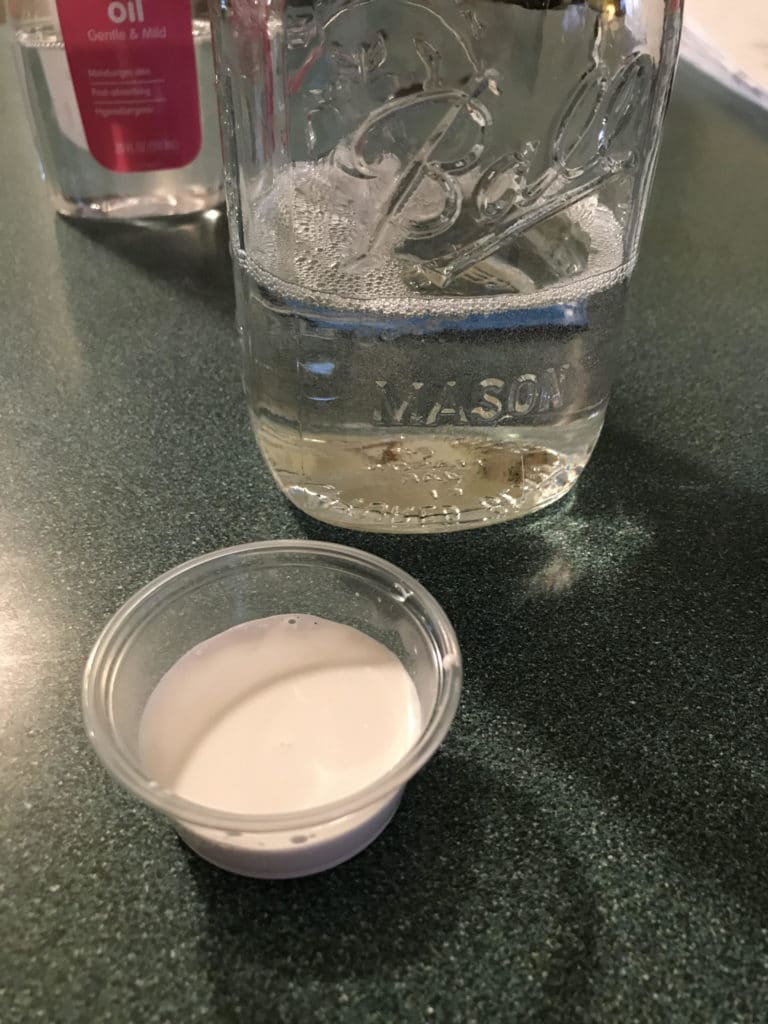
- Pour enough baby oil into your jar to fill it three-fourths of the way full.
- In a bowl, combine water and paint in equal parts.
- Optional: add glitter and food coloring to bowl as desired.
- Pour your water and paint mixture into the jar.
- Drop in an Alka-Seltzer tablet, making sure to clear the space in case of spills.
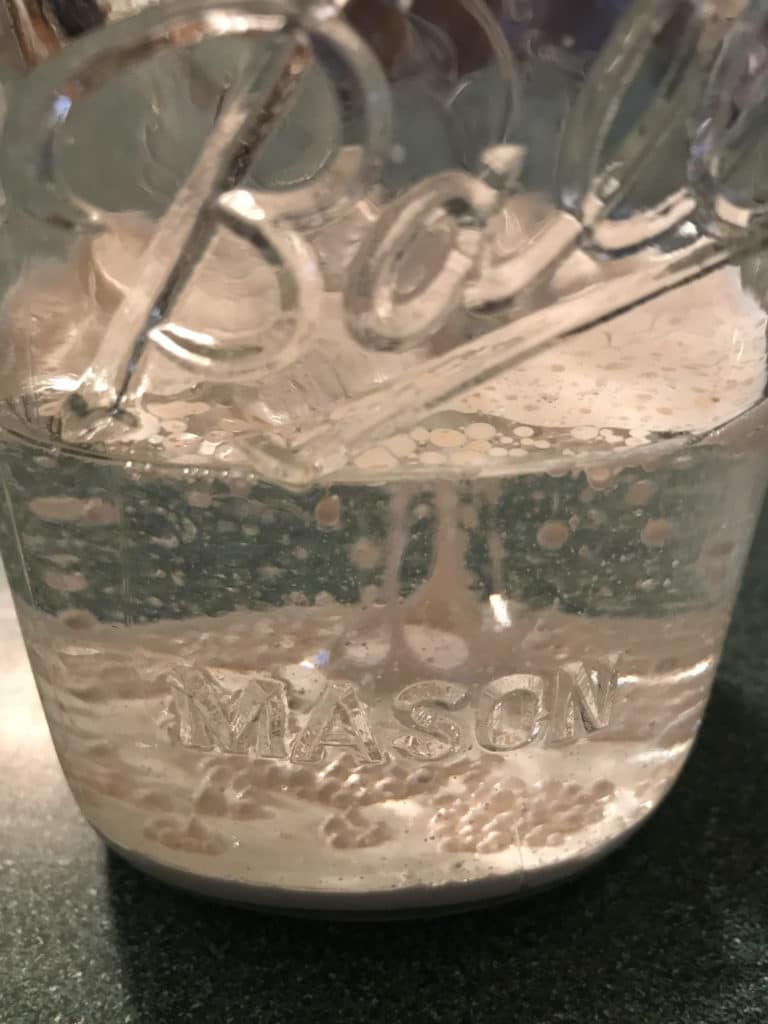
- Watch what happens!
What’s Happening?
The baby oil isn’t as heavy as water, meaning your water and paint mixture should sink to the bottom of the jar. So why did it jump back up and down? When Alka-Seltzer begins dissolving in the water, it releases one of its ingredients—sodium bicarbonate, also known as baking soda, which reacts with the dioxide in water to create carbon dioxide gas. This creates upward pressure, making the water and paint mixture rise. However, the oil creates downward pressure to immediately force the mixture back down.
Now that you can make a snowstorm, try gathering some more data! How long does it take for the “snow” to settle down? What happens when you put in another Alka-Seltzer tablet after the first one has melted? Be sure to share your results with the #MuseumFromHome!
Make Blubber Gloves Activity
Blubber is a thick layer of fatty tissue under the skin of all cetaceans (whales and porpoises), pinnipeds (seals and walruses), sirenians (manatees), and polar bears. Blubber is the primary fat storage for animals that feed and breed in different parts of the ocean or in the Arctic. It’s kind of like how we dress up in layers before going outside to play in the snow. Want to test how it really works? Follow these simple instructions to make your own blubber glove!
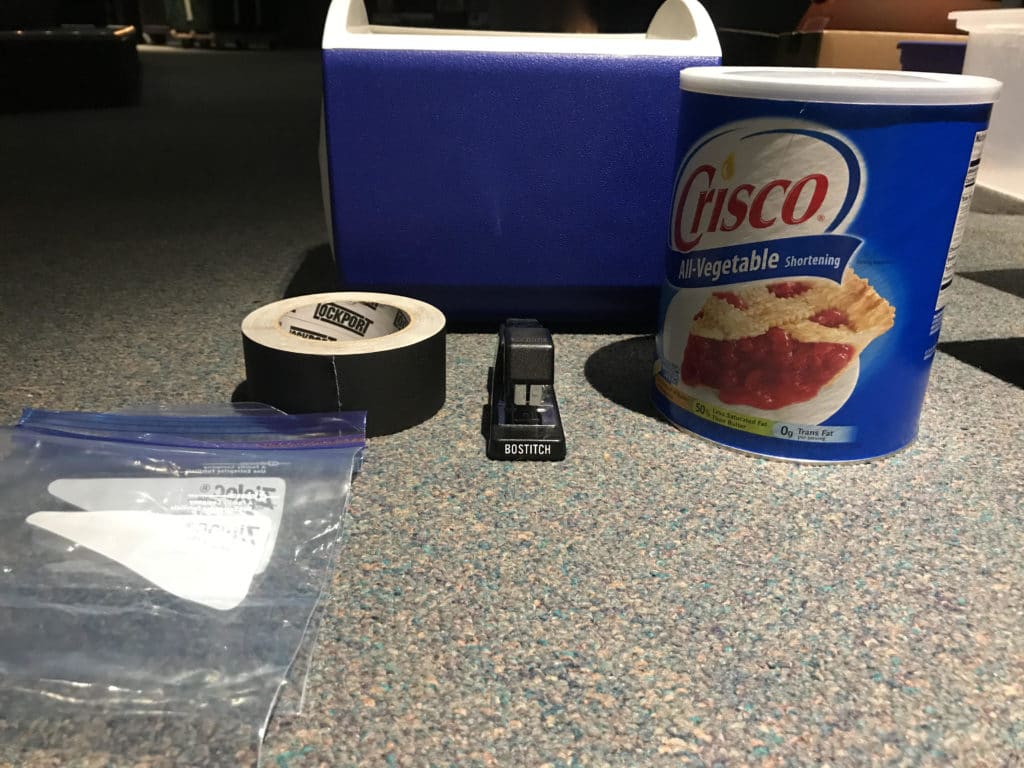
What You’ll Need
Directions
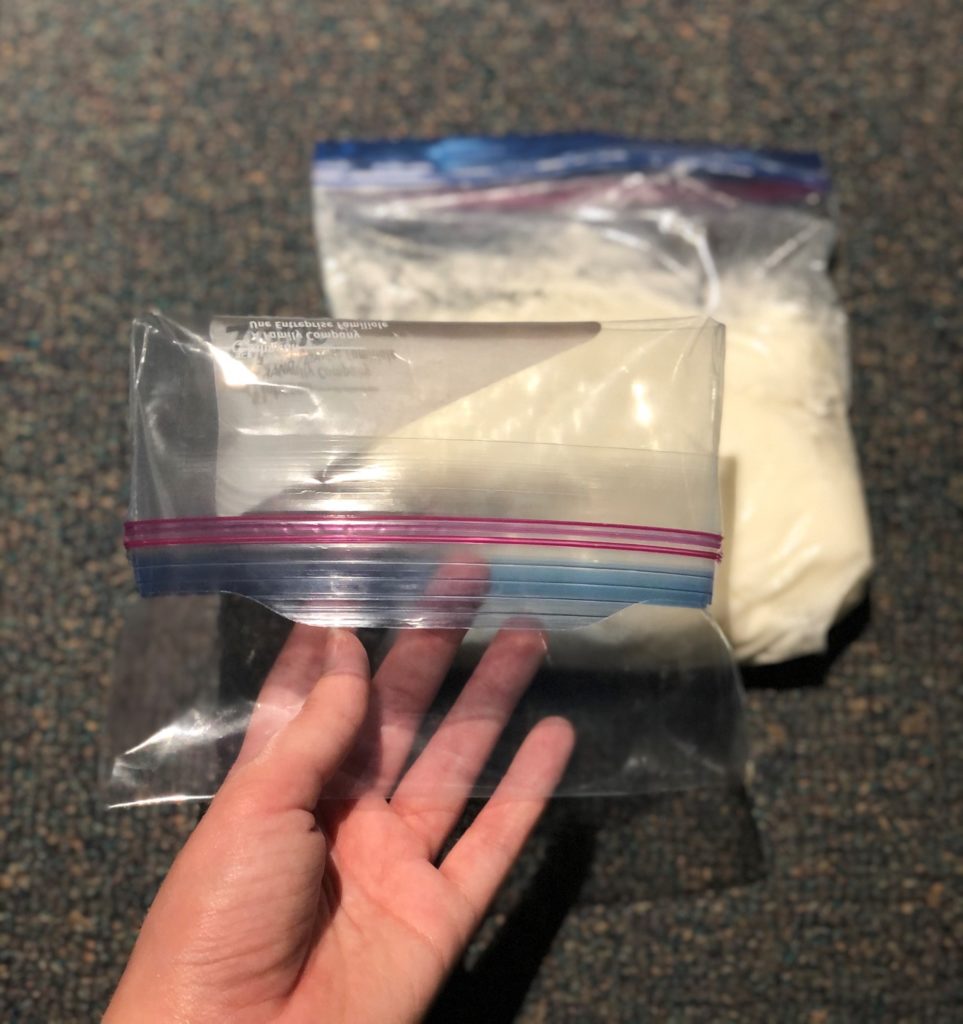
- Fill one ziplock with a generous amount of shortening (do not seal the bag).
- Place your hand inside the second, empty ziplock bag, and push it into the shortening-filled one.
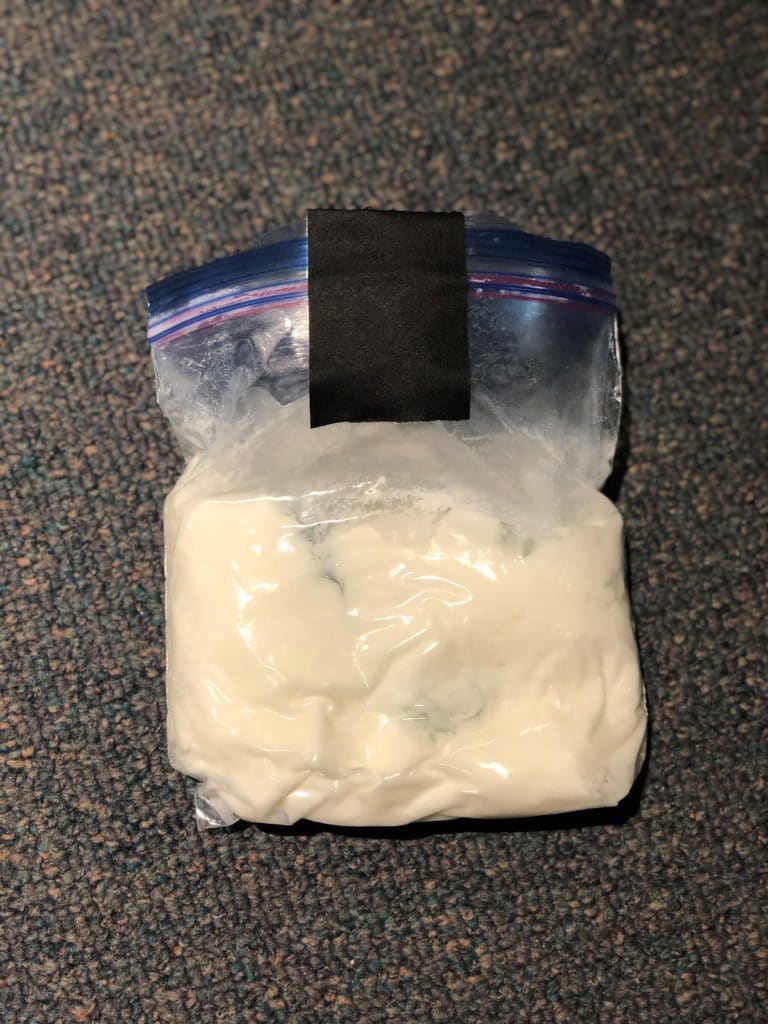
- Using your hands, spread the shortening around the ziplock bag until the inner bag is mostly covered (try not to spill any shortening outside the bag or near the edges!).
- Fold the top of the inner ziplock bag over the outer bag.
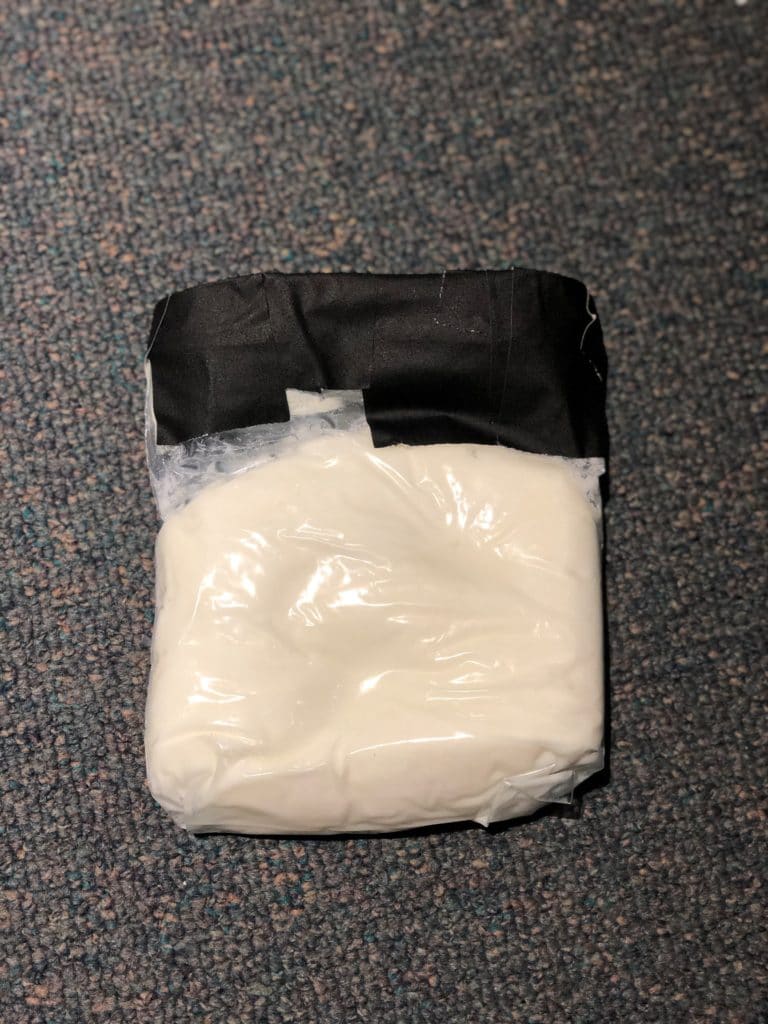
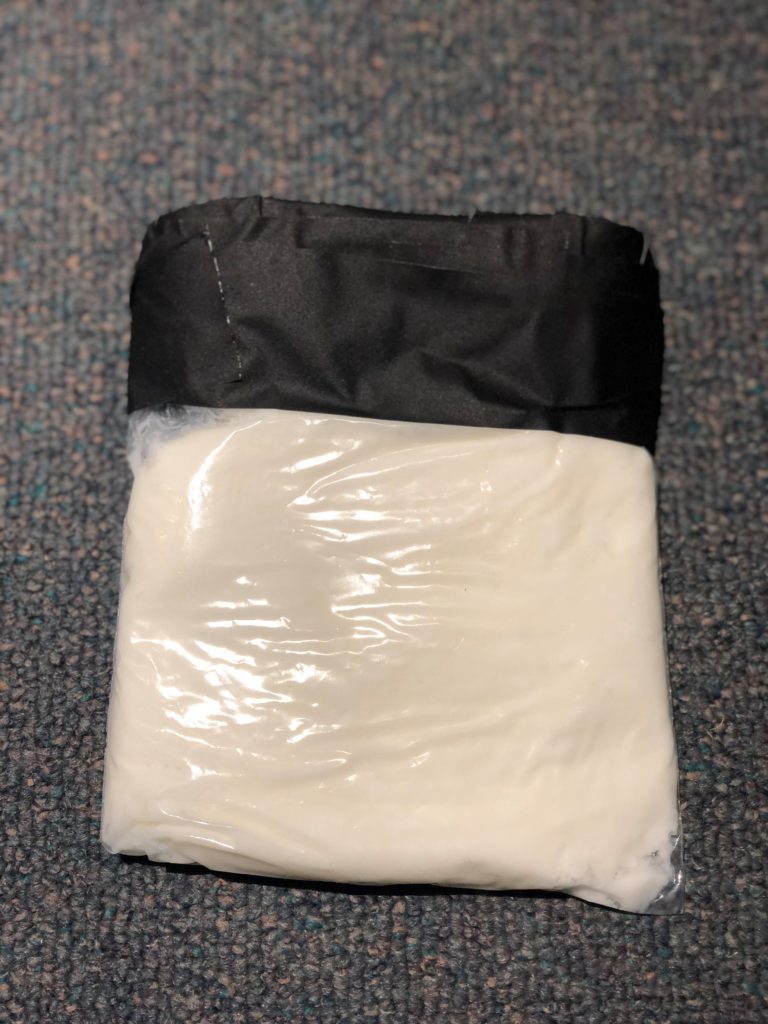
- Duct tape the fold to ensure the shortening will not overflow or leak out of the glove.
- OPTIONAL: for extra strength, staple the duct tape between the layers of duct tape. Use more duct tape to cover the staples to prevent injury.
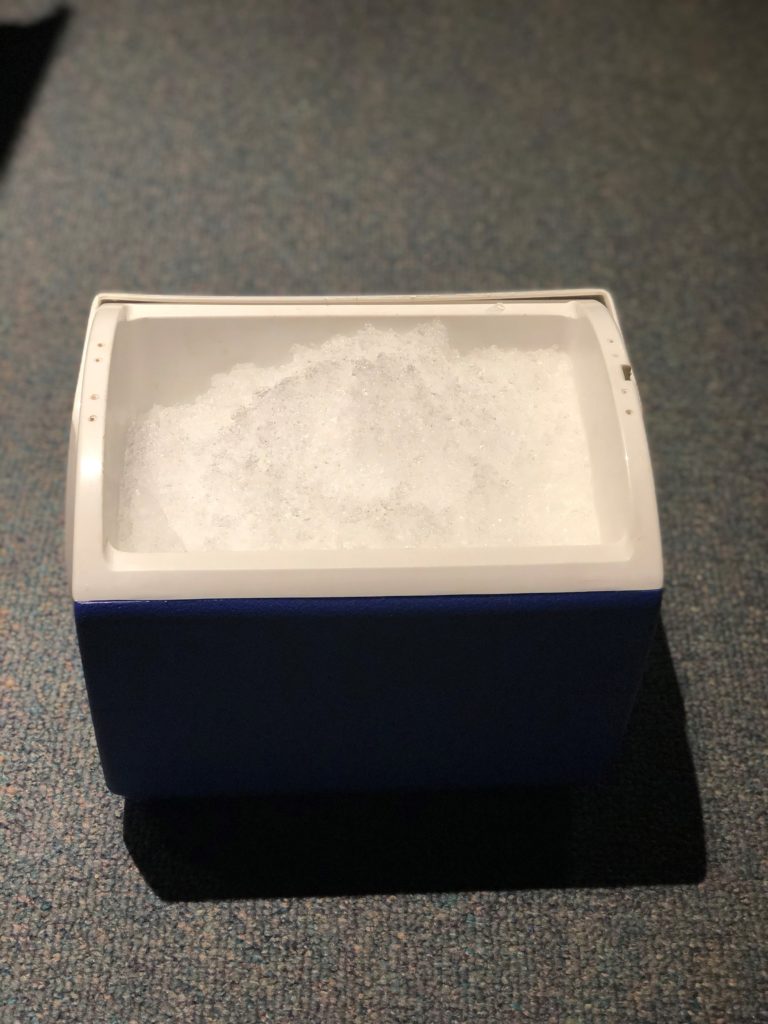
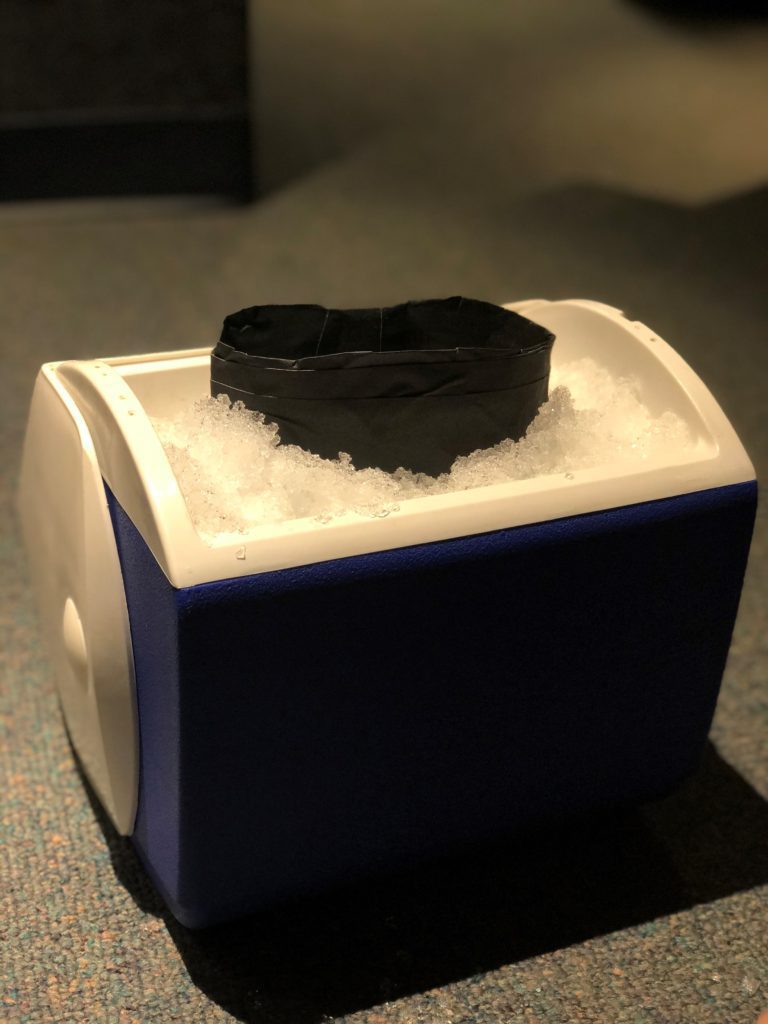
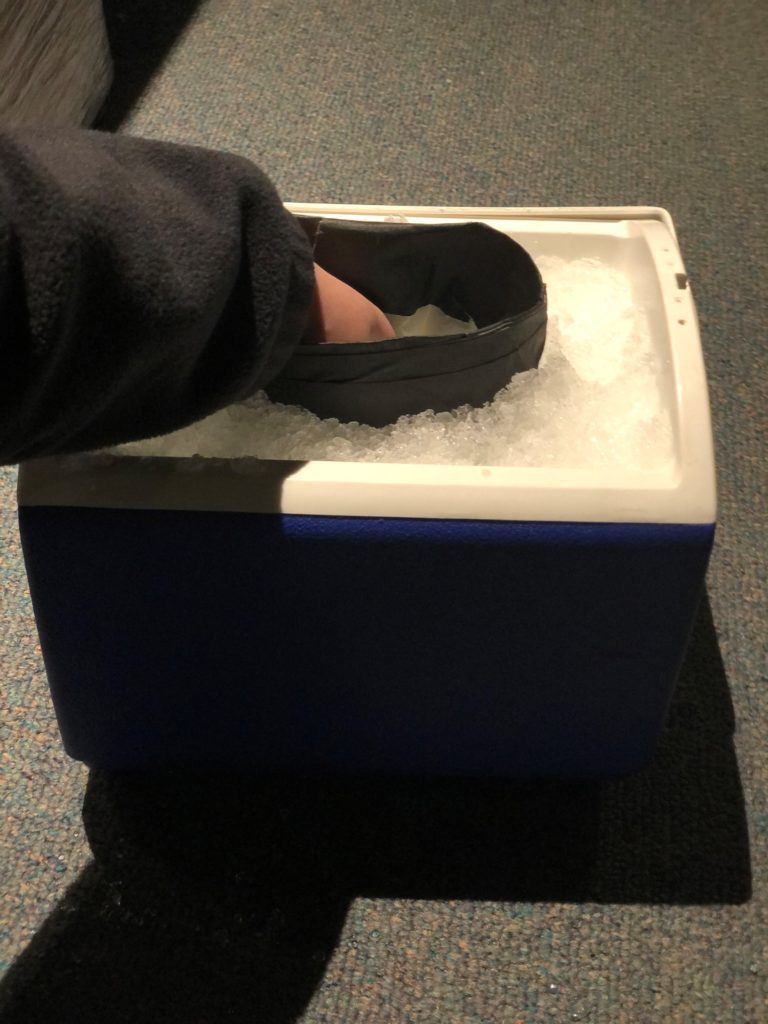
Now that your blubber glove is ready, dunk your hand with the glove into the bowl of ice water and see what happens!
- OPTIONAL: use a stopwatch to count how long it takes for your hand to feel any temperature change (don’t leave your hand in for too long!). Record your data.
- Record how cold the ice water is with a thermometer
What’s Happening?
Shortening, a type of fat that’s solid at room temperature, stores energy. While the shortening doesn’t have nearly the same amount of energy-storing capabilities as blubber, it does work in a similar way. Blubber’s primary functions include:
- Adding Buoyancy—this allows the animal to conserve energy while swimming and even float near the surface of the ocean to breathe during periods of rest.
- Providing extra insulation—this helps the animal survive harsh weather conditions and sudden temperature drops. In colder weather/water, the blood vessels in blubber constrict, decreasing the amount of blood flow and conserving heat.
- Storing energy—like the shortening, blubber stores energy, but is richer in proteins and a type of fat called lipids.
Many cultures rely on blubber, even today. Muktuk, thick slices of whale blubber and skin, is a traditional food consumed by some Innuit and First Peoples groups. Blubber is a vital food source in cold conditions, as it contains a high amount of vitamins D and C, which isn’t easy to come by in colder areas of the world. However, recent studies show blubber is susceptible to biomagnification—the process in which a foreign substance increases in level as it passes up the food chain. Toxins such as PCB, a chemical now known to cause cancer in humans, has been found in fish and animals that consume them. When these predators, often at the top of the food chain, consume fish with toxins in them, their blubber also becomes toxic. PCB is often hard to break down and doesn’t degrade over time.
For many animals, blubber is the key to their survival. The next time you go outside during a chilly winter day, make sure to wear layers to keep yourself warm, too!
Holiday Coloring Pages!
Have fun coloring images featuring animals from our living collection this week drawn by Gallery Presenter and Floor Captain, Jess Sperdute. You can meet some of the animals in the living collection during our Virtual Live Animal Encounters!
