• Skip to primary navigation
  • Skip to main content
  • Skip to primary sidebar

Carnegie Museum of Natural History

One of the Four Carnegie Museums of Pittsburgh

  • Visit
    • Buy Tickets
    • Visitor Information
    • Exhibitions
    • Events
    • Dining at the Museum
    • Celebrate at the Museum
    • Powdermill Nature Reserve
    • Event Venue Rental
  • Learn
    • Field Trips
    • Educator Information
    • Programs at the Museum
    • Bring the Museum to You
    • Guided Programs FAQ
    • Programs Online
    • Climate and Rural Systems Partnership
  • Research
    • Scientific Sections
    • Science Stories
    • Science Videos
    • Senior Science & Research Staff
    • Museum Library
    • Science Seminars
    • Scientific Publications
    • Specimen and Artifact Identification
  • About
    • Mission & Commitments
    • Directors Team
    • Museum History
  • Tickets
  • Give
  • Shop

Kathleen

December 14, 2020 by Kathleen

Make Your Own Snow Activity

Want to build a snowman but don’t have any snow? This play snow is a great substitute—it’s cool to the touch, moldable, looks just like real snow, and only requires two ingredients!
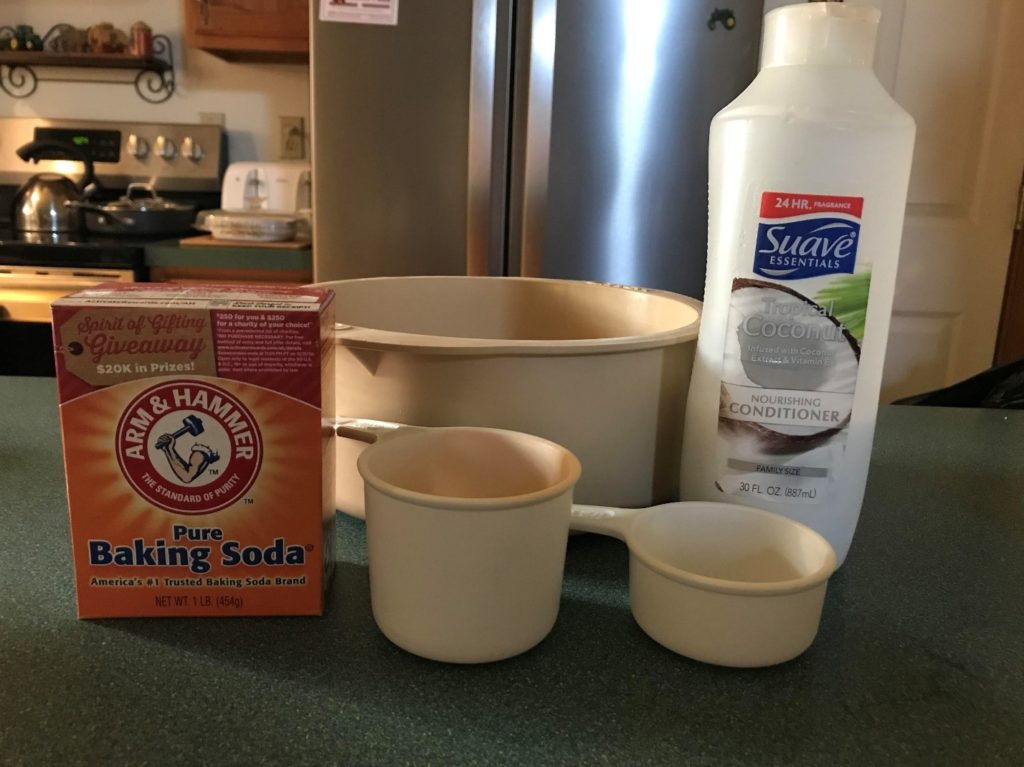
What You’ll Need

  • ½ cup hair conditioner (preferably white to mimic real snow)
  • 2 cups baking soda
  • Measuring cups
  • Mixing bowl
  • Container or placemat for play
  • OPTIONAL: Beads, plastic toys, etc. to bury in snow if desired
DIY Snow Ingredients

Directions

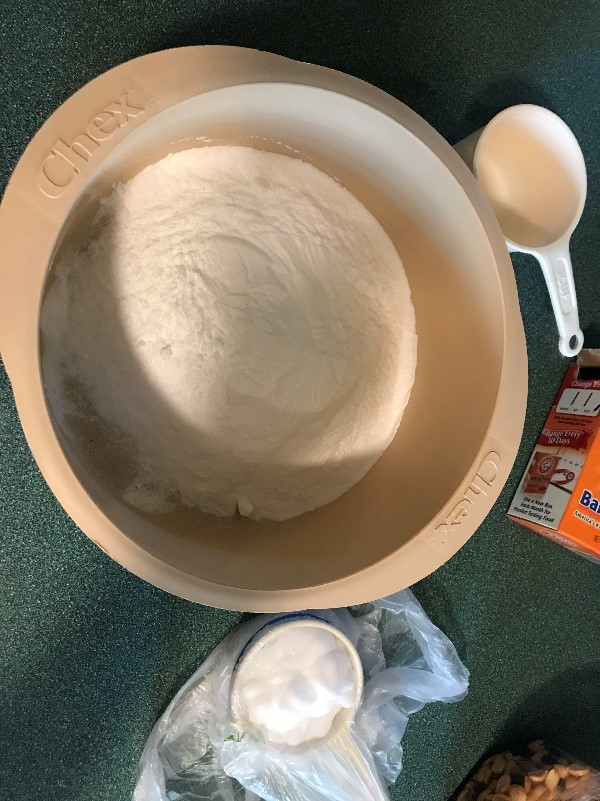
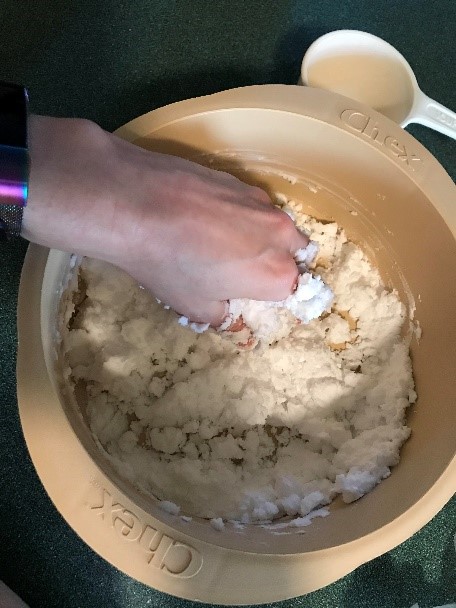
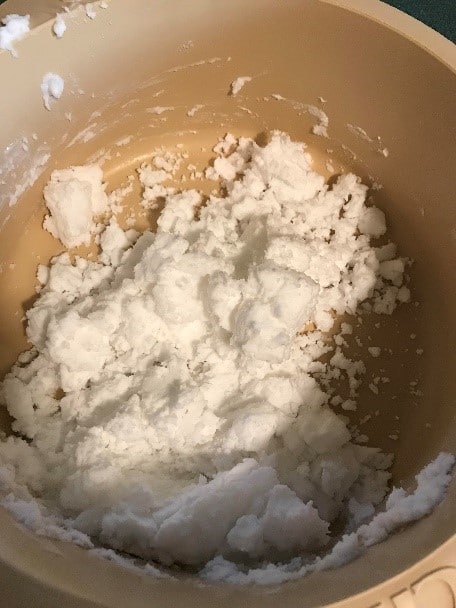
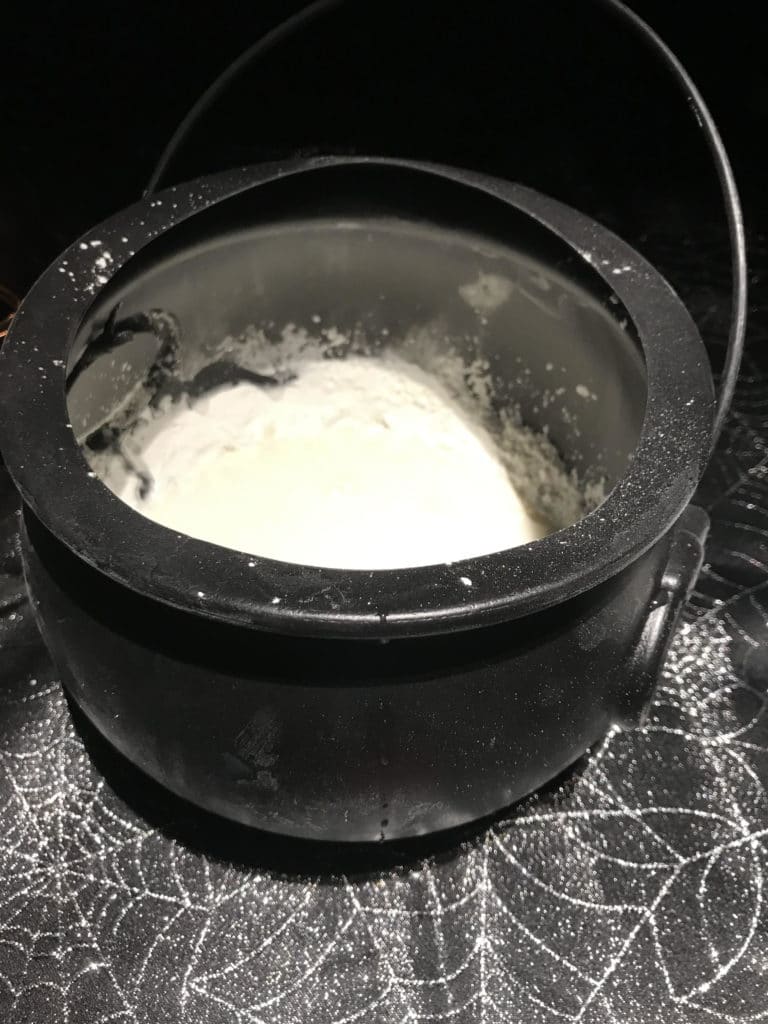
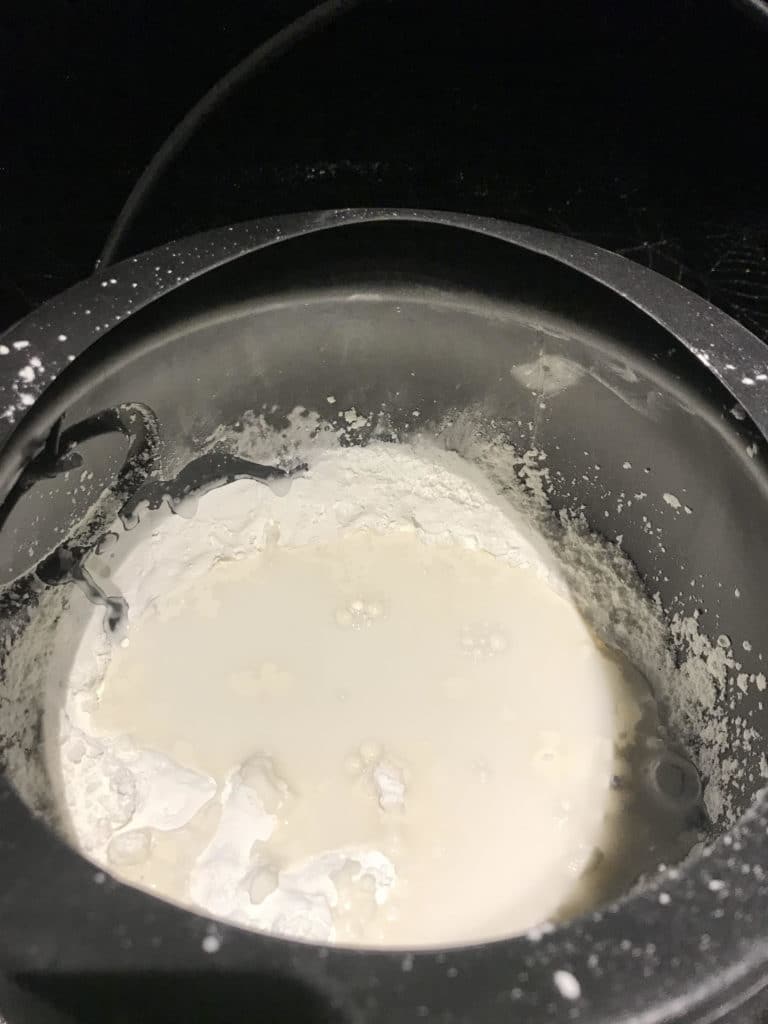
  1. Combine baking soda and hair conditioner in mixing bowl until the texture is crumbly (the “snow” should be moldable, like kinetic sand).
  2. OPTIONAL: add optional toys if desired
  3. Now take your snow over to your play area and start having fun! The best part about making this type of snow is that you can store it for later use—if it dries out slightly, just add a little more conditioner the next time you want to play!
DIY Snow dry ingredients in a bowl
Hand mixing the wet and dry ingredients of the DIY snow
Completely mixed DIY snow!

Filed Under: Blog Tagged With: activities, HATW

October 16, 2020 by Kathleen

Booseum: Wiggly Worms Activity

Wiggling gummy worms are super delightful for little inquiring minds.

*This activity requires adult supervision!

What You’ll Need

  • Gummy worms
  • Baking soda
  • Vinegar
  • Two clear cups or glasses
  • Small kitchen knife
items needed for wiggly worms activity

Directions

  1. Cut gummy worms into two strips lengthwise
  2. Fill clear glass with 1 cup warm water and 2 Tbsp. baking soda and stir.
  3. Add gummy worm strips and soak for 15 minutes.
  4. In the meantime, fill second glass with vinegar.
  5. After 15 minutes, scoop gummy worms out of glass with baking soda and transfer to the glass with vinegar.
  6. Watch your gummies wiggle.

What’s happening to my gummies?

Acetic acid in vinegar plus bicarbonate in baking soda equals carbon dioxide gas bubbles. Acid + Base = Bubbly reaction. The baking soda absorbing into the gummy worms makes bubbles when transferred to the vinegar. Bubbles rise to the top, taking your gummy worm with them giving the appearance of wiggly worms.

Try different gummy worm lengths and sizes to see which ones wiggle the most, which ones wiggles the least, and which ones don’t wiggle at all. Take notes in a notebook and draw some pictures. Measure with a ruler for exact measurements.

What other gummies wiggle? Gummy bears, gummy spiders, gummy insects?

gummy worms cut in half

Filed Under: Blog Tagged With: booseum

October 16, 2020 by Kathleen

Booseum: Hotdog Mummification Activity

Most people associate mummies with Ancient Egypt. The remains of dead people and animals have been mummified at many places in the world, sometimes as a planned process, and sometimes because of ideal climate conditions for preservation. In this activity you can use a hotdog to find out how mummification occurs — just be sure to have a grownup to help!

What You’ll Need

  • Uncooked hotdog (cut up fruit pieces can be used in place of a hotdog)
  • Ziploc or an air-tight, sealable bag/container
  • Salt or baking soda
  • Cutting board/ newspaper to keep workspace clean
  • Ruler
  • Kitchen scale (optional)
On the desert road from Cairo to Sheikh Abada

Directions

  1. Line the bottom of the bag/container with at least one inch of baking soda (bottom should be covered thoroughly and not visible).
  2. OPTIONAL: measure and weigh your hotdog with the ruler and kitchen scale. Then record your results!
  3. Place the uncooked hotdog in a Ziploc or sealable bag/container.
  4. Cover the hot dog completely in another layer of baking soda.
  5. Place the bag/container in a dark location with a neutral temperature.

      The Ziploc bag or sealed container is like a portable desert! Deserts can be hot or cold. Their defining condition is little yearly precipitation, in the form of rain or snow. Because deserts are so dry, it takes bacteria far longer to break down or decompose organic material. This allows once living tissues to be preserved—so long as they remain in the same dry conditions. The process of organic material drying out or mummifying is called desiccation and will start to happen to your hotdog in as little as 2 days!

Examine your hotdog after a few days. If you weighed and measured it before, do so now. What’s different? Does it still feel the same? You can put the hotdog back in the Ziploc bag or container and leave it for a few more days and repeat this process. Just don’t eat the hotdog when you’re done!

Filed Under: Blog Tagged With: booseum

October 14, 2020 by Kathleen

Booseum: Jack-o-Lantern Chromatography

Sometimes the easiest way for scientists to learn what components make up a mixture is to separate them. Chromatography is a simple technique for separating different mixtures using a liquid. But chromatography can also be used to separate colors! Follow the steps below to make a truly unique jack-o-lantern this Halloween!

What You’ll Need

  • Coffee filters (or paper towels)
  • Washable markers
  • Spray bottle with water
  • Drying station
  • Optional: additional decorations like tissue paper, pipe cleaners, tape, or glue
materials for chromatography activity

Directions

  1. Using washable markers, start to color the coffee filter or paper towel cut into a circle. Don’t color a face yet; we’re saving that for last! Use whatever colors you’d like.
  2. Spray the coffee filter with water. Try not to use too much! You’ll see the colors begin to bleed almost immediately.
  3. Place the filter on your drying station. Allow about 5-10 minutes to dry.
    dog watching coffee filter dry
  4. What jack-o-lantern would it be without a face? Put the final touches on your creation!
  5. Once your jack-o-lantern is fully dry, you can use tissue paper and tape or glue to add a stem. A pipe cleaner can be used if you’d like your jack-o-lantern to have a vine.

      But what actually happened? In chemistry, a mixture is a combination of two or more substances that can be separated because they aren’t chemically bonded. Because the washable markers aren’t chemically bonded to the paper, they bleed through when sprayed by water. What do you notice about the colors you used? Did some of them blend together? Color chromatography can be used to see different color combinations as well!

coffee filter with marker lines
coffee filters sprayed with water
coffee filter pumpkins with faces drawn on
coffee filter jack-o-lanterns with stems

Filed Under: Blog Tagged With: booseum

October 12, 2020 by Kathleen

Booseum: Make Snail Slime!

Everyone knows snails and slugs are a little slimy, but did you ever wonder why? Gastropods—snails and slugs—generate a type of mucus (or mucopolysaccharide) just like some plants, animals, and humans do. While we can’t make mucopolysaccharide with ease, we can make something similar by combining cornstarch and water to make a polysaccharide that is very similar.

What You’ll Need

  • Cornstarch
  • Water
  • Measuring Cup (1 cup)
  • Food coloring (optional)
  • Mixing bowl
  • Spoon or whisk
snail slime activity ingredients

Directions

  1. Pour 2 cups of cornstarch into your mixing bowl.
  2. Add 1 cup of water. (If you want more or less slime than 2 cups worth, just mix the cornstarch and water to a 2:1 ratio.)
  3. Mix until combined.
  4. Add food coloring if desired.

The trick to creating true snail slime is the consistency, or the way in which a liquid holds itself together. While it’s not actual snail mucus, our snail slime has similar properties and can help us understand more how snails and slugs move—by sliding along their mucus, they press down on it gently. What happens when you press down on your snail slime?

This type of polysaccharide acts like both a liquid and a solid—you can pour it like water or let it ooze out of your hands, but pushing it creates a solid reaction instead. This consistency of a liquid can be measured. In science, this is called viscosity; the state of being thick, sticky, or semifluid due to internal friction. This is why snails and slugs can climb virtually anywhere on their mucus—even upside-down!  

If your snail slime is too runny, try adding more cornstarch. If you grab it and it stays in a ball without oozing out of your hands, add more water.

cornstarch in a bowl
mix cornstarch with water
pulling slime out of the bowl
snail slime in the bowl

Filed Under: Blog Tagged With: booseum

October 12, 2020 by Kathleen

Booseum: Spooky Coloring Pages!

Have fun coloring images featuring animals from our living collection this week drawn by Gallery Presenter and Floor Captain, Jess Sperdute. You can meet some of the animals in the living collection during our Virtual Live Animal Encounters!

Mango in a pumpkin
Download Mango the Sun Conure Coloring Image
Natasha the Russian Tortoise in Costume
Download Natasha the Tortoise Coloring Image
Boomer the Python as a Vampire
Download Boomer the Python Coloring Image
Lupe the coati in halloween costume
Download Lupe the Coati Coloring Image

Filed Under: Blog Tagged With: booseum

  • « Go to Previous Page
  • Page 1
  • Page 2
  • Page 3
  • Page 4
  • Page 5
  • Page 6
  • Interim pages omitted …
  • Page 13
  • Go to Next Page »

sidebar

About

  • Mission & Commitments
  • Directors Team
  • Museum History

Get Involved

  • Volunteer
  • Membership
  • Carnegie Discoverers
  • Donate
  • Employment
  • Events

Bring a Group

  • Groups of 10 or More
  • Birthday Parties at the Museum
  • Field Trips

Powdermill

  • Powdermill Nature Reserve
  • Powdermill Field Trips
  • Powdermill Staff
  • Research at Powdermill

More Information

  • Image Permission Requests
  • Science Stories
  • Accessibility
  • Shopping Cart
  • Contact
  • Visitor Policies
One of the Four Carnegie Museums | © Carnegie Institute | Privacy Policy | Terms of Use | Accessibility
Rad works here logo