• Skip to primary navigation
  • Skip to main content
  • Skip to primary sidebar

Carnegie Museum of Natural History

One of the Four Carnegie Museums of Pittsburgh

  • Visit
    • Buy Tickets
    • Visitor Information
    • Exhibitions
    • Events
    • Dining at the Museum
    • Celebrate at the Museum
    • Powdermill Nature Reserve
    • Event Venue Rental
  • Learn
    • Field Trips
    • Educator Information
    • Programs at the Museum
    • Bring the Museum to You
    • Guided Programs FAQ
    • Programs Online
    • Climate and Rural Systems Partnership
  • Research
    • Scientific Sections
    • Science Stories
    • Science Videos
    • Senior Science & Research Staff
    • Museum Library
    • Science Seminars
    • Scientific Publications
    • Specimen and Artifact Identification
  • About
    • Mission & Commitments
    • Directors Team
    • Museum History
  • Tickets
  • Give
  • Shop

Jurassic Days

July 7, 2020 by Kathleen

Jurassic Days: Make Your Own Amber Slime

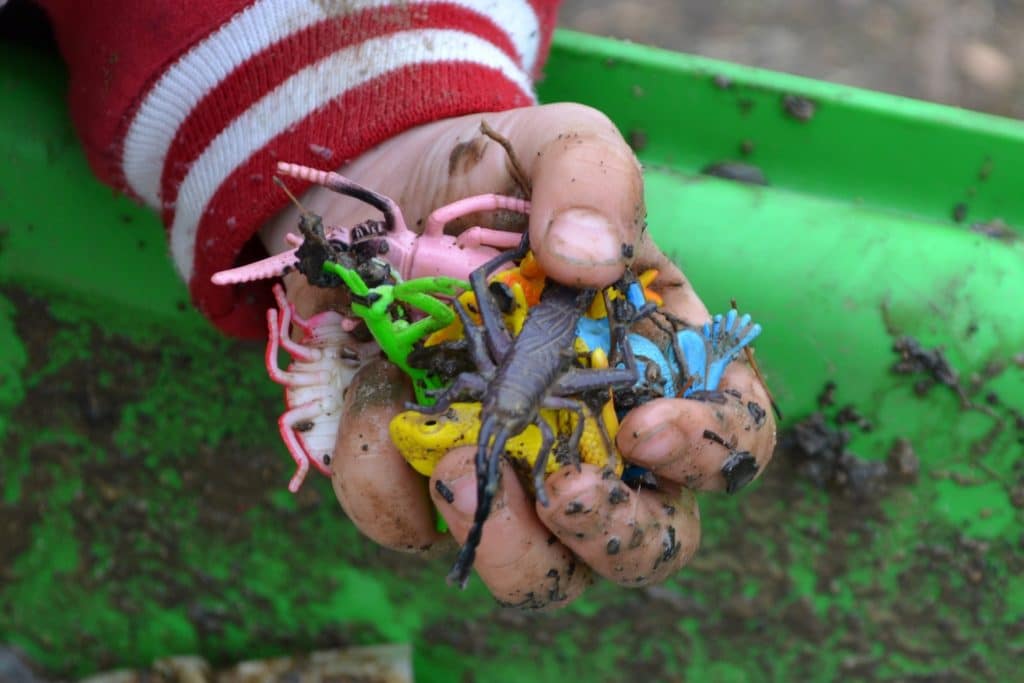
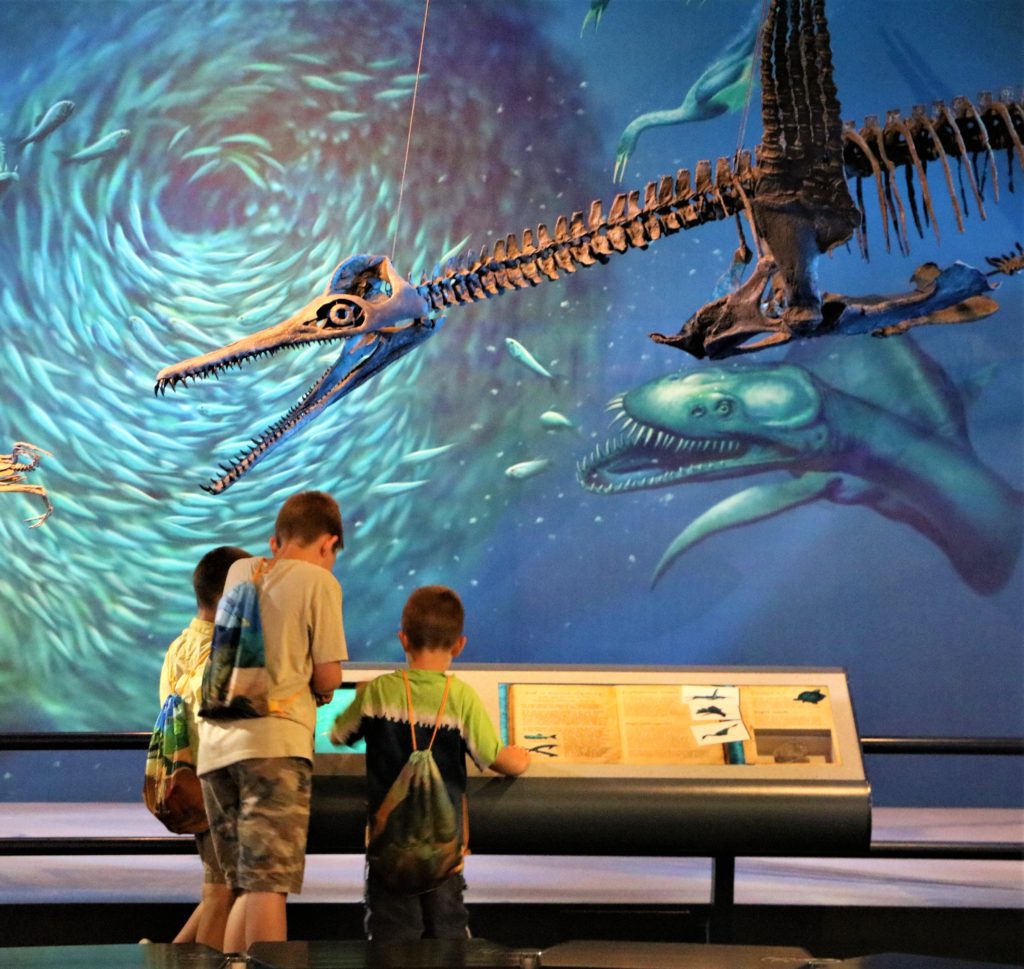
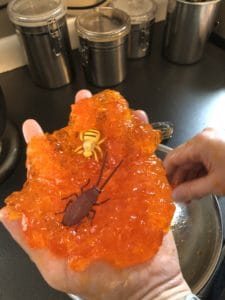
Create your own slime using everyday household craft materials. Using toy insects, recreate what would happen to insects when they were caught in tree resin, fossilizing them. This would be great for kids who love Jurassic Park, dinosaurs, rocks, and insects!

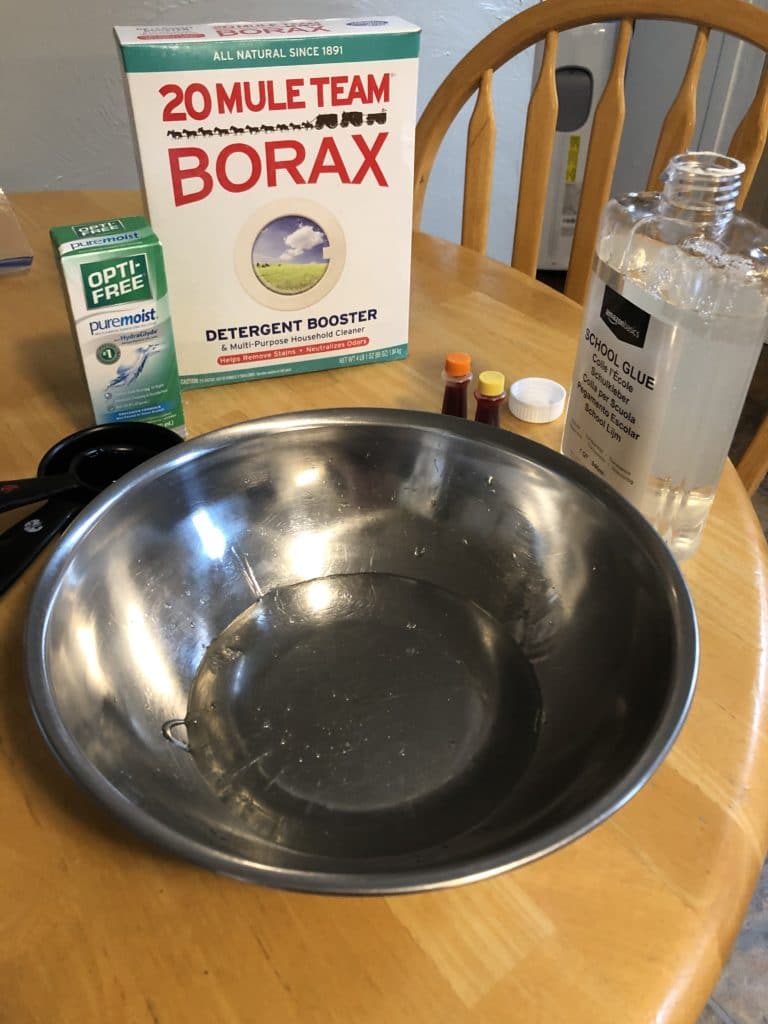
Materials for Version without Borax

  • ½ cup of preferably clear PVA glue
  • ½ cup of Water
  • ¼ – ½ teaspoon Baking Soda
  • 5-10 drops of yellow food coloring
  • Measuring cups and spoons
  • Dry container
  • 2 Medium Size Bowls
  • Insect Toys (also get creative and draw insects on small rocks if you do not have these!)

Materials for Version with Borax

  • ½ cup of preferably clear PVA glue
  • ½ cup of water to mix with glue
  • ¼ teaspoon of Borax Powder
  • ½ cup warm water to mix in with the Borax Powder
  • 5-10 drops of yellow food coloring
  • Measuring cups and spoons
  • Dry Container
  • 2 Medium Size Bowls
  • Insect Toys (also get creative and draw insects on small rocks if you do not have these!)

Directions without Borax

  1. Put your ½ cup of glue in a bowl.
  2. Mix your ¼-½ teaspoon of baking soda and ½ cup of water in a bowl until baking soda is completely dissolved.
  3. Add your 5-10 drops of yellow food coloring to baking soda and water mixture.
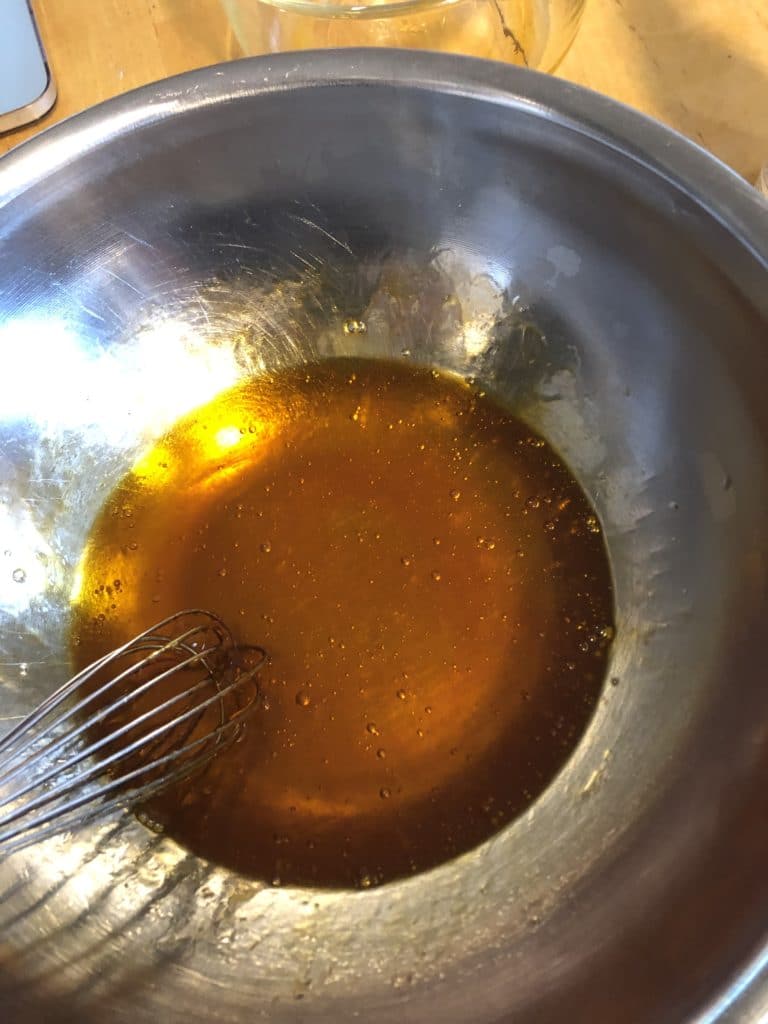
  1. Gently add the food coloring, baking soda and water mixture to your glue and mix together.
  2. Add 1 tablespoon of saline solution and mix quickly until slime starts to form.
  3. Put a few drops of Saline solution on hands and start to knead the slime together.
  4. Add toy insects to mixture and then place in dry container

Directions with Borax

Borax slime ingredients
Mixing borax with amber dye
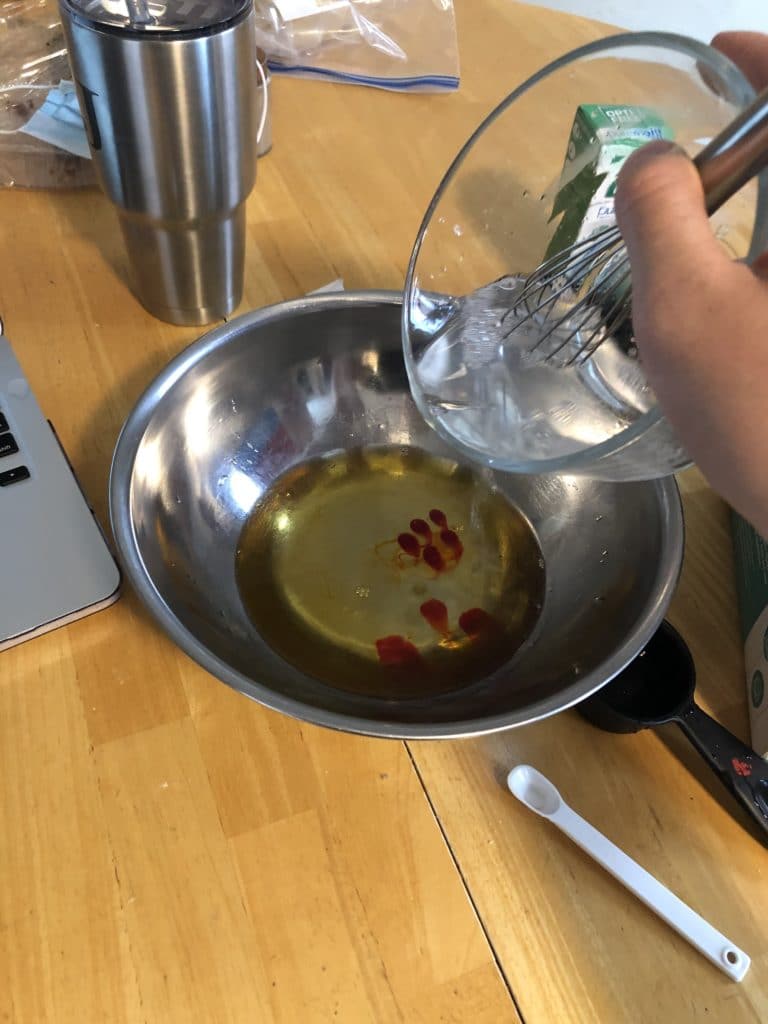
  1. Mix ½ cup of water and ½ cup of glue completely together in bowl.
  2. Add you 5-10 drops of yellow food coloring to this mixture.
  3. Mix the ¼ teaspoon of borax and ½ of warm water in a separate bowl. Stir completely until completely mixed in.
  4. Add the borax and water mixture slowly to your glue and water mixture. Start stirring immediately! Your slime will soon start to form immediately.
  5. Keep mixing until your slime has formed and then immediately take out and put in the dry container.
  6. If you have any left over liquid in the bowl keep stirring until all the liquid turns to slime. Transfer it to the dry container once you are done.
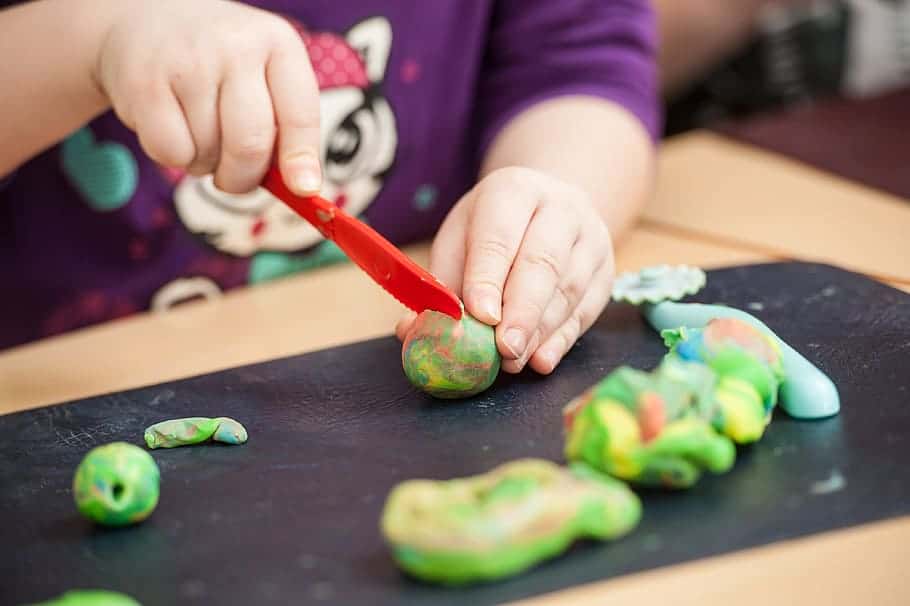
  7. Start kneading your slime mixture and add your pretend insects! It will feel stringy at first but if you keep working it with your hands the texture will start to change.
hand mixing borax slime

**To keep your slime from going moldy, place slime in refrigerator**

Filed Under: Blog Tagged With: Jurassic Days

July 7, 2020 by Kathleen

Jurassic Days: Mighty Mosasaur

Let’s go on a trip! We’ll have to travel about 1,000 miles and roughly 66 million years to arrive on the rocky beach of the Western Interior Sea of Kansas. There is lush plant life with ancient birds and bugs buzzing around the water – we might feel as though we’ve been transported to the land of Oz! Better stop Toto before he leaps in for a swim though, it’s full of dangerous creatures!


One of the creatures in these waters were the Mosasaurs. These animals evolved from the same ancestor as today’s monitor lizards like Komodo Dragons and Water Monitors. Feeling the predation pressure from larger dinosaurs, this little lizard adapted to life in the water and soon became fully suited for life in the oceans as they developed the ability to give birth to live young, eliminating the need to lay eggs on land.

The mightiest of all the mosasaurs was Tylosaurus. They grew more than 45 feet long, making them the largest. Mosasaurs had a long and muscular tail that was vertically flattened, like a shark, that powered Tylosaurus through the water. This allowed them to ambush its prey with rapid bursts of acceleration. Paddle-like limbs helped steer their slim body, covered in lizard-like scales, through the water. (Image 1- illustration of blue Tylosaurus)

Tylosaurus skull

Tylosaurus was the deadliest hunter of the ancient seas, ready to seize and kill just about any smaller creature that crossed its path using jaws that were lined on each side with two rows of pointy, cone-shaped teeth. This reptile used its snout to locate prey, which, once inside the mosasaur’s jaws, was swallowed whole. When the sea monster opened wide for the final gulp, two extra rows of teeth on the roof of its mouth started digestion by shredding the prey as it was being swallowed.

Though not a dinosaur, Tylosaurus lived alongside them and went extinct around the same time. Many Tylosaurus remains have been found near the Great Plains in Nebraska and Kansas, which was once covered by a large ocean we went to visit. Don’t be fooled, we couldn’t swim in this ocean like we can in today’s waters

Written by: Abbey Hines, Museum Educator

Filed Under: Blog Tagged With: Jurassic Days

July 6, 2020 by Kathleen

Jurassic Days: Make Fossil Impressions!

Fossils are the preserved remains, or traces of remains, of ancient organisms. There are many types of fossils and many different ways that fossils form. Most fossils are not the actual body parts of the original organisms. Rather they are altered remains, impressions, molds, and casts of parts of the organisms.

Fossil impressions are prints, or indented marks, of plants or animals from long ago. The plant or animal lands in mud, silt, or sand and leaves an imprint in the soft earth. Over time, the plant or animal disappears, but the impression remains. When the imprint hardens, it forms a mold. Later, mud or other materials can fill the mold to make a cast—a copy of the original. Some examples of impressions are trace fossils such as footprints, trails, burrows, or other traces of an animal rather than of the animal itself.

In the following activity, you will create your own impression molds to see how fossil impressions are formed and discover what they can tell us about the organisms that leave them behind.

Materials for Outdoor Version

  • Soil – From your garden or yard
  • Water
  • Container with edges – Just to keep the soil mixture all in one place
  • Mixing spatula
  • Sturdy plastic toy – Use a dinosaur if you have one!

Materials for Indoor Version

  • 1 cup of water
  • 1 cup of salt
  • 1 cup of flour
  • Large mixing bowl
  • Mixing spatula
  • Wax paper
  • Sturdy plastic toy – Use a dinosaur if you have one!

Directions for Outdoor Version

kid holding toys over dirt bin
  1. Line the bottom of your edged container with about a ½” layer of soil.
  2. Mix in water until moist, but not muddy. If you overwater, simply add more soil until you get a thicker consistency.
  3. Walk your plastic toy through the soil mixture, making footprints as you go.
  4. Gather leaves, plants, and flowers from the backyard and see how each one creates a different impression.
  5. Smooth out the mixture to try more variations!

Directions for Indoor Version

child playing with clay

1. Make a salt dough – Add about half of your salt to your flour and mix. Then, slowly add water and start mixing the ingredients. Add more water and salt until you get your desired consistency. The dough should be firm and not too sticky.

2. Take some of the dough and roll it into a ball, then squish the ball into a disc or pancake shape on a piece of wax paper.

3. Place your dinosaur’s feet in flour so they won’t stick, then walk the dinosaur through the dough disc, making footprints as it goes.

4. If you want to preserve your fossils, let your dough dry for a few days or bake it in the oven at 350 degrees for about 20 minutes on a baking sheet or parchment paper (do not bake the wax paper!).

Filed Under: Blog Tagged With: Jurassic Days

July 6, 2020 by Kathleen

Jurassic Days: An Adventure Under the Sea

Let’s take a swim through the Western Interior Seaway! This area, also called the Cretaceous Seaway, was a shallow sea filled with abundant marine life. This sea was about 100 feet deep, like the Mediterranean, which enabled many forms of marine life to thrive. The Western interior Seaway existed during the mid-to late Cretaceous period (145-65 Mya). This body of water split the continent of North America into two land masses. These areas stretched from the Gulf of Mexico through the middle of North America. Several wonderful specimens of marine life have been found in Kansas, which was under water during the Cretaceous period.

Ready to go for a swim?  As an interpreter, when I am educating visitors, as we approach the exhibit, we mimic swimming with our arms in the air and walk toward the display! That is always fun and gets our imagination ready! Here we go….

As we approach this Gallery, we see a diorama (a full size 3-D model of museum collection pieces) with an azure blue background. It really gives the impression that we are underwater! Luminescent lighting gently fluctuates creating a beautiful reflection, much like flowing water on the ground. In the background, softly echoing music plays and creates a floating sensation. as the light reflects.

Slowly, a large marine reptile comes into view. This is a creature called Dolichorhynchops bonneri (Dol-lee-kor-in-chops), meaning “long-nosed face.”

Dolichorhynchops bonneri
“Dolly”

Let’s call it “Dolly” for short! Dolly is a Plesiosaur – primarily identified by its distinct characteristics: a short tail, long flippers and a flattened body structure which enables it to be a faster swimmer to catch its prey. The creature’s jaws are not thought to have a powerful bite force. The teeth are long and thin, not meant for tearing, but more for the ability to puncture soft, slippery prey. These creatures most likely swallowed their prey whole. In this diorama, Dolly appears to be pursuing a flightless bird with teeth called Hesperornis regalis (“western bird”) which had stout legs for swimming and tiny wings used for marine steering rather than flight. Dolly and Hesperornis regalis fossils were found in the late Cretaceous marine limestone of Kansas.

Our specimen of Dolichorhynchops bonneri is a cast. The fossil remains were recovered by George F. and Charles A. Sternberg from the Smoky Hill Chalk and Fort Hays Limestone-Kansas. The original is a type specimen on display at the Museum of Kansas. A type specimen, or “holotype” is a single specimen known to have been used to formally describe a species.

I hope you enjoyed our undersea adventure and I invite you to explore the numerous exciting areas of our museum. It’s a great place to learn about the past, present and future

Written by: Shari Bechtel is a Gallery Experience Presenter and Natural History Interpreter.

Filed Under: Blog Tagged With: Jurassic Days

  • « Go to Previous Page
  • Page 1
  • Page 2

sidebar

About

  • Mission & Commitments
  • Directors Team
  • Museum History

Get Involved

  • Volunteer
  • Membership
  • Carnegie Discoverers
  • Donate
  • Employment
  • Events

Bring a Group

  • Groups of 10 or More
  • Birthday Parties at the Museum
  • Field Trips

Powdermill

  • Powdermill Nature Reserve
  • Powdermill Field Trips
  • Powdermill Staff
  • Research at Powdermill

More Information

  • Image Permission Requests
  • Science Stories
  • Accessibility
  • Shopping Cart
  • Contact
  • Visitor Policies
One of the Four Carnegie Museums | © Carnegie Institute | Privacy Policy | Terms of Use | Accessibility
Rad works here logo