New to this series? Read The Bromacker Fossil Project Part I and Part II.
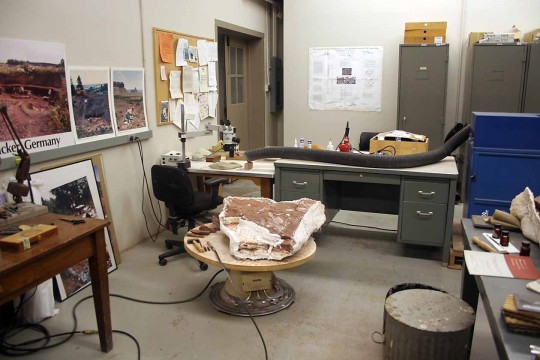
Most of the important fossil discoveries from the Bromacker quarry, located in the Thuringian Forest, central Germany, were shipped to the Carnegie Museum of Natural History (CMNH) for scientific preparation. Between 1993 and 2005 I was the principal preparator of Bromacker fossils.
At CMNH the arrival of a field season’s worth of fossil crates was highly anticipated by Curator Dr. Dave Berman and myself. I’d be often notified of the crate’s early morning delivery by either a grinning security guard or shipping and receiving personnel upon my arrival at the museum. Later that day it would take a team of able-bodied staff from various departments to move the crate from the loading dock to the basement preparation lab, and to lift the plaster and burlap encased block from the crate onto a table.
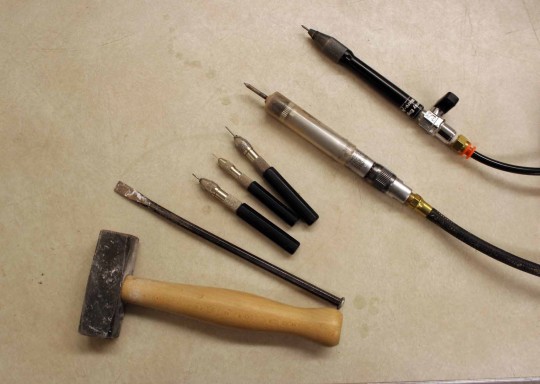
The first step of the preparation process involved opening the block; that is, removing the top of the jacket. I’d use a cast cutter, the same tool doctors use to remove a cast protecting a person’s broken bone, to cut through the top perimeter of the plaster jacket. If all went well, the top would easily lift off the block. But if the top of the jacket stuck to the block or wedged in an undercut, I’d have to cut it into smaller pieces to remove it.
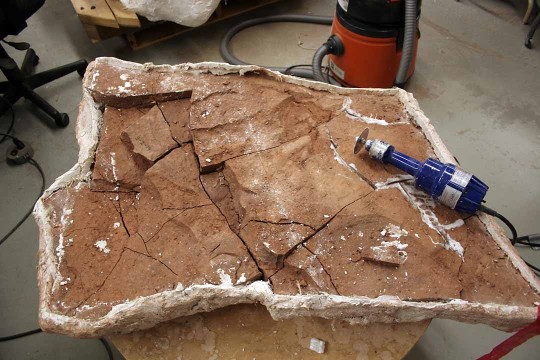
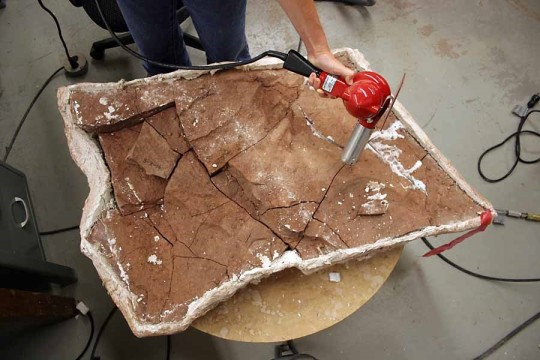
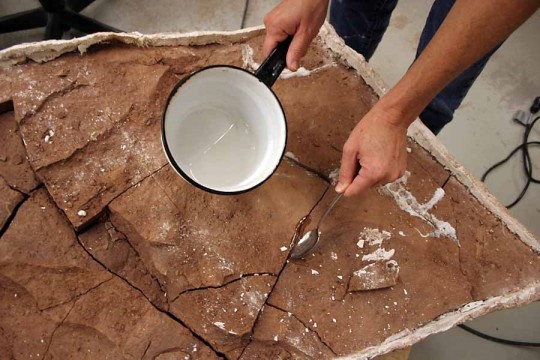
Blocks from the Bromacker quarry typically have numerous cracks coursing through them, which must be stabilized before preparation begins. The product Carbowax works well for filling cracks, because, unlike plaster, it doesn’t shrink when it solidifies. Carbowax comes as a powder, which I’d melt it in a double boiler. Before pouring the hot wax into a crack, I’d heat the surrounding rock with a heat gun so that the wax could penetrate additional cracks not visible from the surface. I’d typically repeat this process numerous times during the preparation process.
Once the block was stabilized, I began removing rock to expose the fossil. Where thick rock covered the fossil – and it sometimes was more than six inches – I’d use a small hammer and chisel to chip away chunks of rock. As I’d get closer to the fossil, I’d switch to an airscribe, which can be likened to a miniature pneumatic jack hammer. Although fossilized bone from the Bromacker was softer than the surrounding rock, the airscribe would flake the rock from the fossilized bone, leaving behind a thin veneer of rock that I’d remove using a pin vise. I’d also use the pin vise to scrape rock from bone in tight and/or delicate areas, such as teeth. All this work was performed while looking through a microscope.
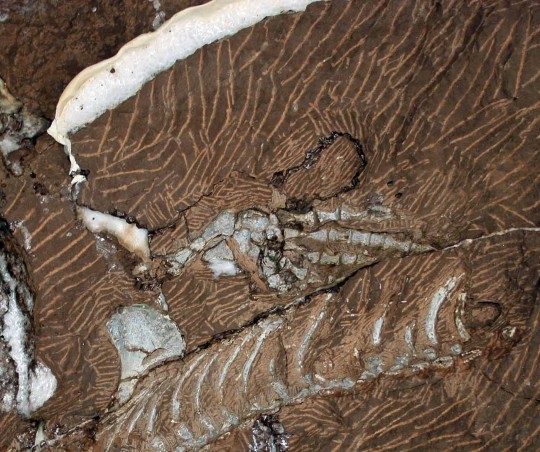
In the block pictured in this post, I could see some tips of some vertebral spines (these are the bumps that you feel down the midline of your back) poking from the rock surface, so I began exposing them first. Because I was working on an articulated specimen (one bone connected to the next bone), I exposed it from front to the rear by simply following one bone to the next bone.

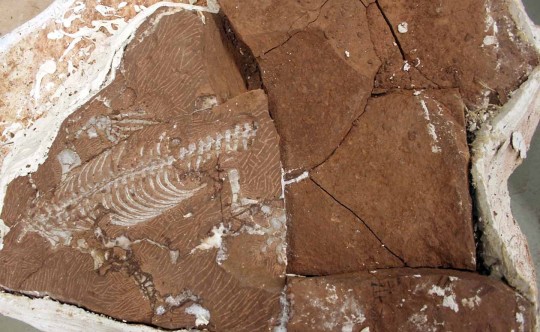
Parts of the hind legs and tail were collected separate from the block, because rock pieces containing them inadvertently had been tossed on the dump pile. This occurred before the specimen had been discovered, and the bone in these pieces was covered by mud and dirt. Instead of gluing them back in the block before preparation, I prepared them individually at a table under the microscope, as it made for easier viewing. Once all the fossil had been exposed and prepared, I removed excess rock to make the block smaller and lighter weight.
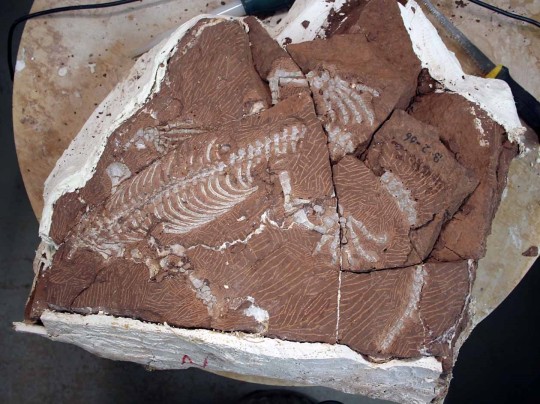
Dave Berman and I later transported the block to a colleague’s lab at the University of Toronto, Mississauga, Canada, where the lab staff and students completed detailed preparation and scientific illustrations of the specimen. This specimen along with several others were recently described as a new genus and species, Martensius bromackerensis, in a paper published in the Annals of Carnegie Museum. This ancient creature will be the topic of a future post. To whet your appetite, here is a link to the news release announcing the publication.
Amy Henrici is Collection Manager in the Section of Vertebrate Paleontology at Carnegie Museum of Natural History. Museum employees are encouraged to blog about their unique experiences and knowledge gained from working at the museum.
Keep Reading
The Bromacker Fossil Project Part IV: Diadectes absitus, A Project-Saving Fossil