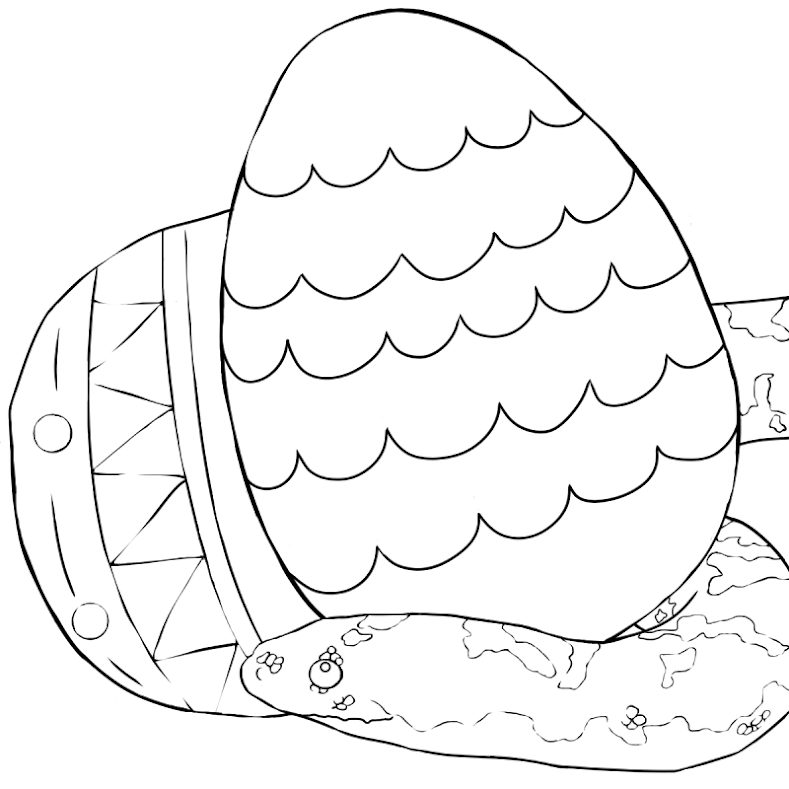
Have fun coloring images featuring animals from our living collection this week drawn by Gallery Presenter and Floor Captain, Jess Sperdute. You can meet some of the animals in the living collection during our Virtual Live Animal Encounters!
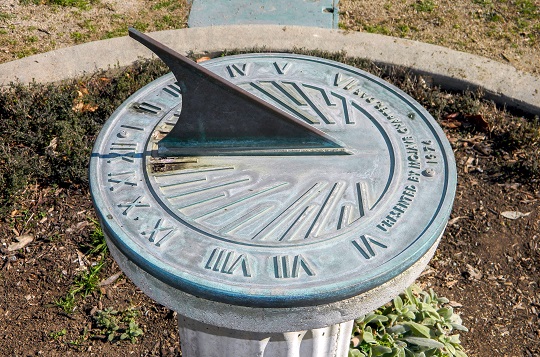
Super Science Activity: DIY Sundial
Today we use clocks to help us keep track of time, but in the past, humans relied on the planets, stars, and even our sun to mark significant yearly events. A useful tool different cultures independently invented was the sundial—a flat instrument that uses the position of the sun to accurately track the passage of time. You can use some simple supplies to make your own sundial and learn the science behind it! *This activity requires a grown-up!
What You’ll Need
- Paper plate
- Pencil, straw, or a long thin object
- Tape measure or yardstick
- Tape
- Watch or clock
- Ruler
- An outdoor space in natural daylight
- *OPTIONAL* Markers or crayons to decorate
Directions
*For best results, either start earlier in the day or work on this project for multiple days.
- Find your test area—this should be an open space with good natural daylight and away from any shadows. Use chalk or a visual marker to mark this area.
- Stand in your area and have a grownup trace the outline of your shadow on the ground with chalk. Write the current time at the top of your shadow.
- Use a pencil or pen to poke a hole through the center of the paper plate
- Write down the time on the edge of your plate. Use a ruler to draw a straight line from the number you wrote to the hole in the center of the plate.
- Take your plate and plastic straw outside and place on the ground in your marked area. Slant the straw so that it points to the line you drew on the ground
- Rotate the plate so that the shadow of the straw lines up with the line you drew
- Place some stones on the plate to keep in place, but be careful not to tip over the straw
- Check on your plate every hour. What happened to the shadow of the straw?
- Record the position of the shadow of the straw by writing the current time on the edge of the plate where the shadow falls. What shape is your shadow moving in? What does this remind you of?
So, what’s the science behind the dial? Sundials come in many different forms depending on which cultures used them, but they have two key common features—they’re typically made on flat platforms or surfaces and have a thin, upright rod that casts a shadow on the dial called a gnomon. The reason the shadow moves so precisely on the flat platform is due to the Earth’s rotating axis; as the earth rotates around the sun, the shadows on earth change position as well.
Sundials aren’t just a part of ancient history, either; sundials were commonly used as late as the 16th century!
The next time you see a clock, whether a digital or an analog clock on the wall, remember that these inventions and so many others we use day-to-day have very ancient beginnings!
Super Science Activity: Natural Paints
In the modern world, it’s very easy for us to buy or make clothing, jewelry, makeup, or other decorations in almost any color we want, but we often don’t think about how those colors are made. Typically, items are painted or dyed with artificial or natural colorants—especially clothing or other textiles. But how did our ancestors create beautiful works of art or colorful garments and accessories? Believe it or not, applying color to objects with natural ingredients has been in practice for thousands of years, and is something archaeologists are still learning more about from different cultures at different points in human history.
There are two different types of methods to applying color on an object—either using a pigment, a natural material that is insoluble, orimpossible to dissolve completely, or a dye, a natural material that is soluble and easily dissolves when added to a mixture
Make-Your-Own Watercolor Paints
Natural dyes can also be used to make paint, specifically watercolor paints. The intensity of the color can be affected by adding more of the natural dye than water; adding more water will diminish the color. With the help of a grownup, you can make your own paints from natural ingredients you may have at home! *This activity requires a grown-up! (Although these paints are using natural ingredients, they are not intended for consumption)
*TIP: frozen fruits and veggies give off a lot of color when they’re thawed and mashed!
What You’ll Need
- 4 Tbsp. white vinegar
- 5 Tbsp. Corn starch
- 5 Tbsp. Baking soda
- Watercolor paper
- Paintbrushes
- Water
- Natural ingredients to make paints (examples down below)
- Small mesh strainer
- Mixing bowel
- Whisk
- Container(s) to hold watercolor paints (old ice cube trays work great!)
- Towels/cleaning supplies
- *OPTIONAL* blender or juicer
- *OPTIONAL* cheese grater for root vegetables
- *OPTIONAL* Markers or crayons to decorate
- *OPTIONAL* Table salt to make unique designs
Directions
*Ingredients can vary depending on what you have or what colors you’d like to use
- Combine the vinegar, baking soda, corn starch, and corn syrup in your mixing bowel
- Stir or whisk until completely dissolved
- Pour mixture into your container(s) to hold watercolor paints until about half-full
- Find natural ingredients around your house that are different colors. These can include fruit like raspberries to make red; blueberries to make blue paint, paprika or other spices to make dusty reds and browns; carrots or beets; or even coffee grounds and tea bags! *Make sure to ask a grownup for help*
- Place your mesh strainer over your mixing container. Begin placing ingredients into your mesh strainer and either using a whisk or potato masher to smash down your ingredients one at a time
- OPTIONAL: if you have a juicer or blender, use this to condense your ingredients instead
- Once the liquid has been extracted and is in your mixing bowl, pour the liquid into one of the containers that has the vinegar, baking soda, etc. mixture. Use as little or as much to vary the color
- Mix colors into the corn starch mixture well
- Clean out mixing bowl to ensure no color contamination
- Repeat steps 1-8 for other colors
- If you’re using leaves or root vegetables like beets or carrots, you can grate the roots down and use a muslin cloth to squeeze out juice
- Once you have your colors, you’re ready to paint on your watercolor paper
- OPTIONAL: use markers or colored pencils to enhance your art
- OPTIONAL: if you have table salt, try putting down some paint on your paper and adding a sprinkle of salt. What happens to the painted area?
- Because our combined mixture has corn starch, these paints will dry out quickly, but can be reused by adding a little water, just like artificial watercolors. Keep refrigerated when not in use. Paints will last (refrigerated) for 5-7 days
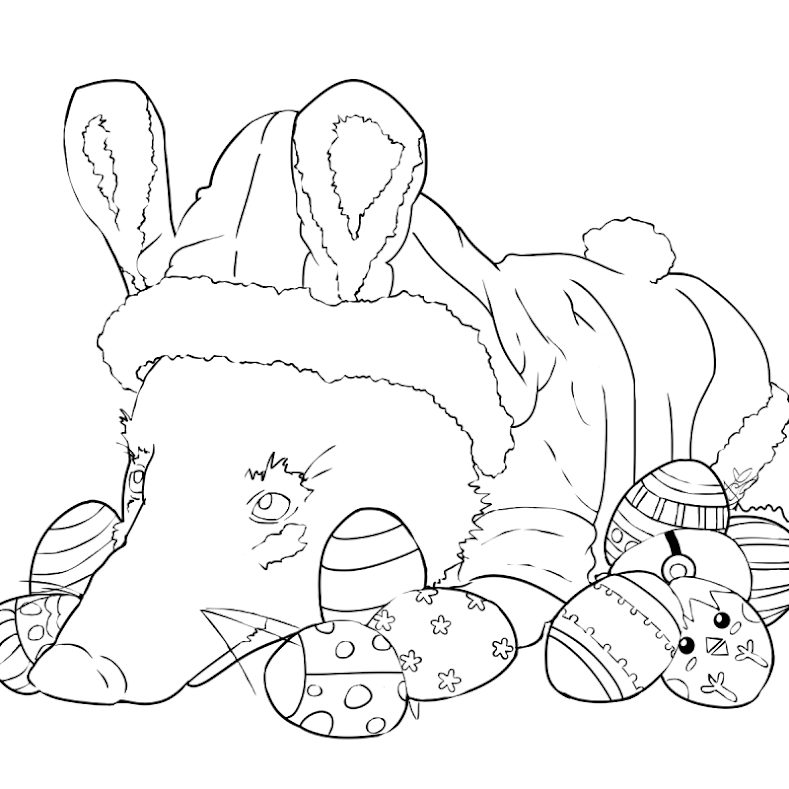
Super Science Coloring Pages!
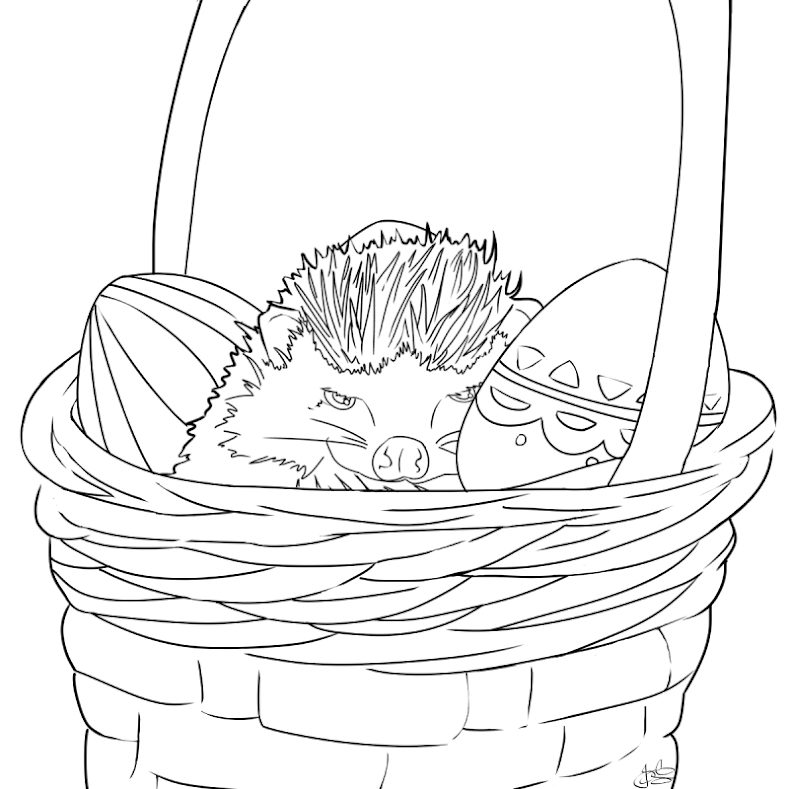
Have fun coloring images featuring animals from our living collection this week drawn by Gallery Presenter and Floor Captain, Jess Sperdute. You can meet some of the animals in the living collection during our Virtual Live Animal Encounters!
Super Science Activity: DIY Helicopter Seeds
DIY Helicopter Seeds from CarnegieMNH on Vimeo.
Super Science Activity: Straw Rockets
Energy is necessary for flight, but how do scientists know how much is enough? You can make your own rocket to test different methods of liftoff!
*This activity requires adult supervision

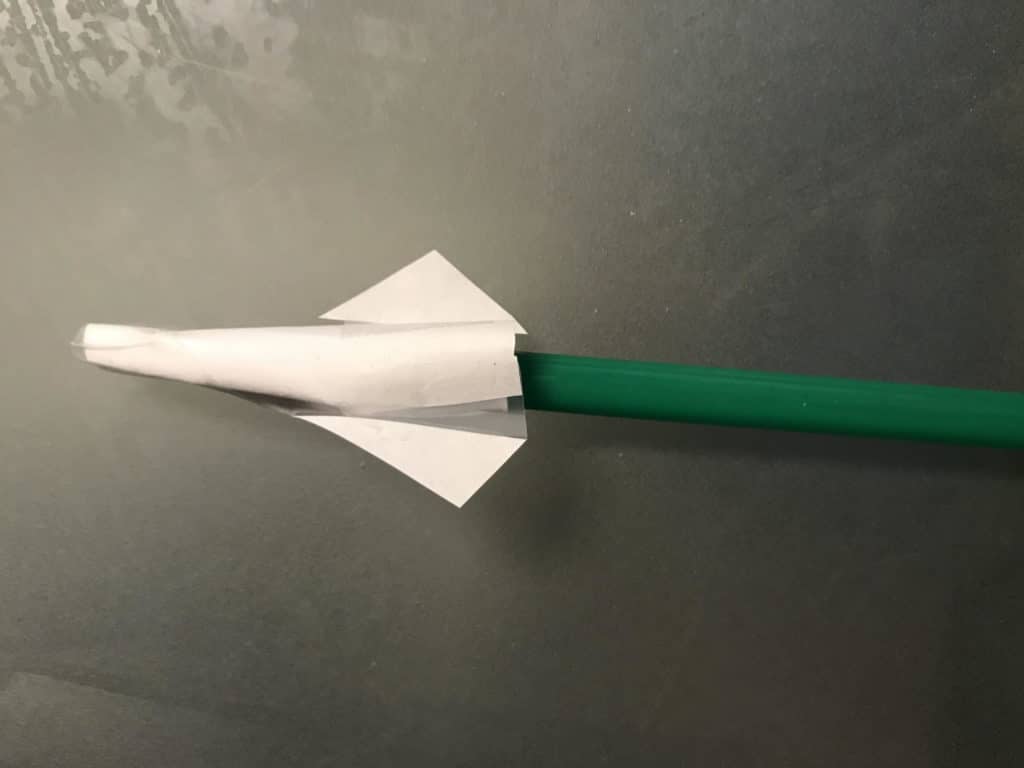
What You’ll Need to Make Straw Rockets
- Plastic straws
- Printer paper or similar quality paper
- Scissors
- Tape
- OPTIONAL: crayons/markers
Directions
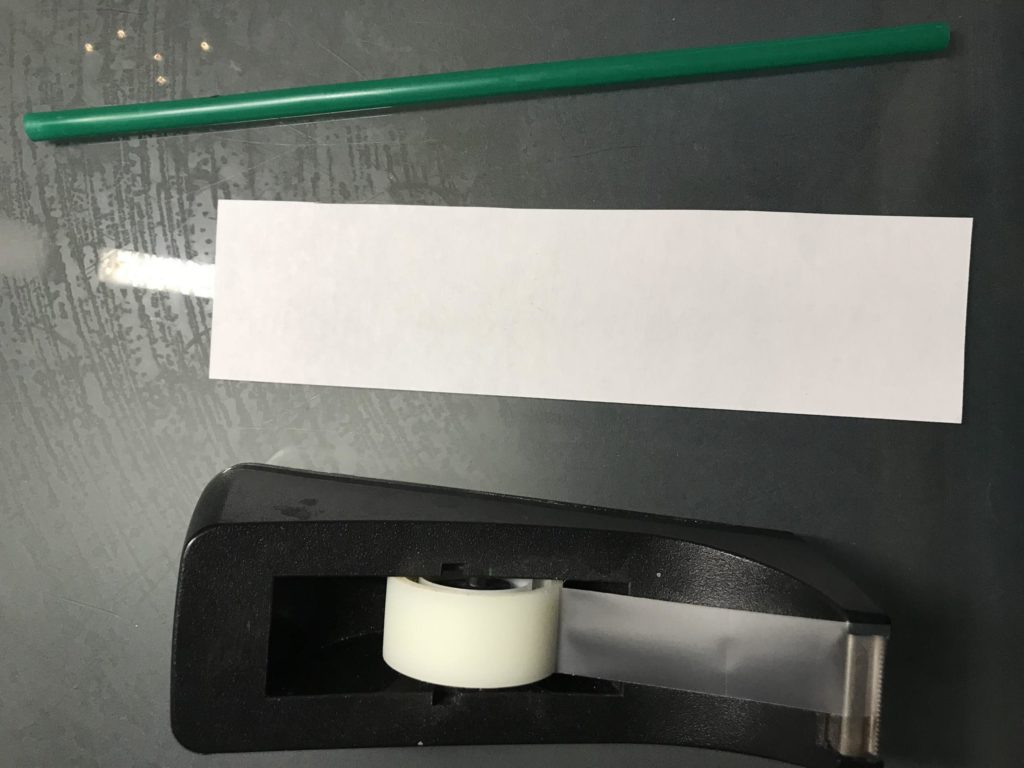
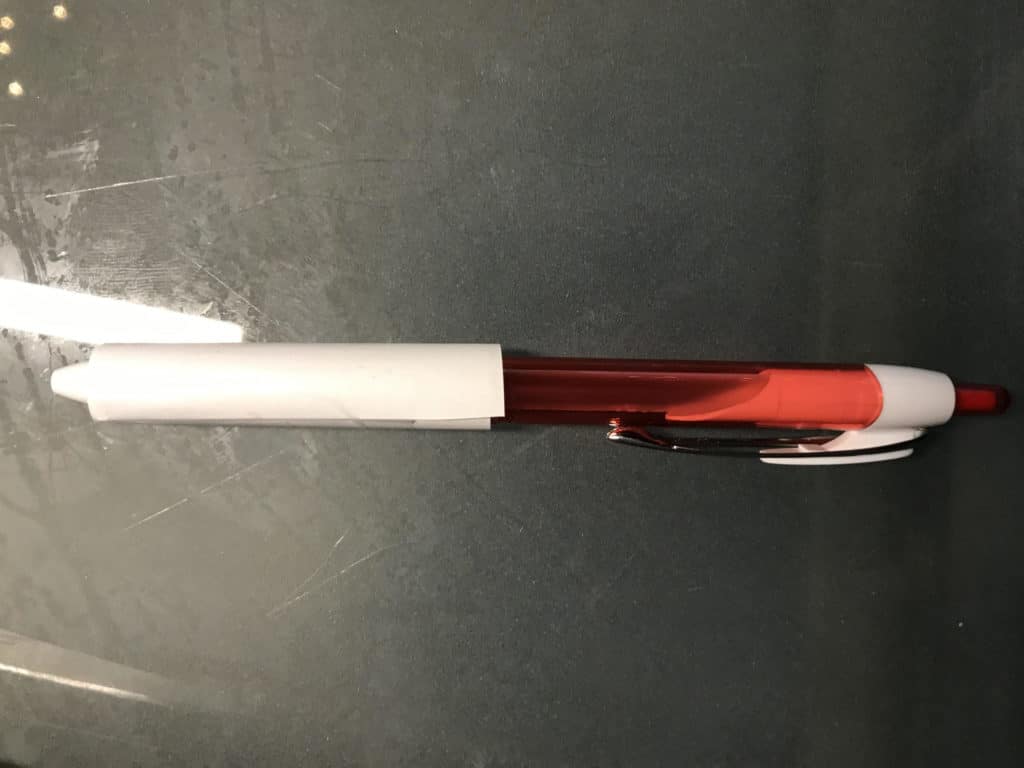
- Using scissors, cut a thin strip of paper roughly 2 inches wide.
- Wrap the paper into a cylinder shape (TIP: use a pencil or another plastic straw to help the paper keep its shape).
- Tape the paper at the seam to secure it.
- Take one end of the paper and fold it into a triangle shape. Tape down to secure the “nose” of the rocket (it’s ok if it’s not a perfect point!).
- Cut 2 triangles from your leftover paper and tape them to the bottom of your rocket, parallel from each other. This is the rockets tail and will help it glide in the air easier (TIP: make sure the bottom of your rocket has an opening big enough for your straw to fit into).
- OPTIONAL: using crayons or markers, make a design on your rocket.
- Once you’re satisfied with your rocket, place it on your plastic straw and blow through the other end
Observe:
So, what’s really happening? When you blow into the straw, you’re releasing hot air, which naturally wants to rise into the atmosphere. Because the air is being pushed through a narrow space in the straw, it launches the rocket into the air for a briefly—however, your rocket can’t create energy to keep itself in the air like a real rocket or animals like birds and insects can. Because it doesn’t have its own energy to keep it airborne, and because of Earth’s gravity, your rocket falls to the ground.
However, there’s also something else going on—although the air you blew into the straw is pushing your rocket up and away, there’s also air pushing against your rocket the minute it leaves your straw. This is called drag or air resistance, and it’s a real issue scientists and pilots face when trying to fly.
For the best results of this experiment, try making a few different rockets—try different shapes and sizes. Which one “flies” the longest?
Sponsors