• Skip to primary navigation
  • Skip to main content
  • Skip to primary sidebar

Carnegie Museum of Natural History

One of the Four Carnegie Museums of Pittsburgh

  • Visit
    • Buy Tickets
    • Visitor Information
    • Exhibitions
    • Events
    • Dining at the Museum
    • Celebrate at the Museum
    • Powdermill Nature Reserve
    • Event Venue Rental
  • Learn
    • Field Trips
    • Educator Information
    • Programs at the Museum
    • Bring the Museum to You
    • Guided Programs FAQ
    • Programs Online
    • Climate and Rural Systems Partnership
  • Research
    • Scientific Sections
    • Science Stories
    • Science Videos
    • Senior Science & Research Staff
    • Museum Library
    • Science Seminars
    • Scientific Publications
    • Specimen and Artifact Identification
  • About
    • Mission & Commitments
    • Directors Team
    • Museum History
  • Tickets
  • Give
  • Shop

activities

January 27, 2021 by Kathleen

Sensory Bin Idea – Flying Animals Bin

We have a great sensory bin idea for you–create a Flying Animals Sensory Bin with materials you have at home!

What is a Sensory Bin?

Sensory bins are great tools for younger children or children who might have sensory processing disorders to experience some relaxed sensory learning activities. For example, a sensory bin might include textures that encourage fun or textures that you might want your child to get used to (like sand perhaps) as well as goaled learning activities, like foam letters or numbers. In this activity, we suggest including toy animals to learn more.

Flying animals living in different ecosystems use the materials they have at their disposal to their advantage, but not every ecosystem is the same; cardinals may use a very different strategy when building their nests up high in trees than a sandpiper, who typically construct simple nests near the shores where they search for food. The same can be said for various insect species and even mammals like bats. You can choose multiple flying animals as inspiration for a sensory bin, too!

Materials Recommended

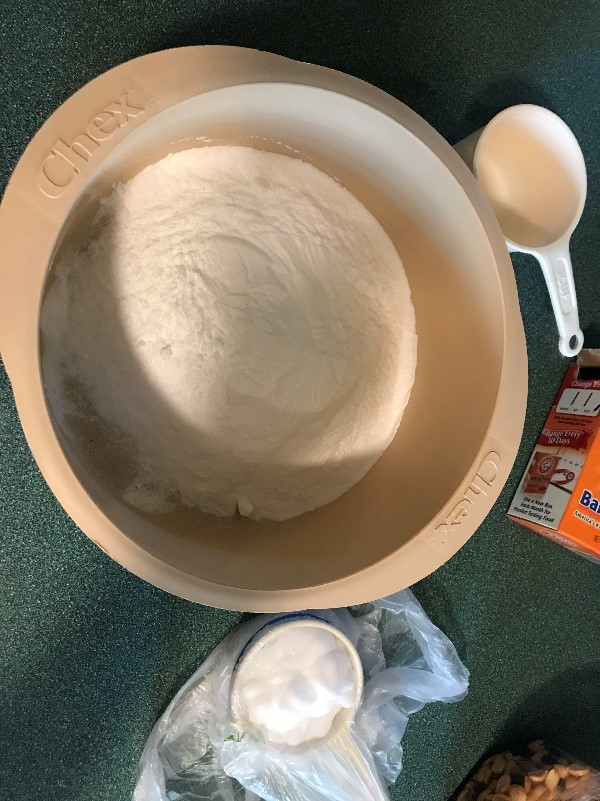
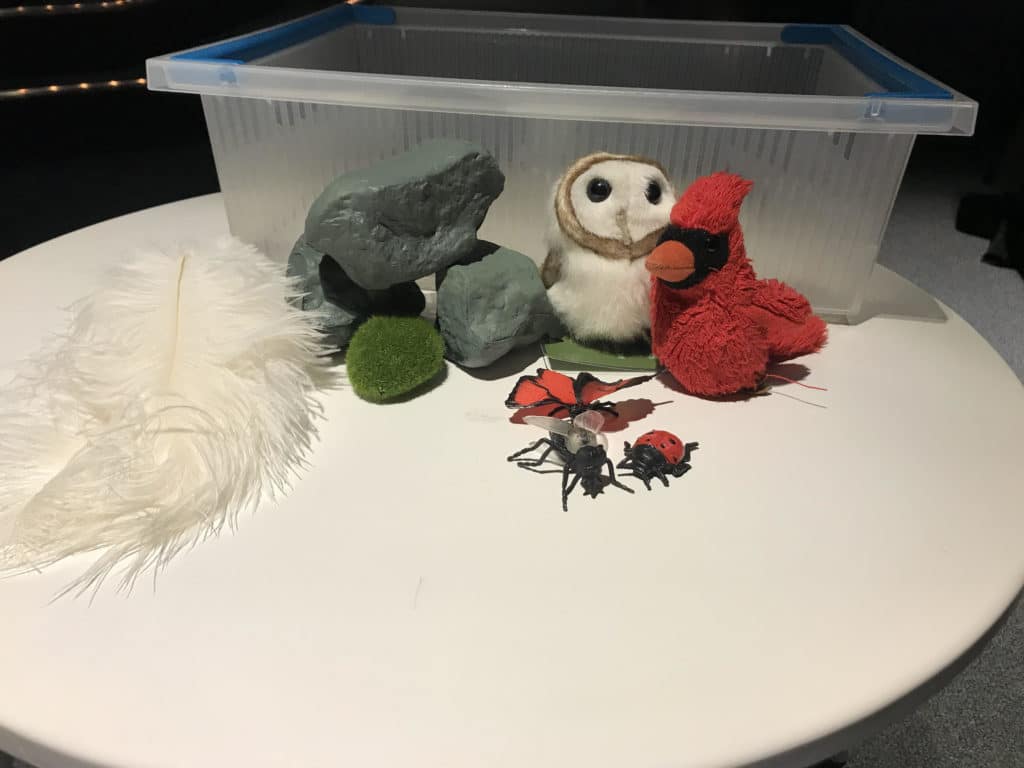
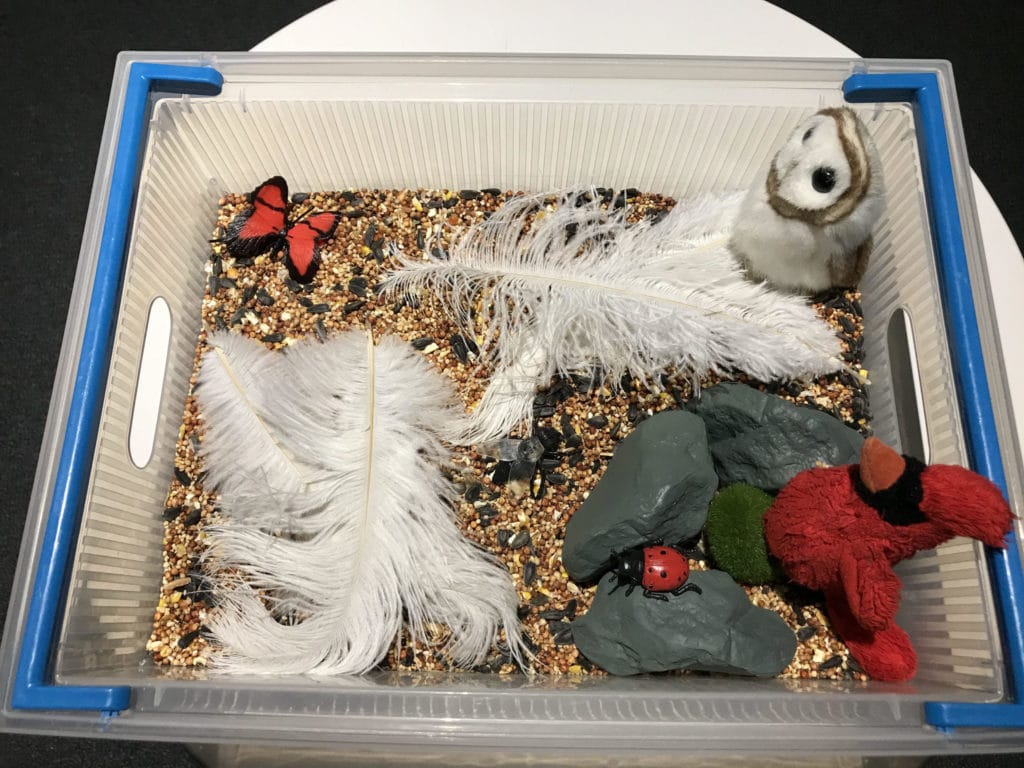
  • 1 small/medium-sized bin
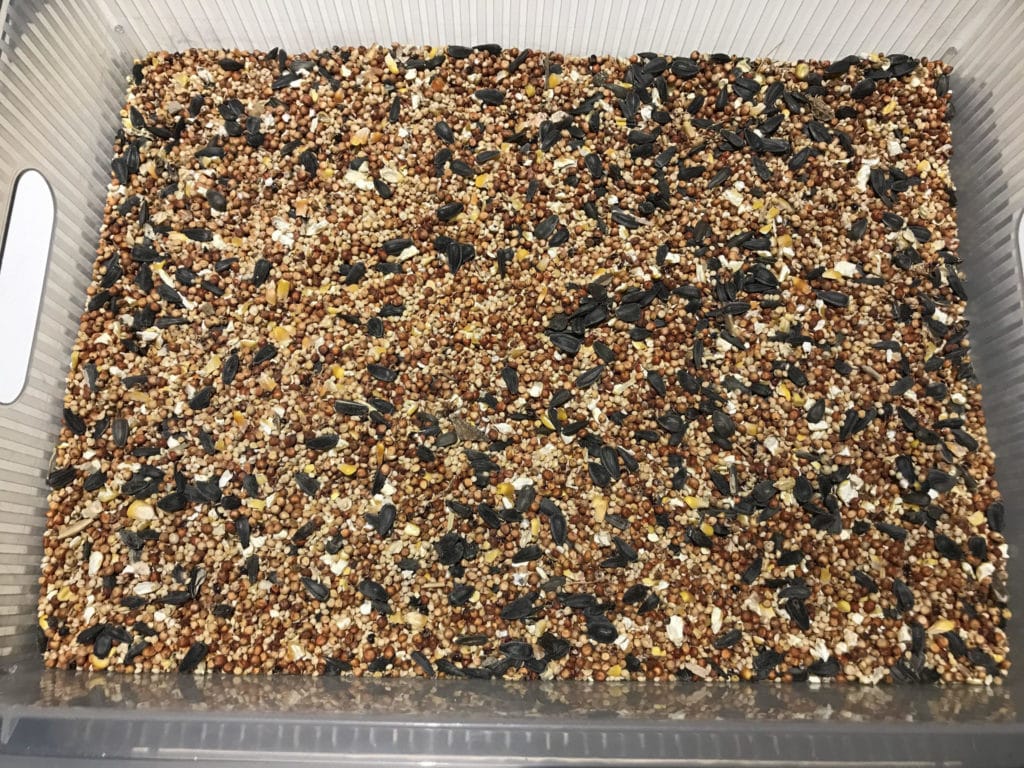
  • Bird seed (or a granulated substance like rice or sand)
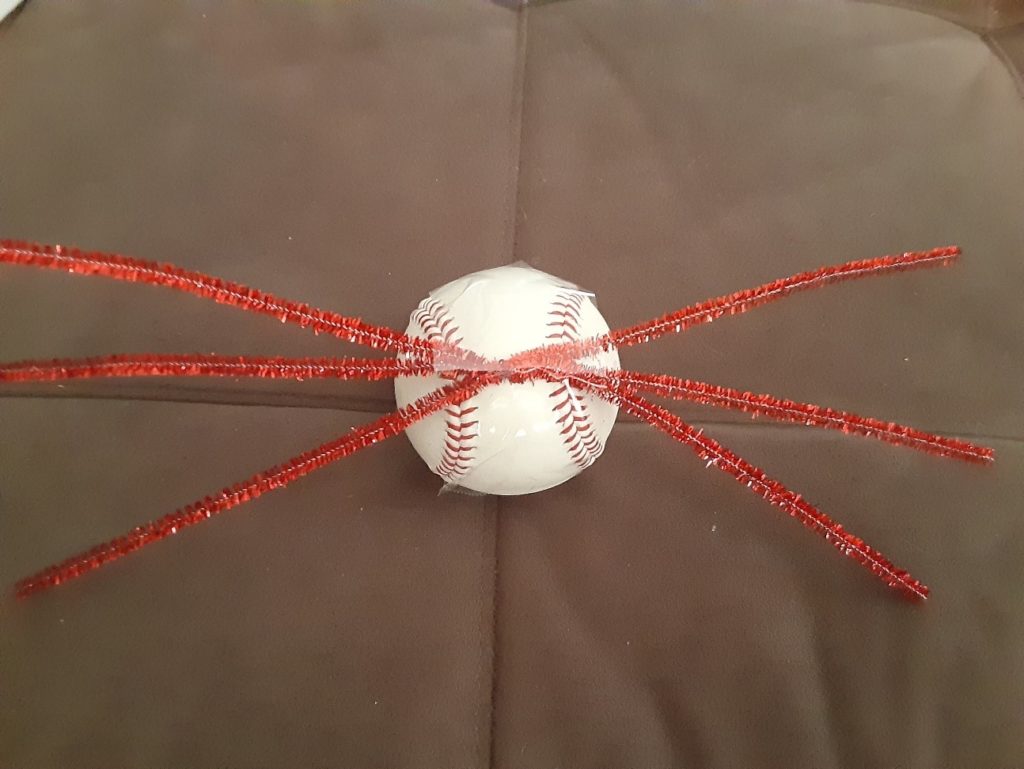
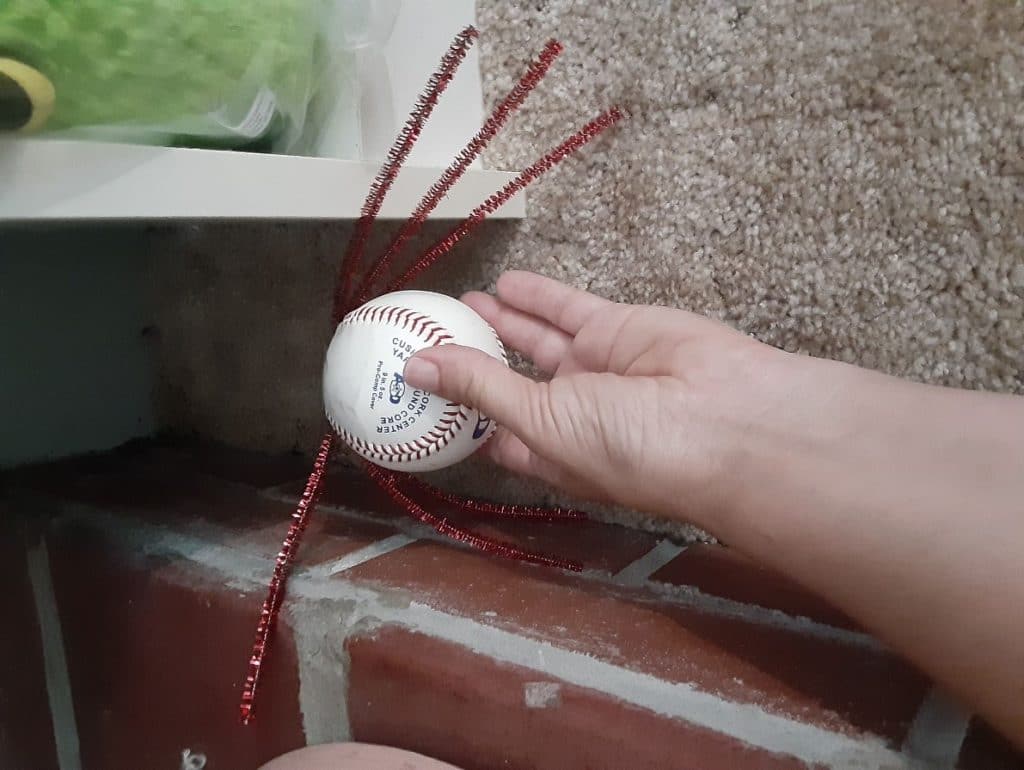
  • Plastic insects/birds/bat toys
  • Sticks or fake grasses
  • Rocks
  • Feathers*

*Be careful not to use feathers you find outside—these can carry a lot of different germs! Use craft feathers instead.

sensory bin supplies
bin filled with birdseed
finished sensory bin

Directions

  1. Pour enough bird seed or granulated substance into your large container to cover the bottom completely.
  2. Decide what animal you want your bin to focus on (you can also create an entire ecosystem with multiple animals!).
  3. Where does this animal live? What types of materials would be in its habitat (sticks, rocks, etc.). If the animal lives in a cold place, how would they keep warm? What would they need in a habitat with little water?
  4. Place your animals and other materials inside the sensory bin. Get creative! Do some of your flying insects like to burrow? Place them under the seeds and out of sight.

We’ll be working on more sensory friendly content as soon as we can, find it on our Sensory Friendly Saturdays Page.

Sensory Friendly Saturday

For more activities to complete with your household, check our our Super Science Saturday Page.

Super Science Saturday

Sponsors

Super Science Saturdays are sponsored by PA Cyber and Tender Care Learning Centers, a proud partner of Carnegie Museums of Pittsburgh. PAcyber The Pennsylvania Cyber Charter School LogoTendercare Learning Center logo

Filed Under: Blog Tagged With: activities, Taking Flight

December 18, 2020 by Kathleen

Snowstorm in a Jar Activity

Winter storms can appear out of nowhere and grow intense quickly throughout the northern hemisphere, but with a little science, you can control your own snowstorm at home! Follow this easy recipe below and remember to ask a grownup for help!

What You’ll Need

  • 1 cup water
  • Baby Oil
  • Alka-Selzer Tablets
  • Tall Glass or Clear Jar
  • Mixing Bowl
  • Stirring Utensil
  • White Paint
  • Optional: Blue or silver glitter or food coloring
ingredients for snowstorm in a jar

Directions

  1. Pour enough baby oil into your jar to fill it three-fourths of the way full.
  2. In a bowl, combine water and paint in equal parts.
  3. Optional: add glitter and food coloring to bowl as desired.
  4. Pour your water and paint mixture into the jar.
  5. Drop in an Alka-Seltzer tablet, making sure to clear the space in case of spills.
  6. Watch what happens!
paint and baby oil
snowstorm in a jar

What’s Happening?

The baby oil isn’t as heavy as water, meaning your water and paint mixture should sink to the bottom of the jar. So why did it jump back up and down? When Alka-Seltzer begins dissolving in the water, it releases one of its ingredients—sodium bicarbonate, also known as baking soda, which reacts with the dioxide in water to create carbon dioxide gas. This creates upward pressure, making the water and paint mixture rise. However, the oil creates downward pressure to immediately force the mixture back down.

Now that you can make a snowstorm, try gathering some more data! How long does it take for the “snow” to settle down? What happens when you put in another Alka-Seltzer tablet after the first one has melted? Be sure to share your results with the #MuseumFromHome!

Filed Under: Blog Tagged With: activities, HATW

December 16, 2020 by Kathleen

Make Blubber Gloves Activity

Blubber is a thick layer of fatty tissue under the skin of all cetaceans (whales and porpoises), pinnipeds (seals and walruses), sirenians (manatees), and polar bears. Blubber is the primary fat storage for animals that feed and breed in different parts of the ocean or in the Arctic. It’s kind of like how we dress up in layers before going outside to play in the snow. Want to test how it really works? Follow these simple instructions to make your own blubber glove!

What You’ll Need

  • Crisco or shortening
  • Two ziplock bags large enough to fit your hands comfortably
  • Duct tape
  • Large Bowl of water
  • Ice
  • OPTIONAL: stopwatch, paper, thermometer and writing utensil to record your data
  • OPTIONAL: for extra security, you can use staples in between the layers of duct tape (this tutorial uses the staple method)
Bubber Glove Activity ingredients

Directions

  1. Fill one ziplock with a generous amount of shortening (do not seal the bag).
  2. Place your hand inside the second, empty ziplock bag, and push it into the shortening-filled one.
  3. Using your hands, spread the shortening around the ziplock bag until the inner bag is mostly covered (try not to spill any shortening outside the bag or near the edges!).
  4. Fold the top of the inner ziplock bag over the outer bag.
  5. Duct tape the fold to ensure the shortening will not overflow or leak out of the glove.
  6. OPTIONAL: for extra strength, staple the duct tape between the layers of duct tape. Use more duct tape to cover the staples to prevent injury.
  7. Now that your blubber glove is ready, dunk your hand with the glove into the bowl of ice water and see what happens!
  8. OPTIONAL: use a stopwatch to count how long it takes for your hand to feel any temperature change (don’t leave your hand in for too long!). Record your data.
    • Record how cold the ice water is with a thermometer
one ziplock bag filled with shortening, another empty
empty ziplock bag inside ziplock bag filled with shortening and taped shut
ziplock bags securely sealed together
ziplock bags sealed with staples
cooler filled with ice
blubber glove inserted into ice-filled cooler
inserting hand into blubber glove

What’s Happening?

Shortening, a type of fat that’s solid at room temperature, stores energy. While the shortening doesn’t have nearly the same amount of energy-storing capabilities as blubber, it does work in a similar way. Blubber’s primary functions include:

  • Adding Buoyancy—this allows the animal to conserve energy while swimming and even float near the surface of the ocean to breathe during periods of rest.
  • Providing extra insulation—this helps the animal survive harsh weather conditions and sudden temperature drops. In colder weather/water, the blood vessels in blubber constrict, decreasing the amount of blood flow and conserving heat.
  • Storing energy—like the shortening, blubber stores energy, but is richer in proteins and a type of fat called lipids.

Many cultures rely on blubber, even today. Muktuk, thick slices of whale blubber and skin, is a traditional food consumed by some Innuit and First Peoples groups. Blubber is a vital food source in cold conditions, as it contains a high amount of vitamins D and C, which isn’t easy to come by in colder areas of the world. However, recent studies show blubber is susceptible to biomagnification—the process in which a foreign substance increases in level as it passes up the food chain. Toxins such as PCB, a chemical now known to cause cancer in humans, has been found in fish and animals that consume them. When these predators, often at the top of the food chain, consume fish with toxins in them, their blubber also becomes toxic. PCB is often hard to break down and doesn’t degrade over time.

For many animals, blubber is the key to their survival. The next time you go outside during a chilly winter day, make sure to wear layers to keep yourself warm, too!

Filed Under: Blog Tagged With: activities, HATW

December 14, 2020 by Kathleen

Make Your Own Snow Activity

Want to build a snowman but don’t have any snow? This play snow is a great substitute—it’s cool to the touch, moldable, looks just like real snow, and only requires two ingredients!

What You’ll Need

  • ½ cup hair conditioner (preferably white to mimic real snow)
  • 2 cups baking soda
  • Measuring cups
  • Mixing bowl
  • Container or placemat for play
  • OPTIONAL: Beads, plastic toys, etc. to bury in snow if desired
DIY Snow Ingredients

Directions

  1. Combine baking soda and hair conditioner in mixing bowl until the texture is crumbly (the “snow” should be moldable, like kinetic sand).
  2. OPTIONAL: add optional toys if desired
  3. Now take your snow over to your play area and start having fun! The best part about making this type of snow is that you can store it for later use—if it dries out slightly, just add a little more conditioner the next time you want to play!
DIY Snow dry ingredients in a bowl
Hand mixing the wet and dry ingredients of the DIY snow
Completely mixed DIY snow!

Filed Under: Blog Tagged With: activities, HATW

August 6, 2020 by Kathleen

Meowfest: Cat Whisker Activity

cat

Have you ever seen a cat investigate a space they’re interested in by putting their head in the space, only to back up and change their mind? A cat has a built- in measuring tape that lets them know when their curiosity may just get them stuck in a space that is too small for their bodies—their whiskers. A cat’s whiskers are the same length as the width of their body. They have small heads, which means going into a space head first without knowing if the rest of their body will fit can be problematic. Luckily, they know if their whiskers touch or bend upon entering a space, it is too small for their body!

Let’s Investigate

You can create a set of cat whiskers with a few items at home that can help you get a hands-on look at how a cat uses its whiskers.

Materials Needed

  • Ball (any size/material is fine)
  • Pipe cleaners
  • Strong tape (such as duct tape or packing tape)
whisker craft materials

Directions

finished whisker craft
  1. Twist pipe cleaners together to form a set of whiskers. Trim them into desired length, but make sure they are symmetrical—meaning they are the same length from the center to the ends on both sides.
  2. Tape the center of the whiskers to the ball.
  3. Use the ball and whiskers and see if it can fit through tight spaces just like a cat. If the whiskers touch the sides of a space, bend or get pushed back, the space is too small for a cat!
using whisker craft

Collect Data

Take notes, or pictures on where your cat whiskers will fit. What spaces would your imaginary cat be able to fit into and where would your cat need to back out of?

Filed Under: Blog Tagged With: activities, Super Science Days, Super Science Meowfest

August 4, 2020 by Kathleen

Meowfest: DIY Cat Toy

Filed Under: Blog Tagged With: activities, Crafts, Super Science Days, Super Science Meowfest

  • Page 1
  • Page 2
  • Page 3
  • Interim pages omitted …
  • Page 5
  • Go to Next Page »

sidebar

About

  • Mission & Commitments
  • Directors Team
  • Museum History

Get Involved

  • Volunteer
  • Membership
  • Carnegie Discoverers
  • Donate
  • Employment
  • Events

Bring a Group

  • Groups of 10 or More
  • Birthday Parties at the Museum
  • Field Trips

Powdermill

  • Powdermill Nature Reserve
  • Powdermill Field Trips
  • Powdermill Staff
  • Research at Powdermill

More Information

  • Image Permission Requests
  • Science Stories
  • Accessibility
  • Shopping Cart
  • Contact
  • Visitor Policies
One of the Four Carnegie Museums | © Carnegie Institute | Privacy Policy | Terms of Use | Accessibility
Rad works here logo