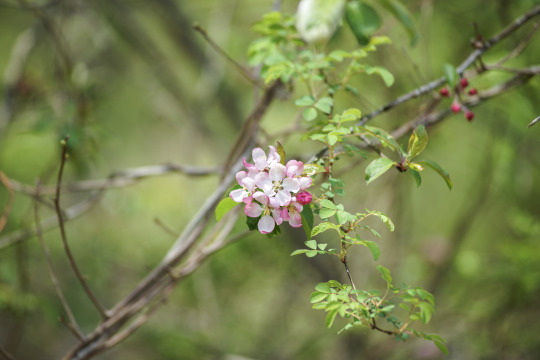
This is the season of colorful flowers and we can truly appreciate their vibrance after a typical grey and chilly winter. One way to make the beauty last and keep a reminder of springtime all year-round is to draw a flower.
Andrey Avinoff was an entomologist and Director of the Carnegie Museum of Natural History from 1926 to 1946. But he was also an illustrator and painter in his free time! Many of his beautiful illustrations can be found in “Wild Flowers of Western Pennsylvania and the Upper Ohio Basin,” a botanical guide authored by the botanist Otto E Jennings, and later Director of the Carnegie Museum of Natural History.
One of the most ubiquitous flowers of the season, for me, is the violet. I love the way they sprout up through lawns and in the forest alike. They come in a dazzling array of colors—pink, white, yellow, blue, and purple—and the detail when you look closely is inspiring. There are about 600 species in the Viola genus, so there are plenty to choose from.
Before we get started you might need to gather some supplies. Use a pencil and eraser, just in case you make some mistakes (it’s okay to make a mistake). Get some paper and a comfy spot to draw—make sure you cover your table to avoid making marks on it. Don’t forget the colors! I like colored pencils, but you can use markers, crayons, paint, or anything else to color with.
Here’s a tip: try out some ideas on scrap paper so that you know what works best for you. Practice makes perfect!
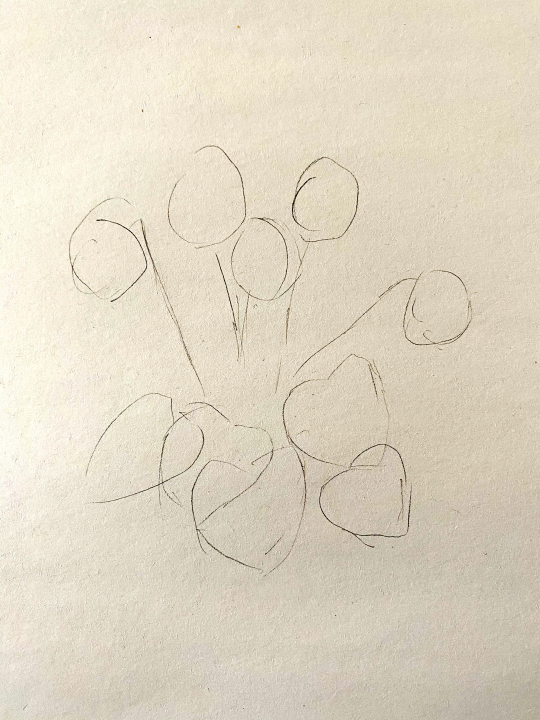
Step 1: Shapes
Use some basic shapes—circles, triangles, squares, and lines—to make up the general shape of your flower. You can draw little lollipops or popsicles for now and we’ll add more details as we go. Use light pencil strokes so that they’ll be easy to erase later.
Try to keep all of your flower shapes the same size—you want all your flowers to be similar in size.
I also draw some leaf shapes. Make sure your leaves are balanced to your flowers and don’t worry about how they overlap just yet.
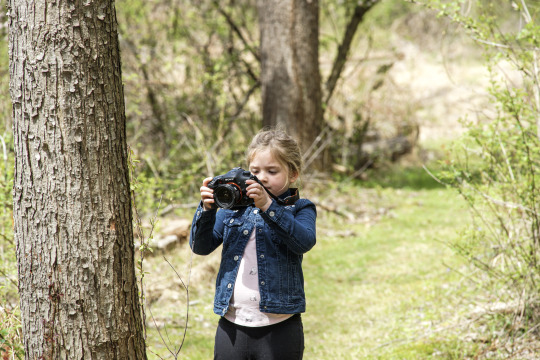
I also like to have a photo that I’ve taken or found online to use as a reference for what I’m drawing. I even picked some flowers to get a good idea of what they look like—just make sure you leave some flowers for the wildlife.
If you want to take it to the next level, you can also check out some botanical illustrations (like Andrey Avinoff’s) where individual flower parts, seeds, leaves, and roots are sometimes drawn to help with identification.
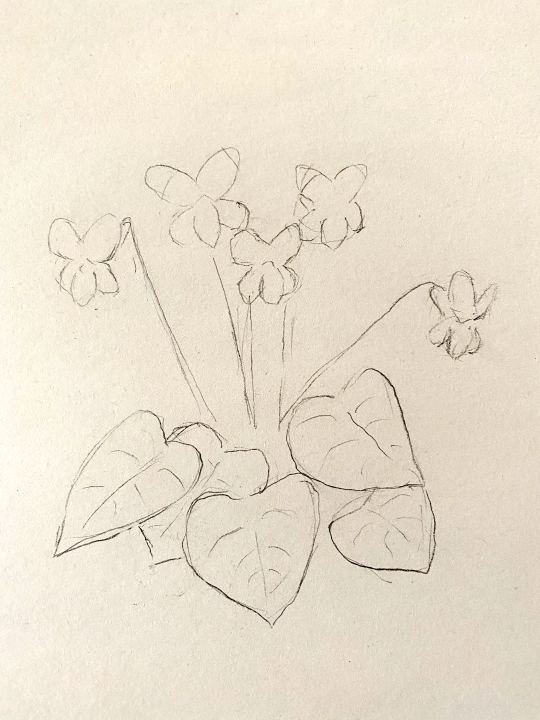
Step 2: Silhouette
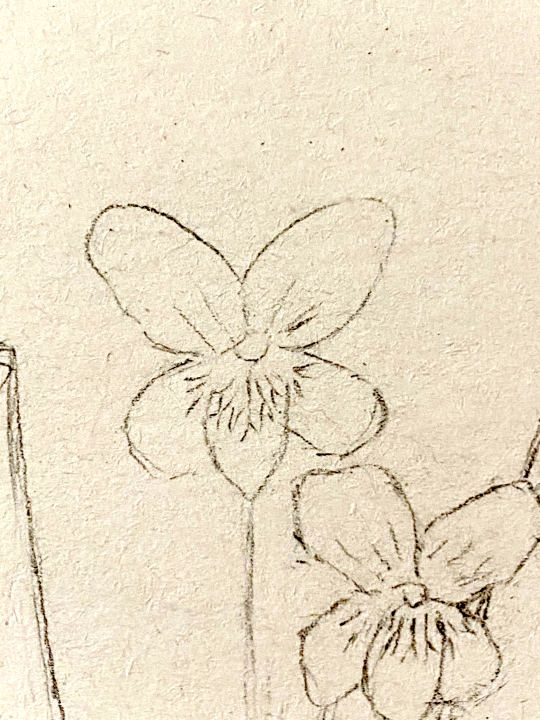
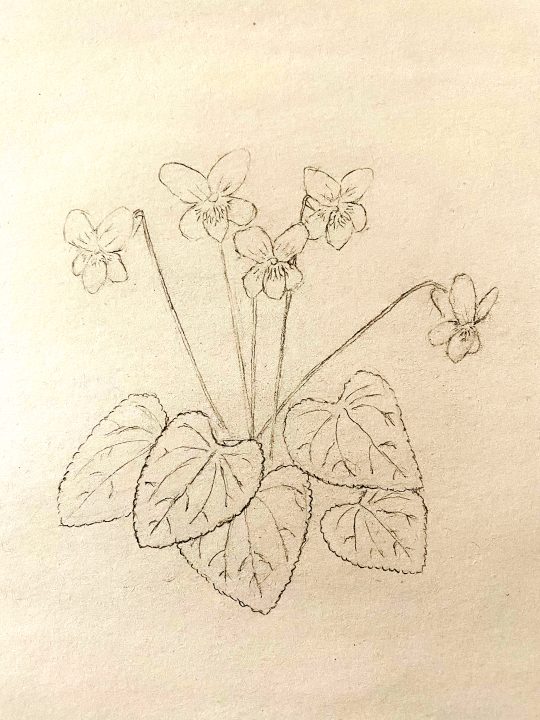
Next let’s draw individual flower petals. It’s good to know how many petals your flower has and how they look—violets have five that look a little like a butterfly. Flowers come in a lot of shapes, so take some time studying the flower and practice drawing the shape. If you haven’t already, you can also draw the flower stalks, or petioles.
The leaf shape is important too, leaves come in lots of shapes like the violet’s heart-shaped leaves.
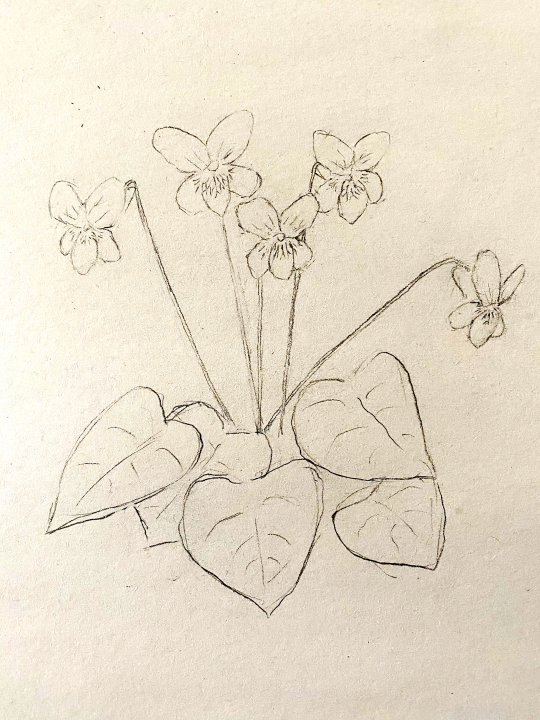
Step 3: Details
Add more details. Mark where colors might change on flower petals and if there are any veins on the leaves or petals. You can add details to the leaf edges to make them wavy, scalloped, or toothed.
It’s also important in this step to know how detailed you want to be. Remember: a smaller sketch doesn’t need as much detail, but a bigger sketch can have more. Whatever you think looks best.
Step 4: Color
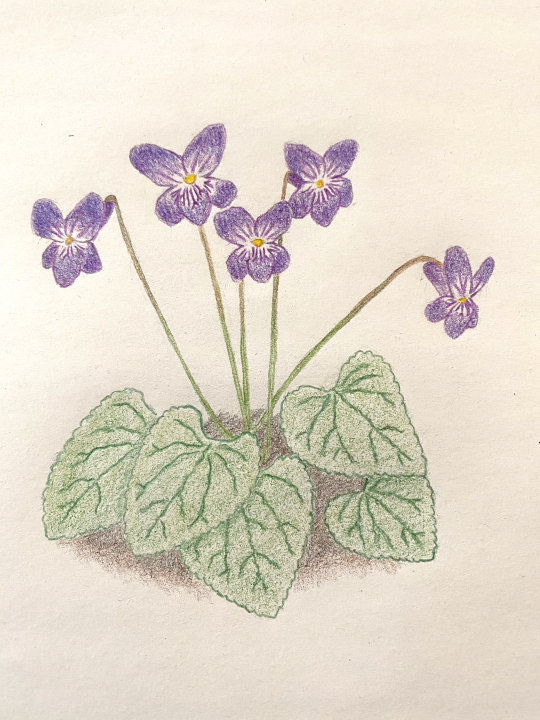
This step is optional, sometimes a black and white sketch can tell a great story. However, if you have some time, then adding color to your drawing can also really bring it to life.
You can use crayons, markers, paint, or any other color tool you want. It’s always a good idea to test your colors on a separate piece of paper to see if they’re right for you or to try out a mix of colors. Flowers are many colors, so you can be really creative!
Be proud of your sketches! No one else could have made it the same way that you did. By drawing and coloring plants, animals, and other nature you can sharpen your observation skills and gain a better appreciation for the beauty and uniqueness of all life.
Aaron Young is a museum educator on Carnegie Museum of Natural History’s Outreach team. Museum staff, volunteers, and interns are encouraged to blog about their unique experiences and knowledge gained from working at the museum.